About Anomaly Settings
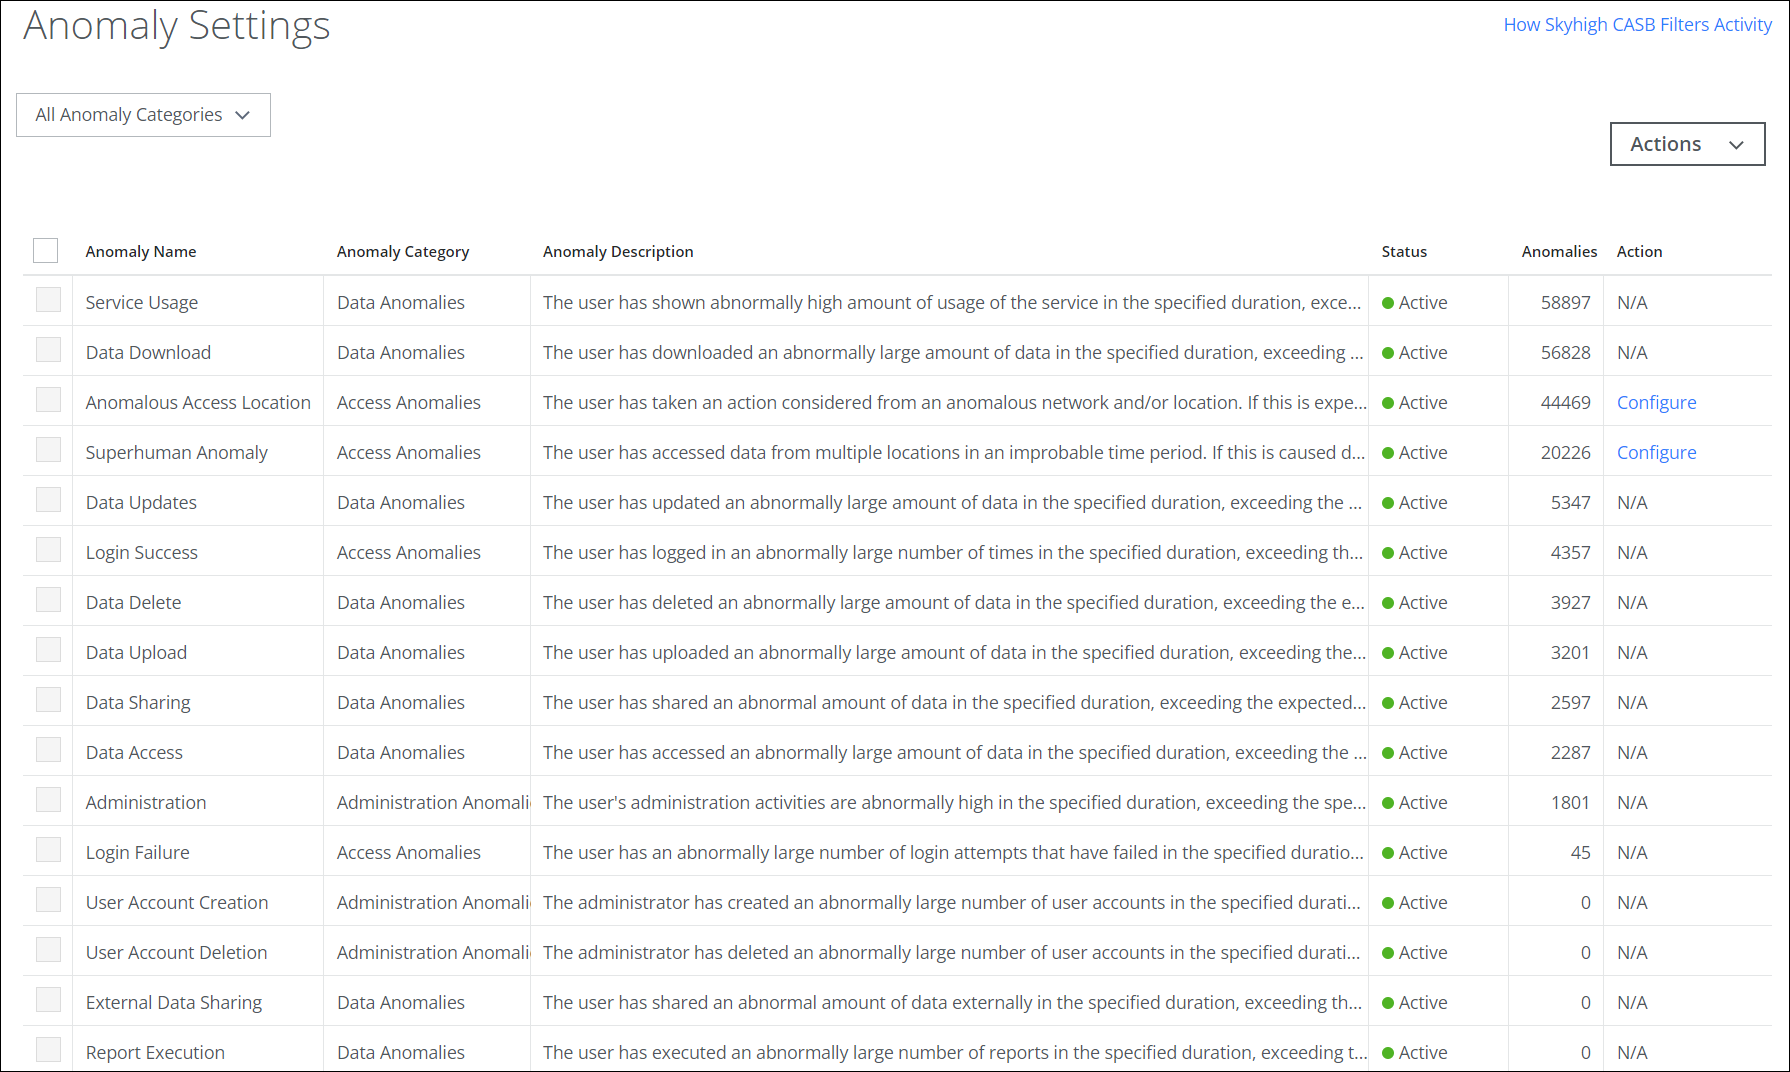
The Anomaly Settings page displays Sanctioned Cloud Services anomalies, providing several options to help you manage anomalies.
To view the Anomaly Settings page, go to Incidents > Anomalies > Anomaly Settings. 
The Anomaly Settings page provides the following information and actions:
- All Anomaly Categories. Displays the Anomaly Category (Access, Administration, Data, or Custom Anomalies). Click to sort anomalies (ascending or descending) by category.
- Anomaly Name. Name of the anomaly. Click to sort anomalies (ascending or descending) by name.
- Anomaly Category. Displays the Anomaly Category (Access, Administration, Data, or Custom Anomalies).
- Anomaly Description. Description of the anomaly. Click to sort (ascending or descending) by description.
- Status. Displays the status of the Anomaly as Active, Inactive, and Disabled.
- Anomalies. The number of available anomalies in the anomaly type. Click to sort (ascending or descending) by number.
- Action. Click to Configure Superhuman Anomalies or Anomalous Access Location Anomalies. Click to sort anomalies (ascending or descending) by available action. If an anomaly is marked with N/A, there are no additional actions available.
- Actions. Click Actions to:
- Activate Anomaly. To activate the custom anomalies from the inactive or disabled status.
- Deactivate Anomaly. To deactivate the custom anomalies from the active or disabled status.
- Delete Anomaly. To delete the custom anomalies.
- Create an Exception. This option redirects you to the Anomalies page to create an Anomaly Exception.
- Adjust Anomaly Thresholds. Administrators may want to manually adjust anomaly detection thresholds to control the generation of new anomalies.
- Create a Custom Anomaly. To create new custom rules.
NOTE: Different criteria can cause the Custom Anomaly limit to exceed and warning messages are displayed on the Anomaly Settings page. To troubleshoot your warning messages, see Troubleshooting Warning Messages.
