Activate and Deactivate a Custom Anomaly
Activate a Custom Anomaly
IMPORTANT: A maximum of 5 custom anomalies can be activated on the Anomaly Settings page. If the maximum limit is reached, the Active Custom Anomaly Limit message will be displayed. In that scenario, deactivate a Custom Anomaly before you can activate another one.
The users can activate the inactive or disabled custom anomaly to resume anomaly detection. If an anomaly is detected, incidents are triggered on the Anomalies page.
To activate a custom anomaly:
- Go to Incidents > Anomalies > Anomaly Settings.
- Select the required custom anomalies that are inactive or disabled. Multiple custom anomalies can be selected.
- Click Actions > Activate Anomaly.

- Now, the selected anomaly is activated and you can view the status changed from Inactive to Active.

Deactivate a Custom Anomaly
The users can deactivate the active custom anomaly to stop anomaly detection. The deactivated custom anomaly does not trigger any incidents on the Anomalies page.
To deactivate a custom anomaly:
- Go to Incidents > Anomalies > Anomaly Settings.
- Select the required custom anomalies that are active or disabled. Multiple custom anomalies can be selected.
- Click Actions > Deactivate Anomaly.

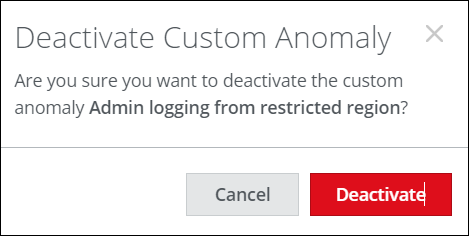
- Once you see the confirmation dialog, click Deactivate.

- Now, the selected anomaly is deactivated and you can view the status changed from Active to Inactive.

