Integrate Okta in a Salesforce SAML Proxy
To integrate Oka with Salesforce SAML proxy, use the following steps:
Prerequisites
The following items must be in place before you begin:
- An existing Skyhigh CASB tenant.
- An existing SFDC sandbox.
- An existing Okta account.
- Operational Salesforce reverse proxy.
- SFDC and Okta accounts set up with the same user name.
Step 1: Configure Okta
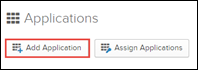
- Log in as admin and then navigate to the Okta Admin dashboard.

- Navigate to Applications.

- Click Add Application.
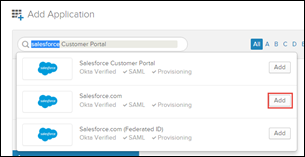
- Search for Salesforce.com and click Add.
- Complete the application settings. Set as defaults unless highlighted below.
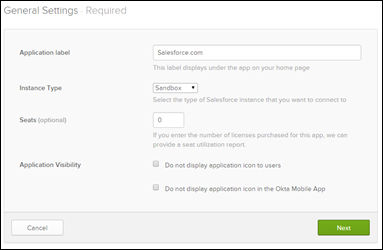
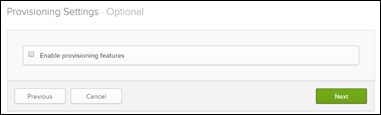
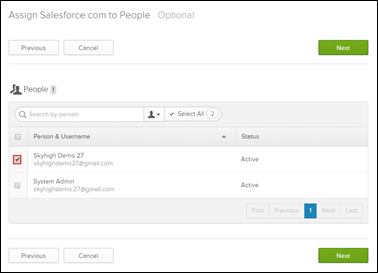
NOTE: The above screen allows you to assign users to the application. Although this step can be completed later, it is recommended to perform the assignment at this stage to simplify the configuration process.
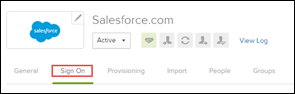
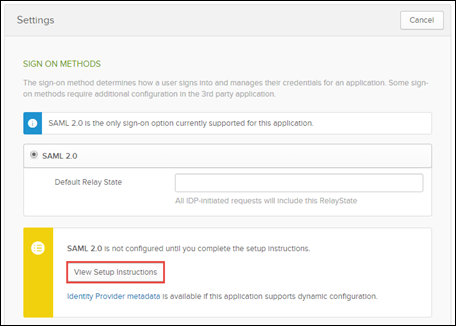
- From the Salesforce Application in Okta, select Sign On.
-
Edit the sign-on settings and find the View Setup Instructions button.
-
Capture the following information and continue to configure SFDC.
Item
Example
Issuer
exk40ysck2TaAl0gN0h7
Identity provider login URL
https://dev-752117.oktapreview.com/app/salesforce/exk40ysck2TaAl0gN0h7/sso/saml
Identity Provider Logout URL
IDP certificate
Download this ready to be imported to the SHN SAML proxy
NOTE: Leave the Okta SFDC SSO configuration screen open. You will come back to it later.
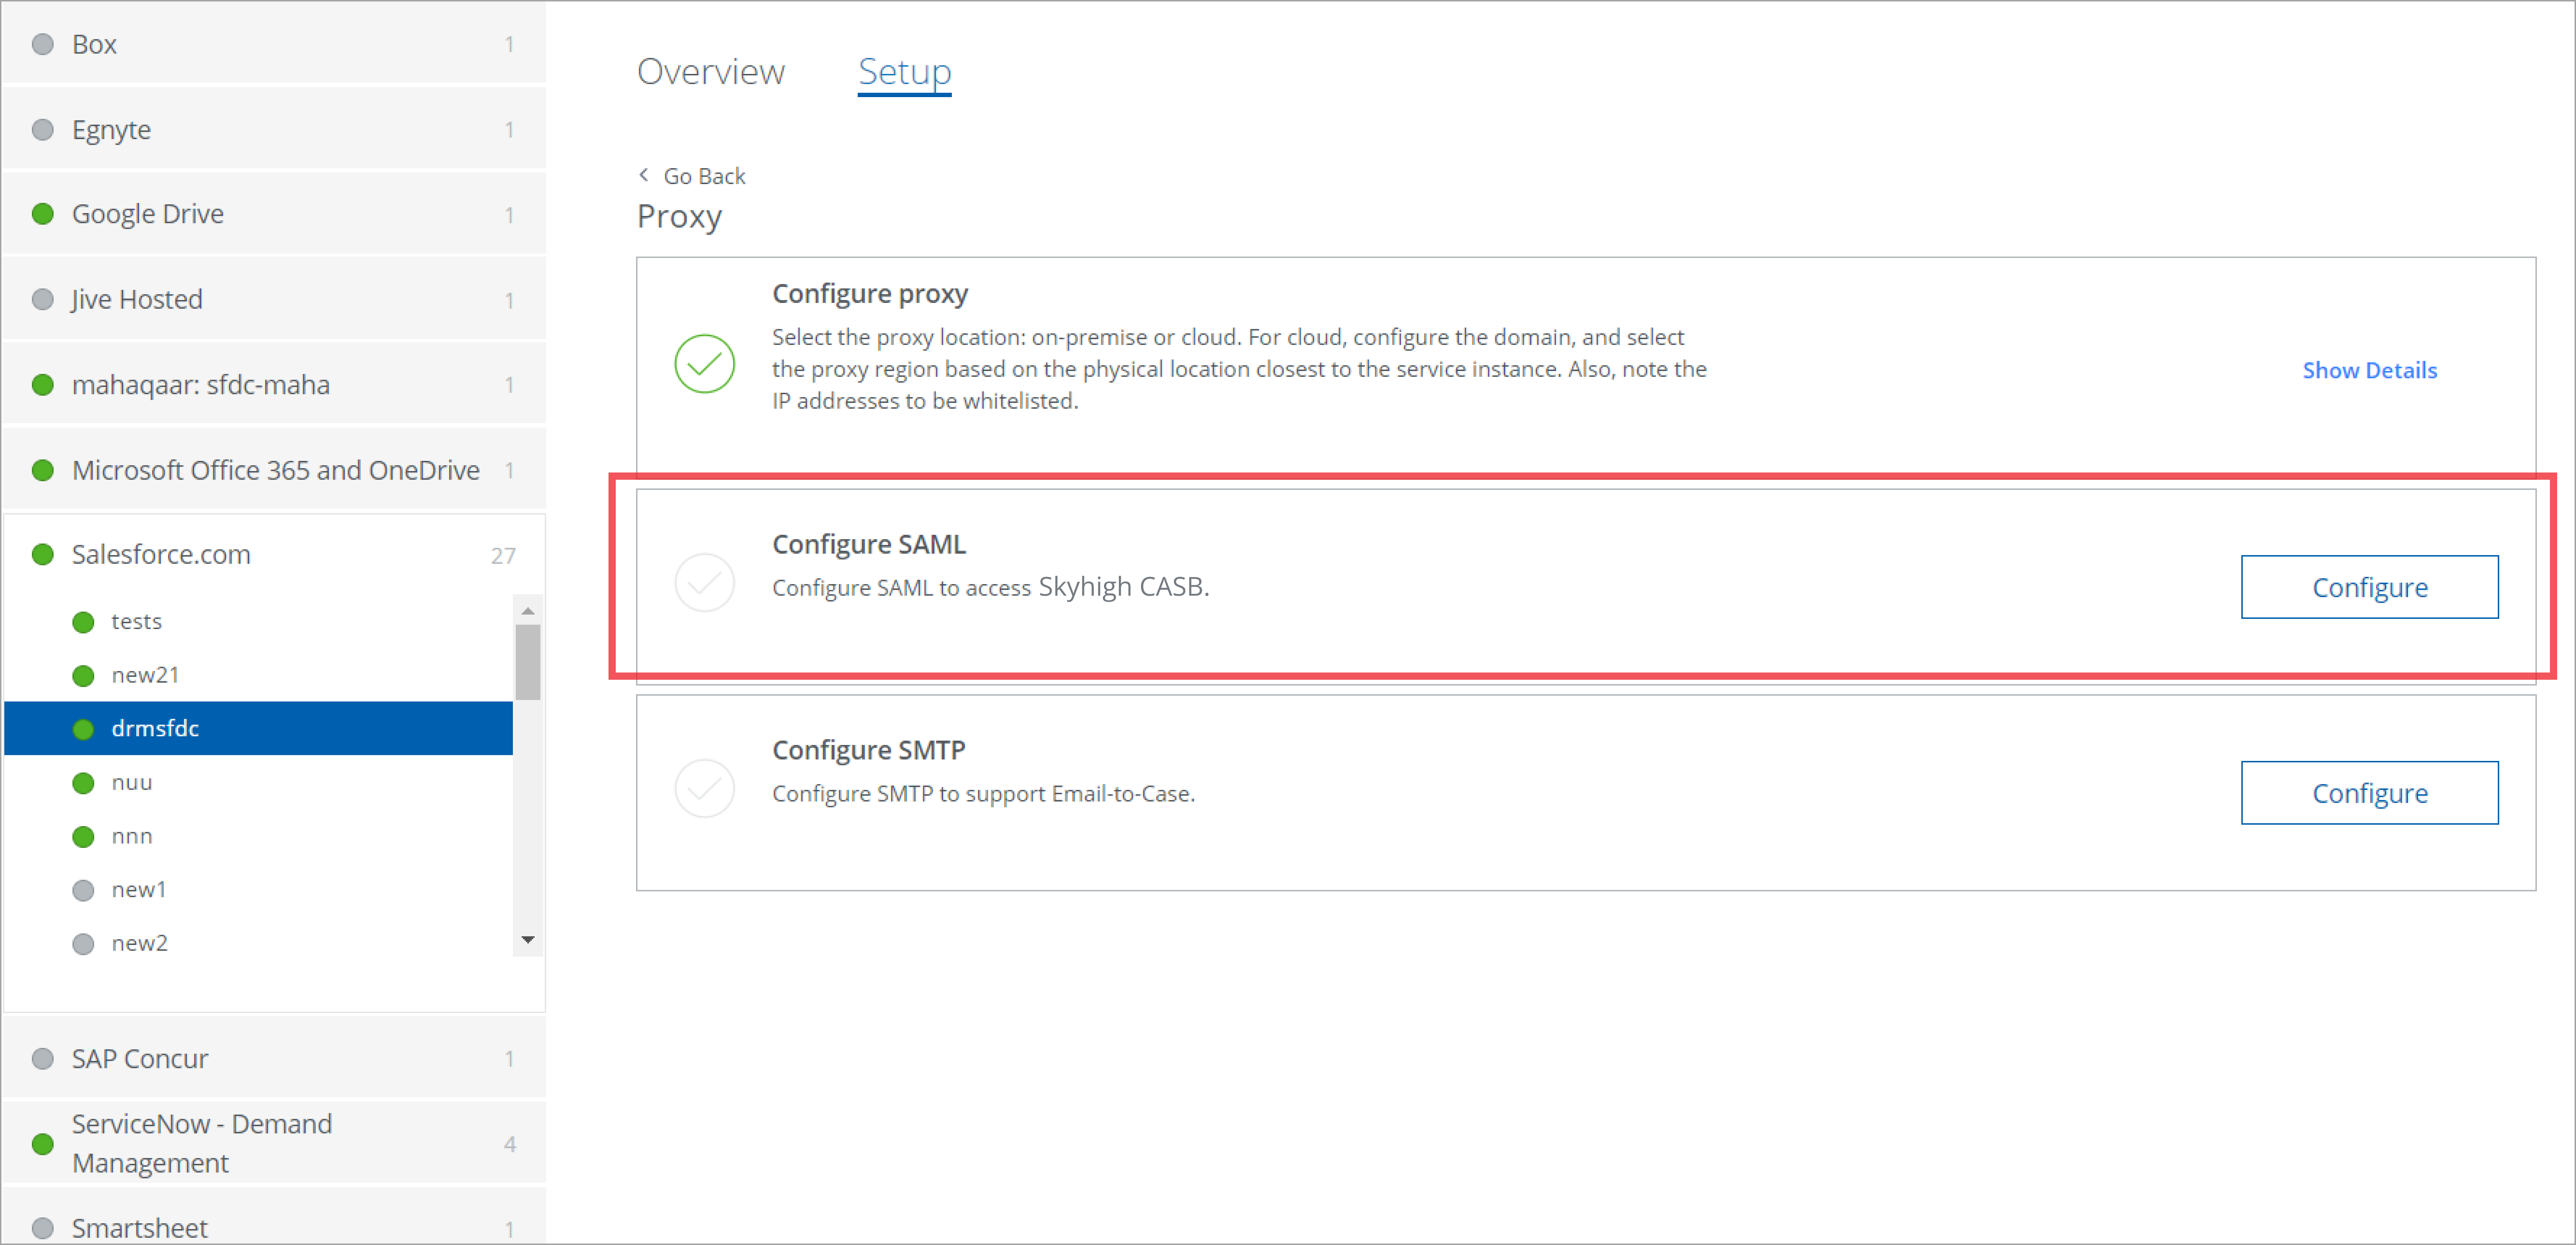
Step 2: Configure Skyhigh CASB SAML Proxy
- Log in to Skyhigh CASB and go to Settings > Service Management.
- Configure SAML Certificates for the Salesforce reverse proxy.
-
Upload the IDP certificate obtained earlier from Okta.
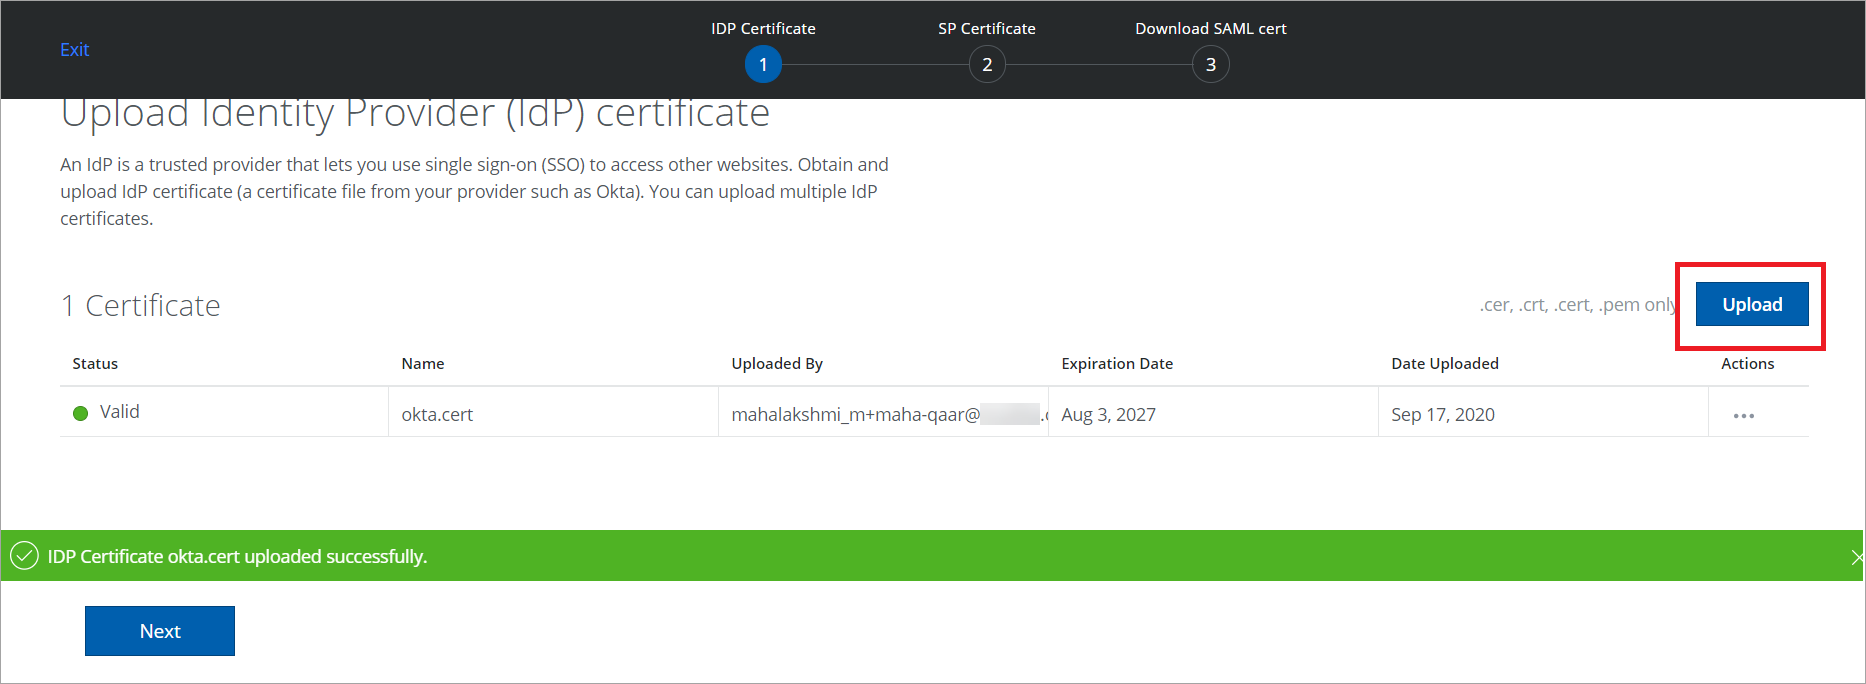
-
Then, Export Proxy Server Certificate (to be imported to Salesforce later).

NOTE: Leave this window open so you can import the SFDC certificate later.
Step 3: Configure Salesforce
- Log in as admin to your SDFC environment. You must log in to SFDC directly, not through the proxy, to perform these steps.
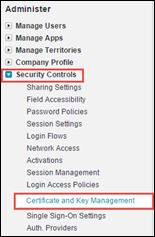
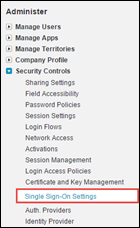
- Choose Setup > Security Controls > Certificate and Key Management.
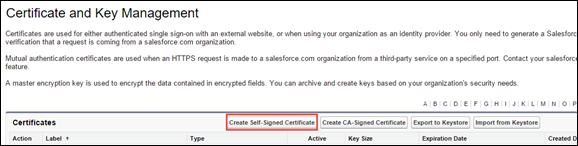
-
Click Create Self-Signed Certificate.
-
Enter a label for the self-signed cert and leave key size at 2048, and click Save.

-
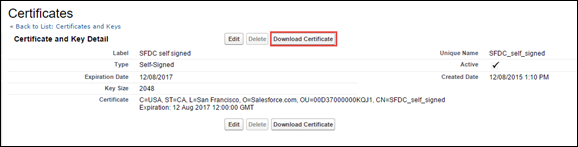
Click the link for the new cert.

Then download the certificate. This is the service provider certificate that is uploaded to the SHN proxy.
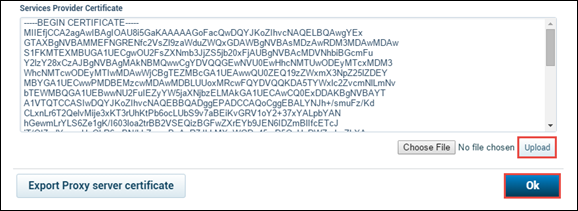
- Return to the Skyhigh CASB SAML Proxy and upload the SFDC certificate. Click OK.
- In Salesforce, go to Setup > Security Controls > Single Sign-On Settings.
-
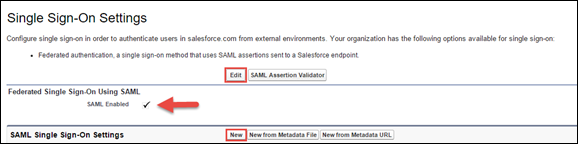
Click Edit and then enable SAML. Then click New to create an SSO setting.
-
Enter the following items captured during the Okta setup.
Item
Example
Issuer
exk40ysck2TaAl0gN0h7
Identity provider login URL
https://dev-752117.oktapreview.com/app/salesforce/exk40ysck2TaAl0gN0h7/sso/saml
Identity Provider Logout URL
- Enter the other parameters as shown in this screenshot and Save.
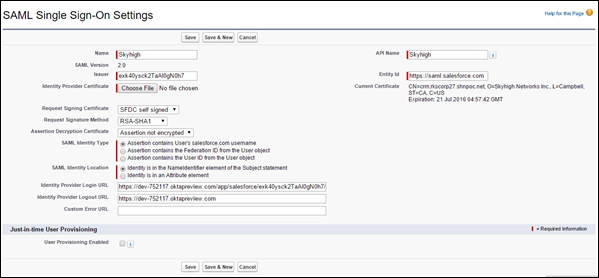
- Request signing certificate. The self-signed SFDC cert you created
- IDP certificate = the SHN proxy certificate NOT the Okta certificate
- Entity ID is usually https://saml.salesforce.com
NOTE: If your organization is using a custom domain, the Entity ID must be the custom domain, for example, https://rks-corp17-dev-ed.my.salesforce.com
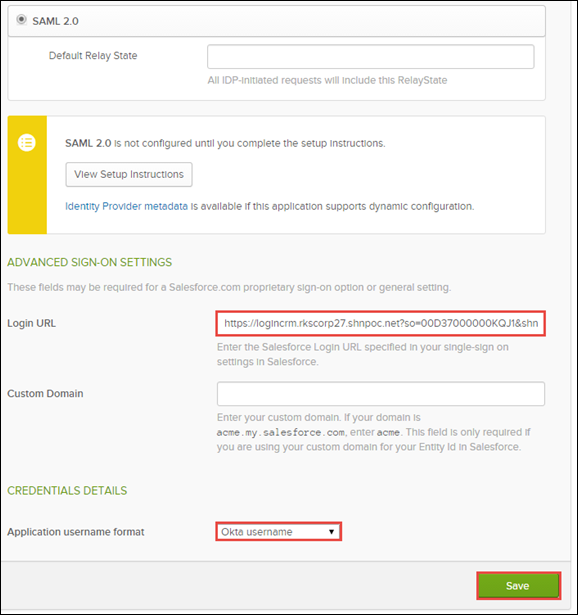
- From the single sign-on page, click the link to the new SAML settings you created.

- From the Endpoints section, capture the Salesforce Login URL.

- Copy and edit the URL. Replace the host with your SFDC reverse proxy host, and append &shnsaml to the end of the URL:
| New: https://logincrm.rkscorp27.shnpoc.net?so=00D37000000KQJ1&shnsaml | Original: https://login.salesforce.com?so=00D37000000KQJ1 |
14. Navigate back to Okta where we left the Salesforce SSO settings open and in the Login URL field, enter modified login URL you created in the last step. Leave application username format as Okta username and click Save.