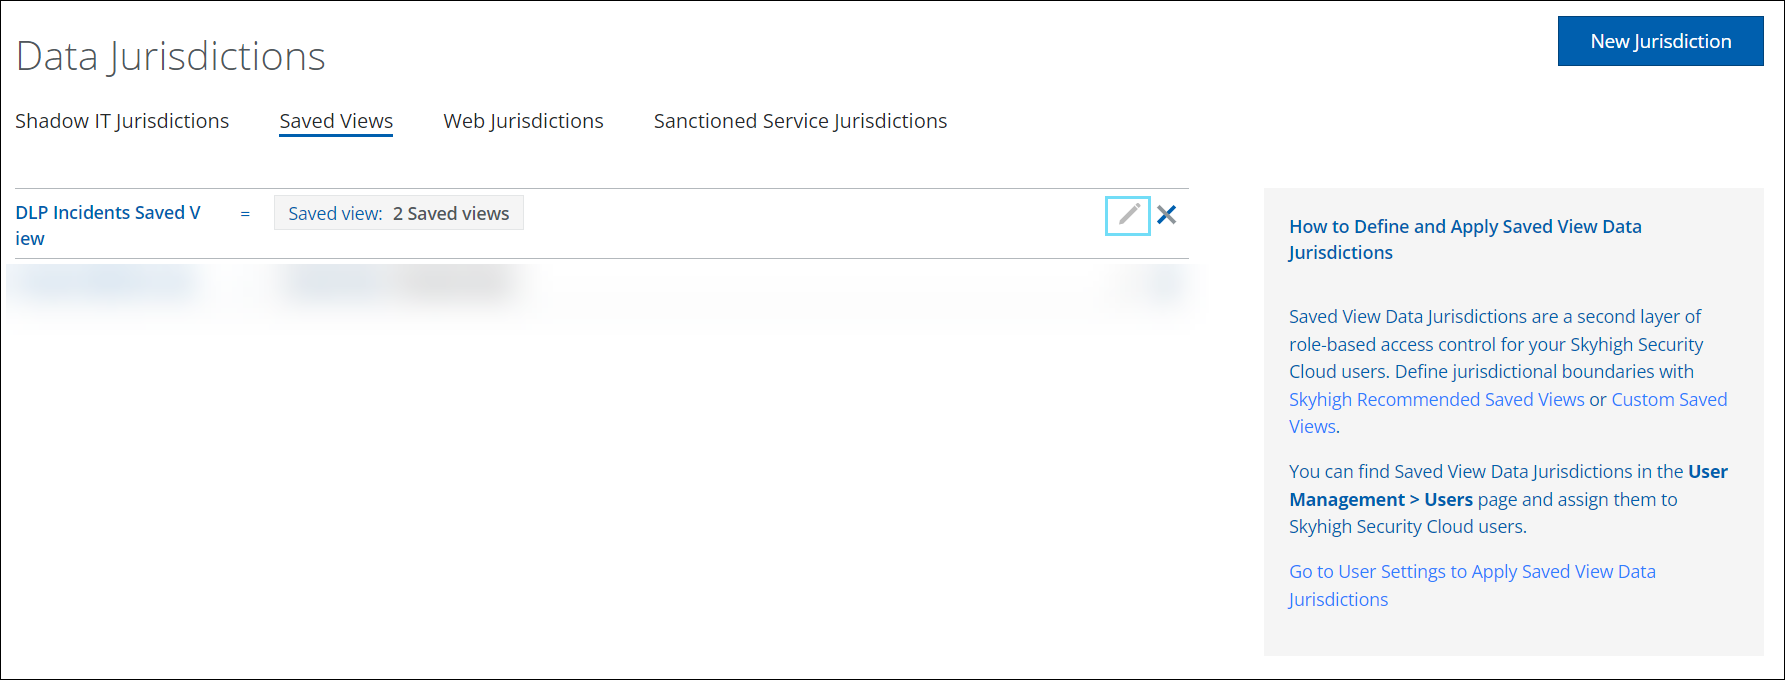
Create Data Jurisdictions for Saved Views
Saved View Data Jurisdictions are a second layer of role-based access control for your Skyhigh Security Cloud users. You can restrict the access of users to a specific Saved View in the Policy Incident pages by defining the jurisdictional boundaries using either Skyhigh recommended or your own Custom Saved Views. This ensures that any users within the tenancy can access the data in the desired Saved View, providing an extra level of security.
NOTE: Currently, Data Jurisdiction only supports the "Policy Incidents" view.
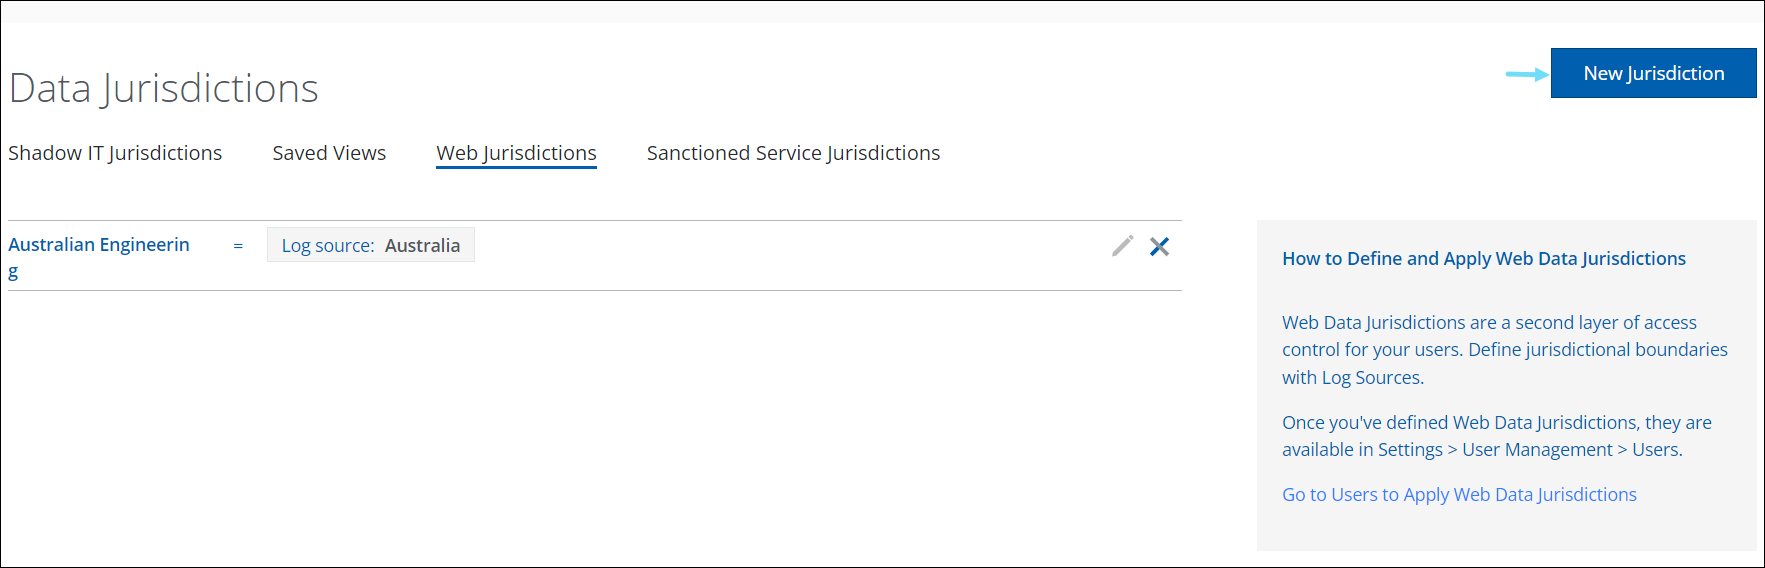
- Go to Settings > User Management > Data Jurisdiction.
- On the Data Jurisdictions page, click New Jurisdiction.
- Click Saved Views.
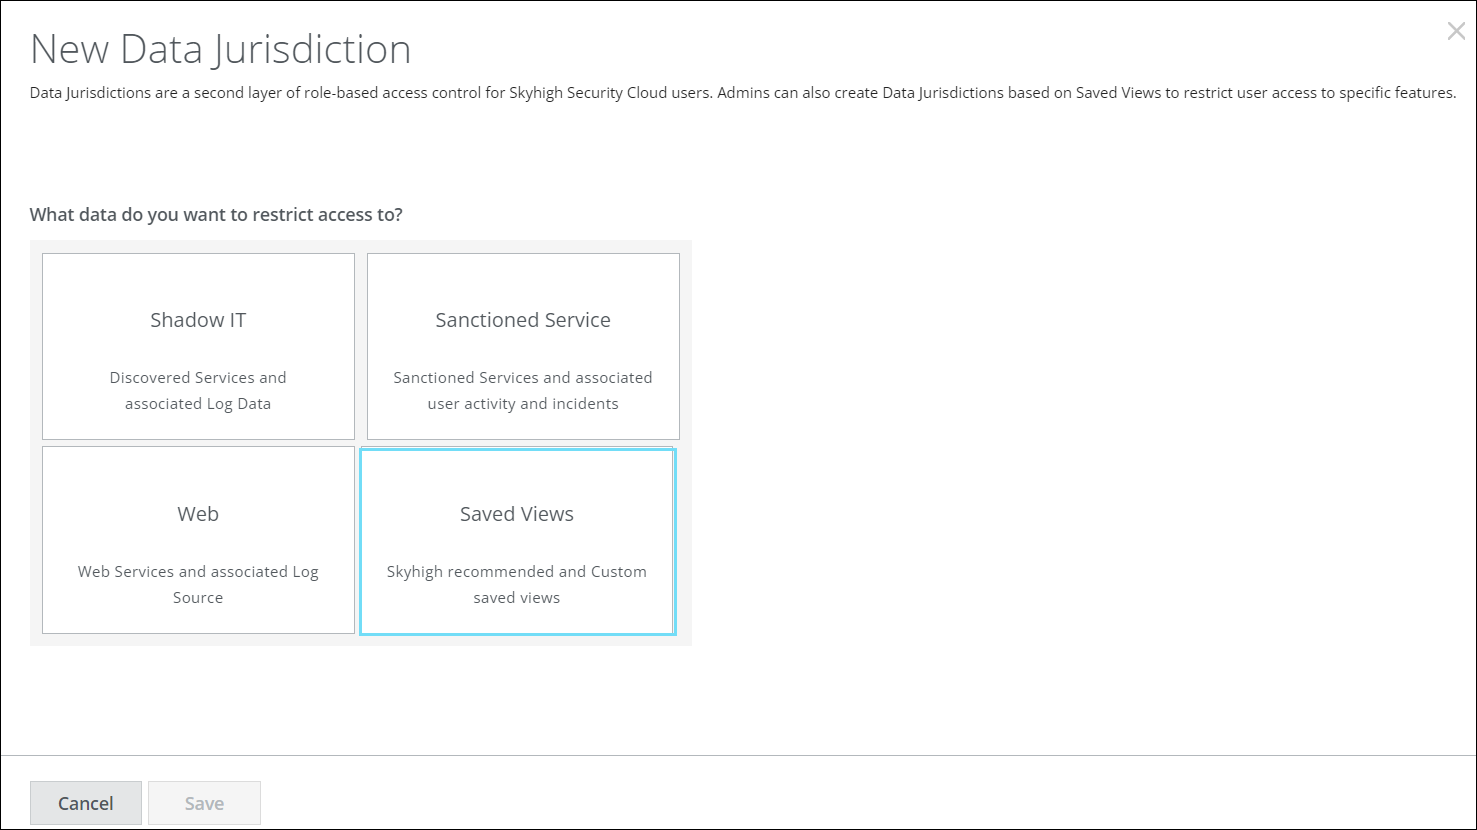
- On the New Saved View Data Jurisdiction page, configure the following details:
- Name. Enter a name for your Data Jurisdiction.
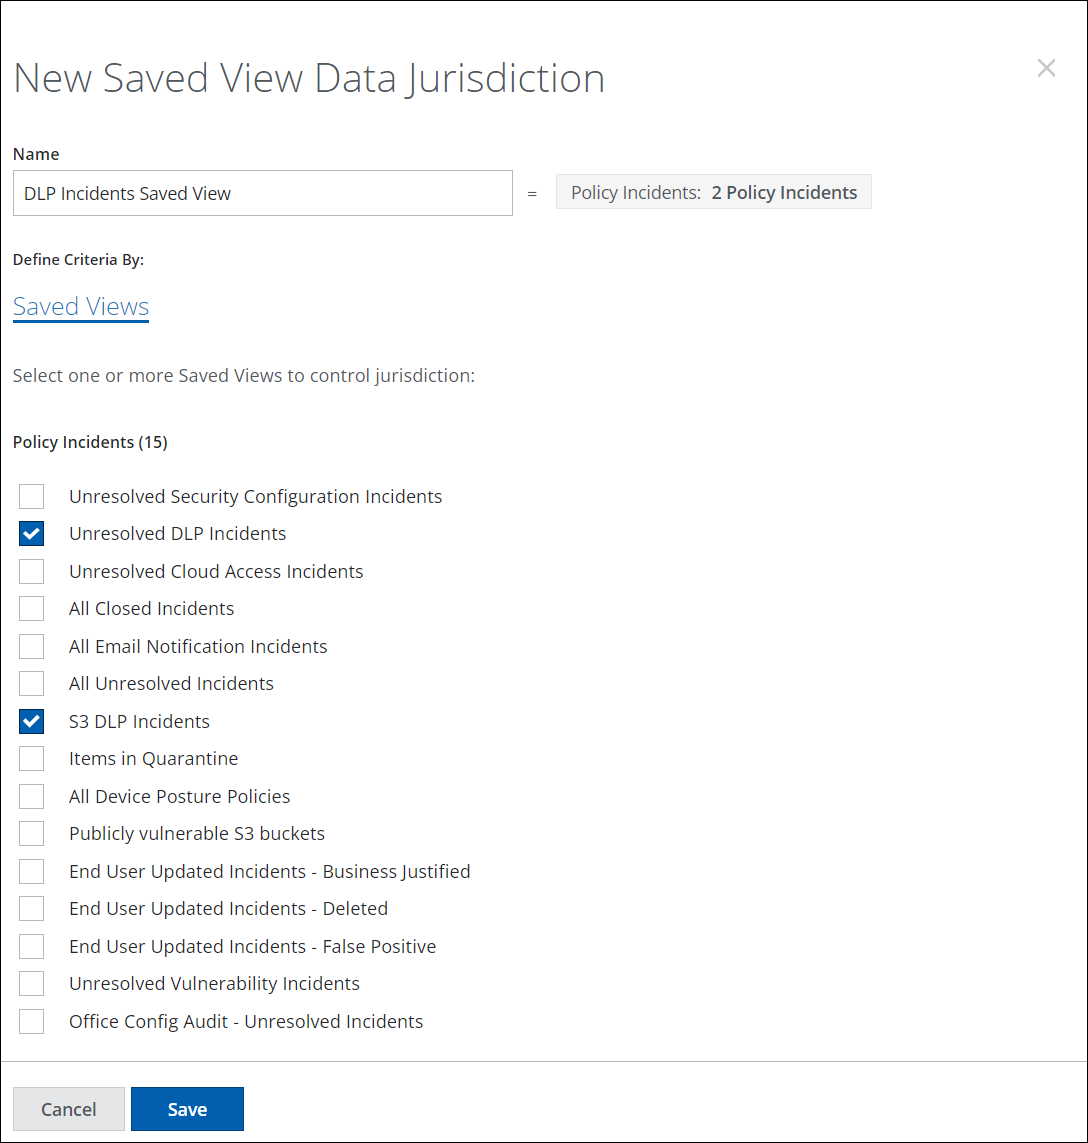
- Saved Views. Define your Data Jurisdiction by selecting one or more saved views to control jurisdiction.
- Name. Enter a name for your Data Jurisdiction.
- Click Save.
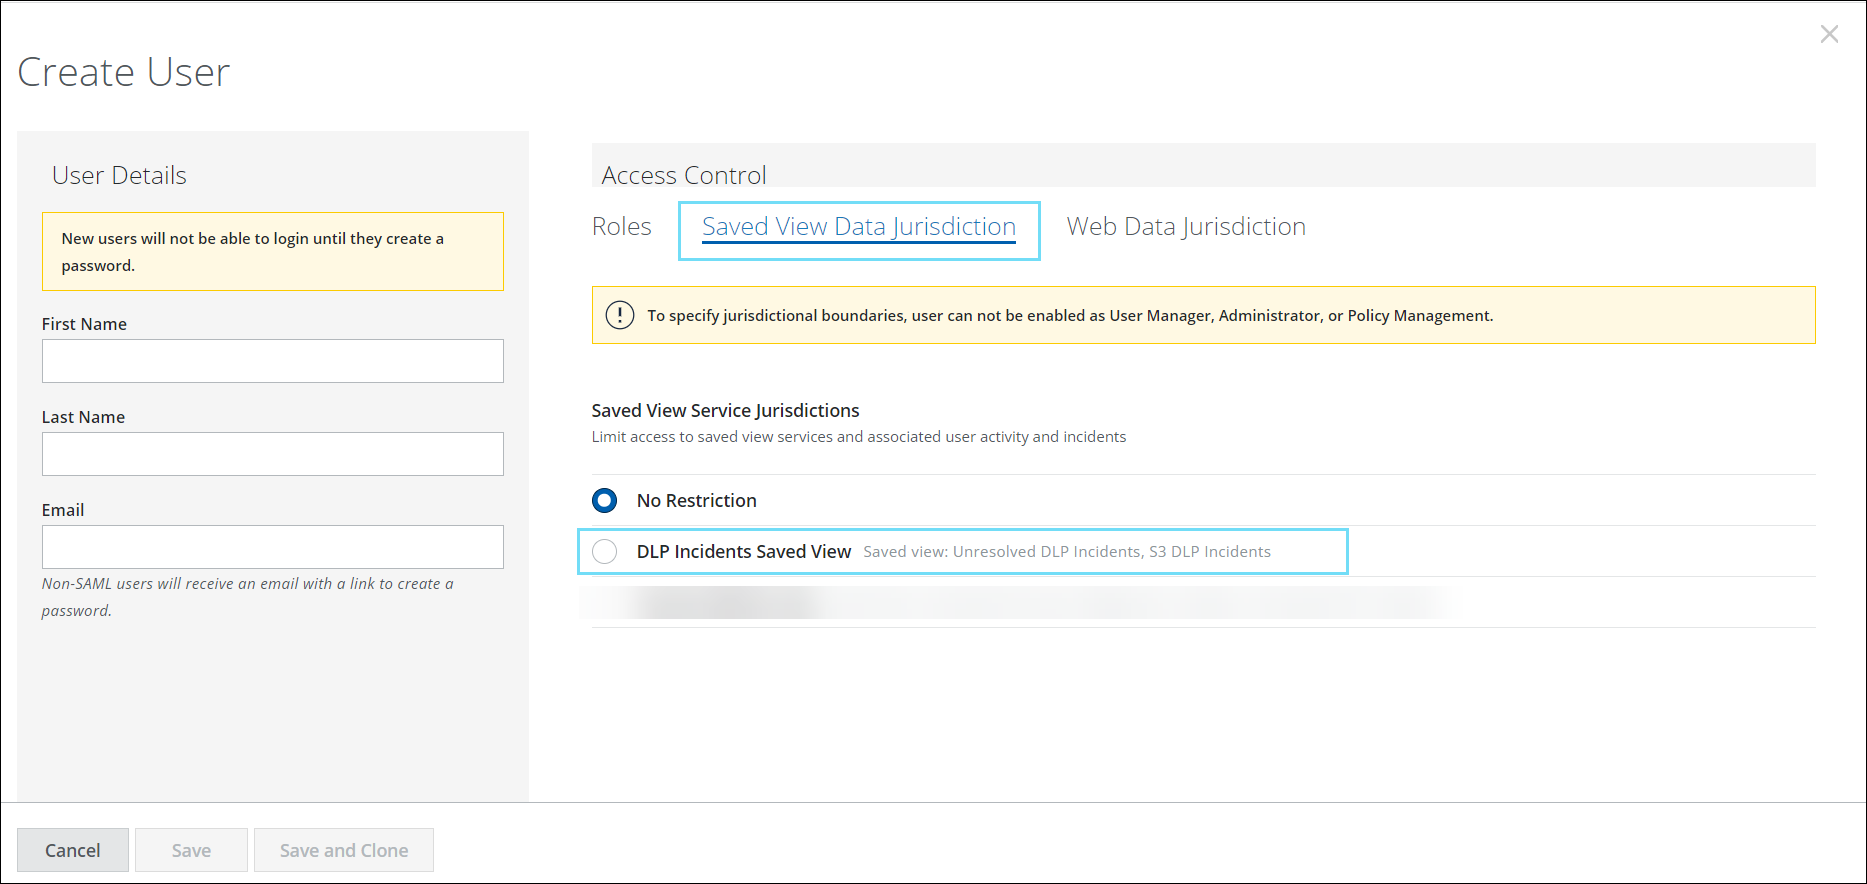
- Once your Data Jurisdiction is defined, you can find Saved View Data Jurisdictions in the Settings > User Management > Users page. Here you can assign users to limit access to the selected Saved View. For more details on users, see About the Users Page.
Edit a Data Jurisdiction
To edit a data jurisdiction:
- Go to Settings > User Management > Data Jurisdiction.
- On the Saved Views tab, select the pencil icon to edit.
- Edit the criteria of the Data Jurisdiction by selecting a new Saved View.
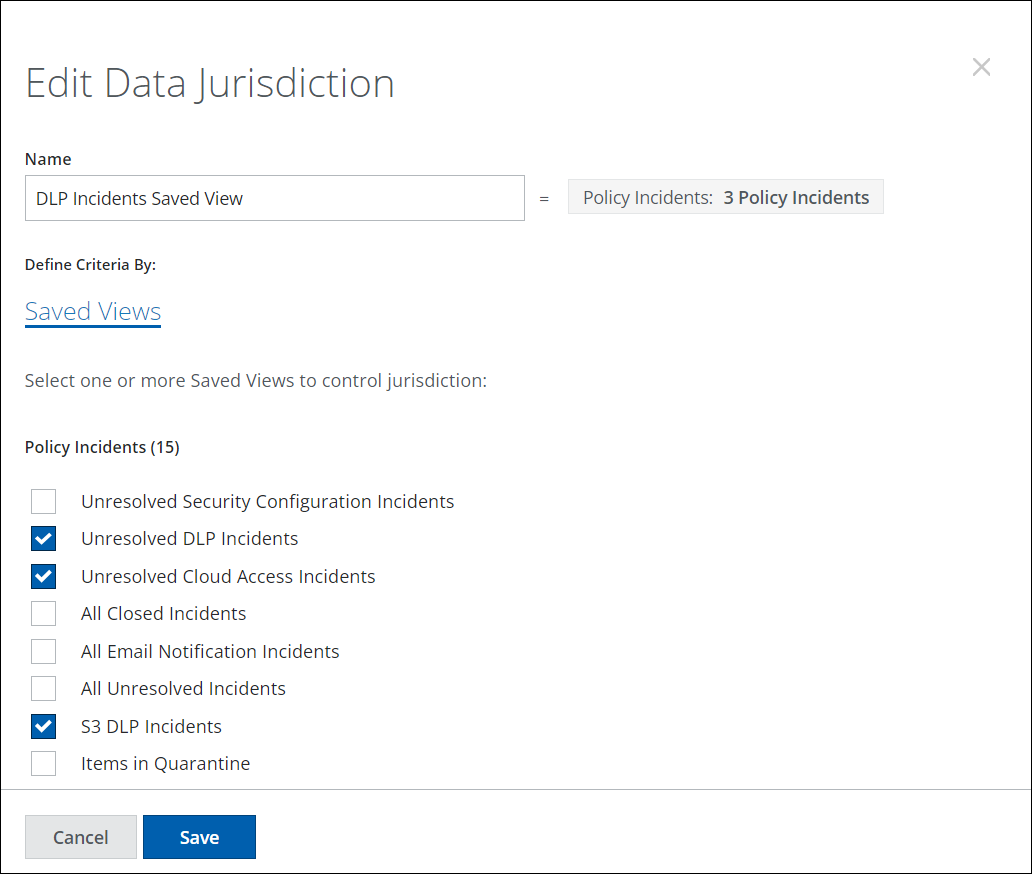
- Click Save.