Configure Azure AD SSO with Salesforce
Use the following the steps to configure Azure AD Single Sign-On (SSO) with Salesforce.
Prerequisites
- Access to Skyhigh CASB tenant and existing Salesforce managed service.
- Access to Salesforce Sandbox or Production tenant.
- An Azure AD account with Azure AD Premium Subscription. Activate the subscription from Azure free account.
- Access to functional SSO setup between Salesforce and Azure AD. To configure Azure AD SSO integration with Salesforce, see Azure AD SSO.
- Access to functional Skyhigh CASB reverse proxy for Salesforce.
- Create the same user for Azure AD and Salesforce.
NOTE: If you have configured SSO between Salesforce and Azure AD, then make changes to the Salesforce and Azure AD SAML Proxy configuration to redirect the traffic to Skyhigh CASB Proxy.
Step 1: Configure Azure AD in the Microsoft Azure Portal
- Log in to the Microsoft Azure admin portal.
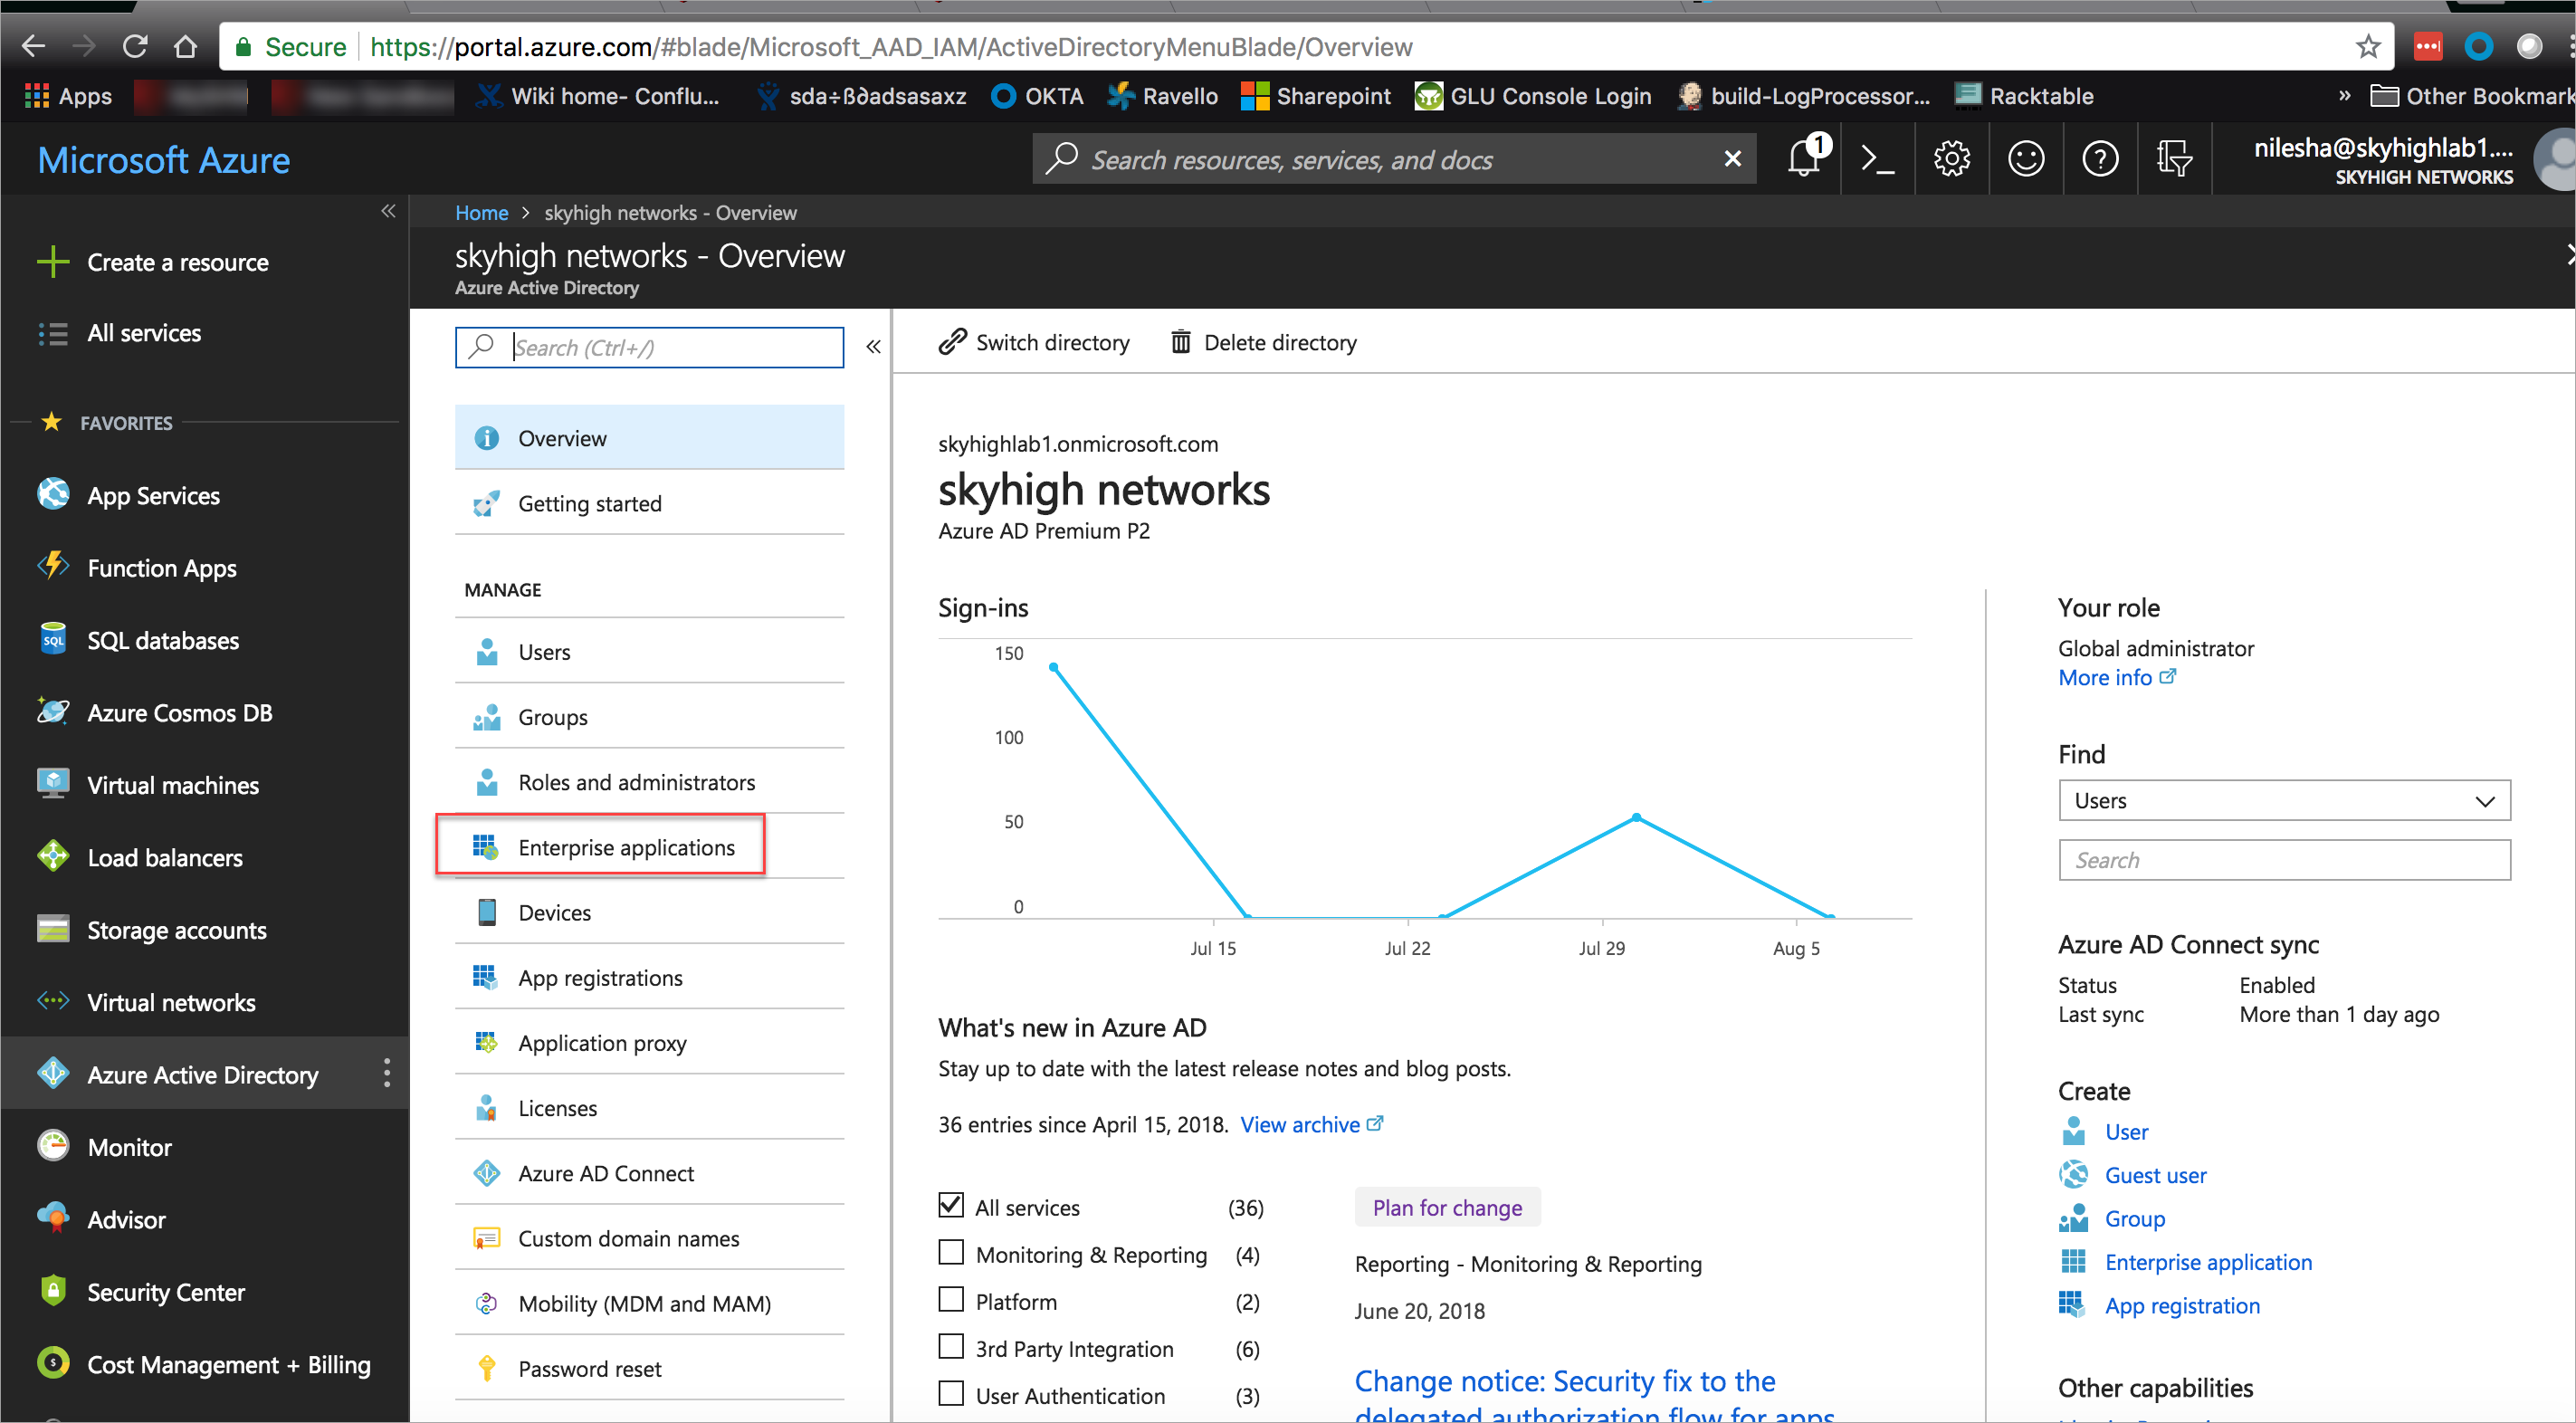
- Go to Azure Active Directory > Enterprise applications.
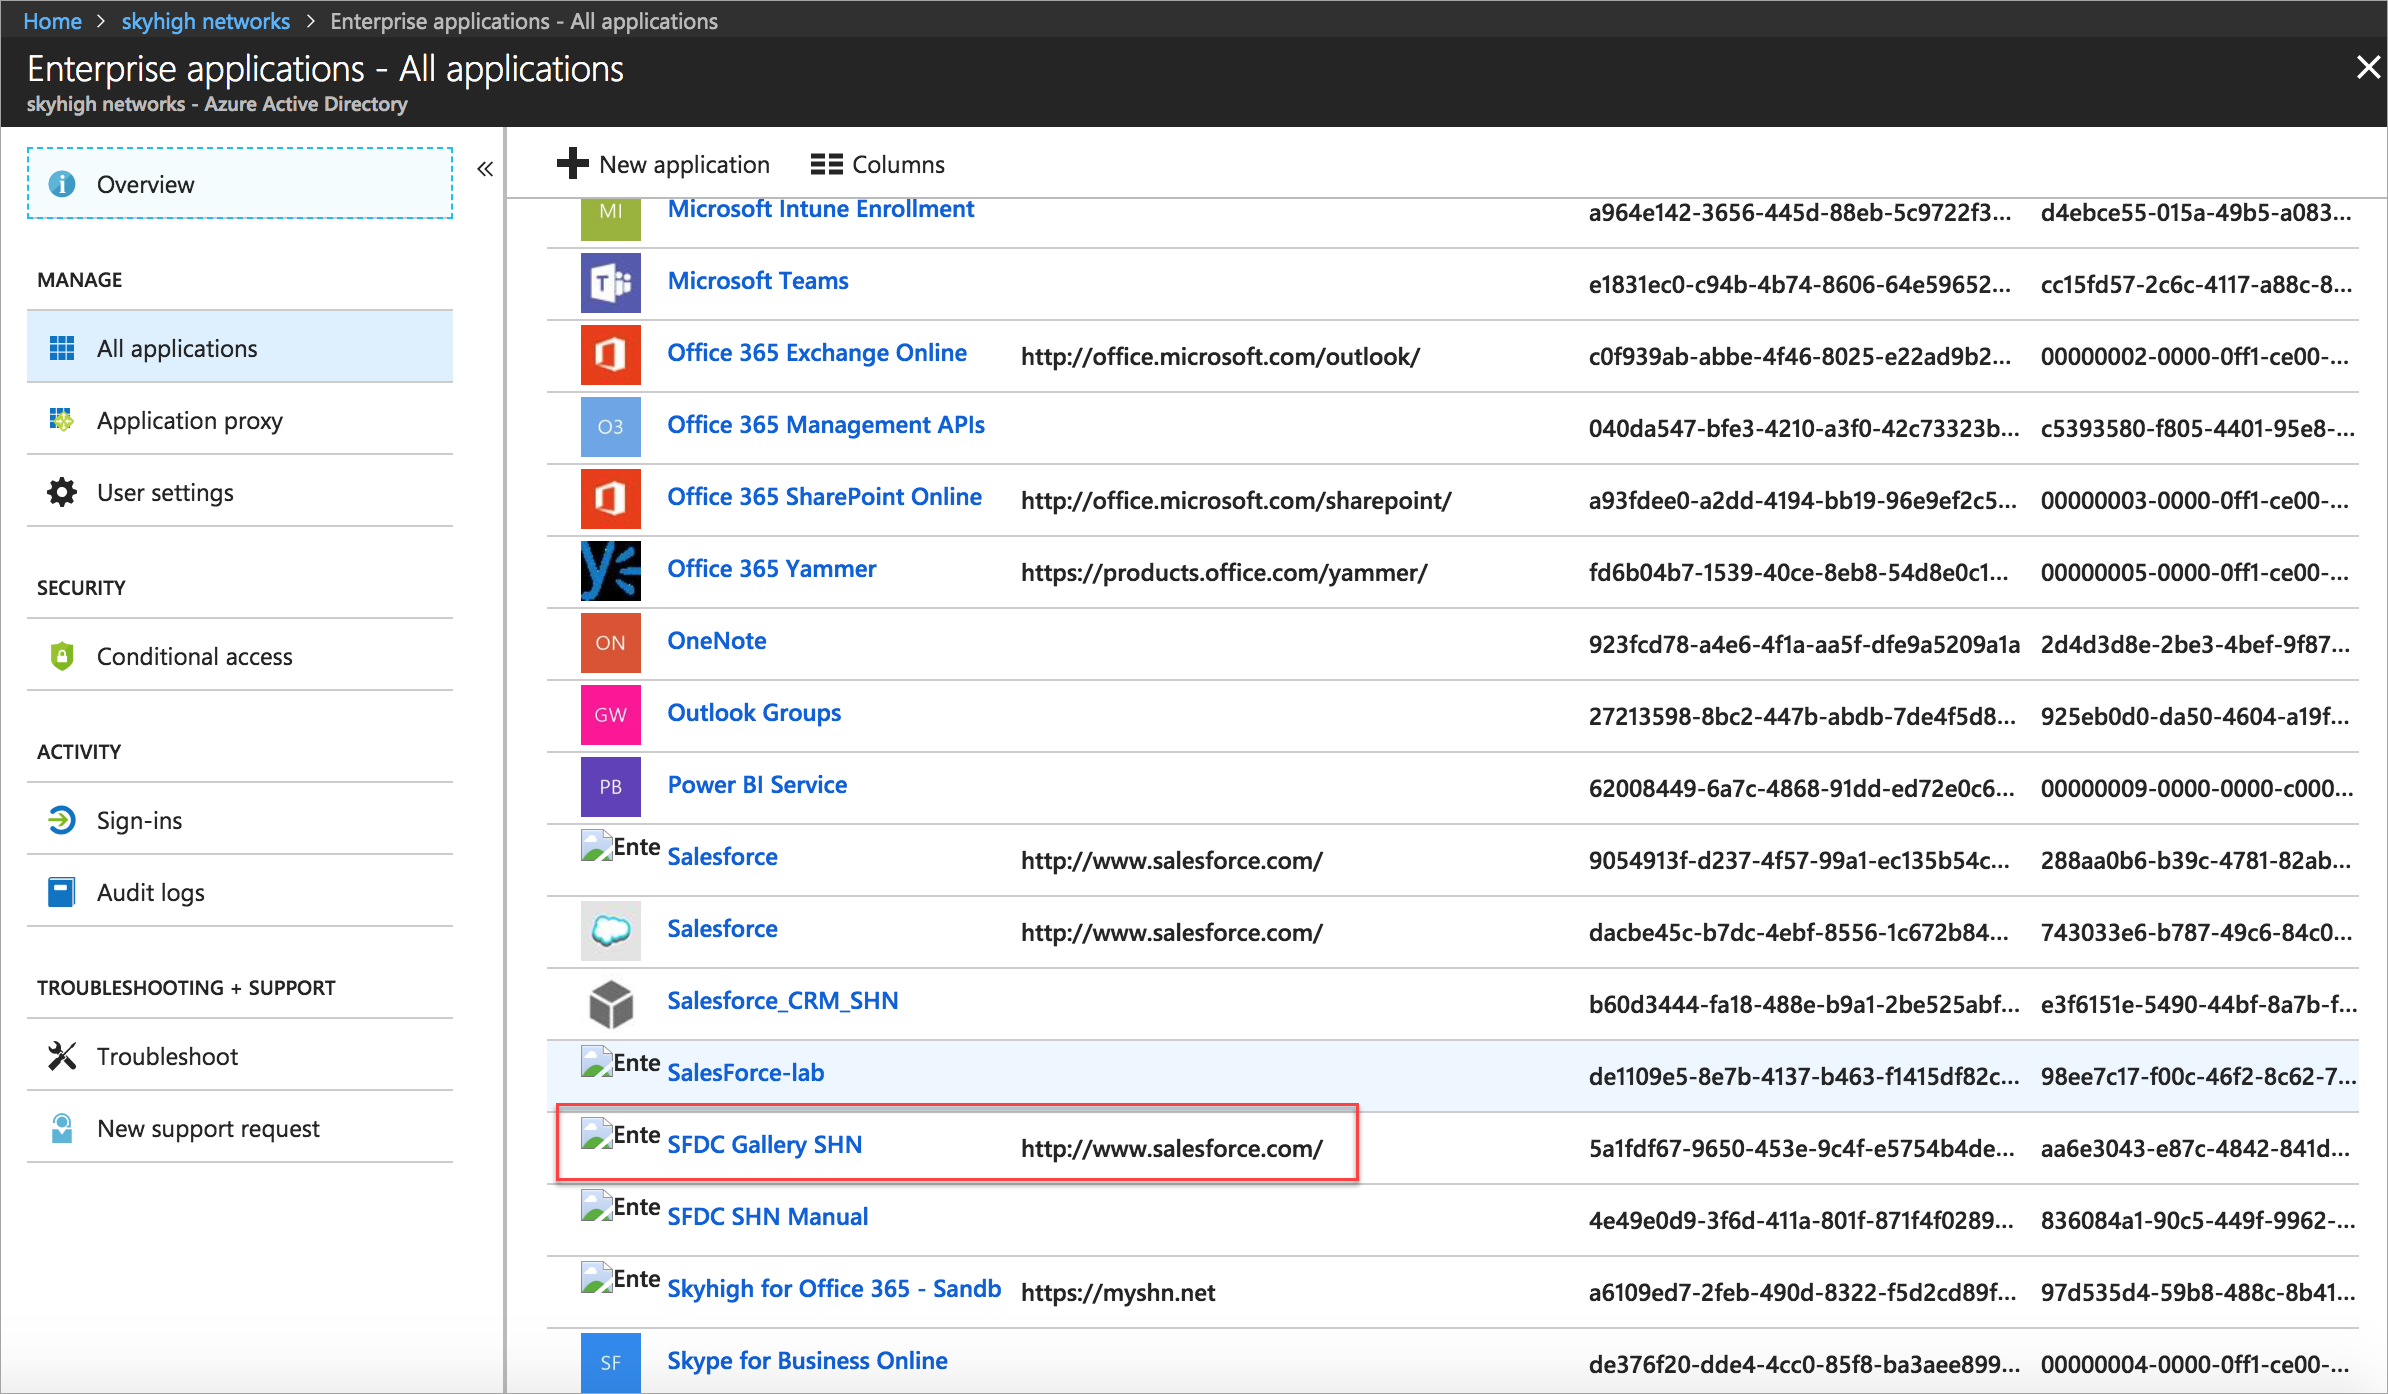
- Select the SFDC Gallery SHN application and click Single Sign-On.
- Under SFDC Gallery SHN Domain and URLs, you need to modify the following URLs:
- Sign on URL. Replace the original URL with the modified URL as shown:
- Original URL: https://shnlab-dev-ed.my.salesforce.com?so=00D7F000004ArMt.
- Modified URL: https://vcrm.shnlab.shnpoc.net?so=00D7F000004ArMt.
- Identifier (Entity ID). Replace the original URL with the modified URL as shown:
- Original URL: https://shnlab-dev-ed.my.salesforce.com.
- Modified URL: https://vcrm.shnlab.shnpoc.net.
- Activate the Show advanced URL settings checkbox and add the Reply URL. To construct the Reply URL:
- Copy the Modified Sign-on URL and append & shnsaml at the end of the URL as shown:
https://vcrm.shnlab.shnpoc.net/?so=00D7F000004ArMt&shnsaml.
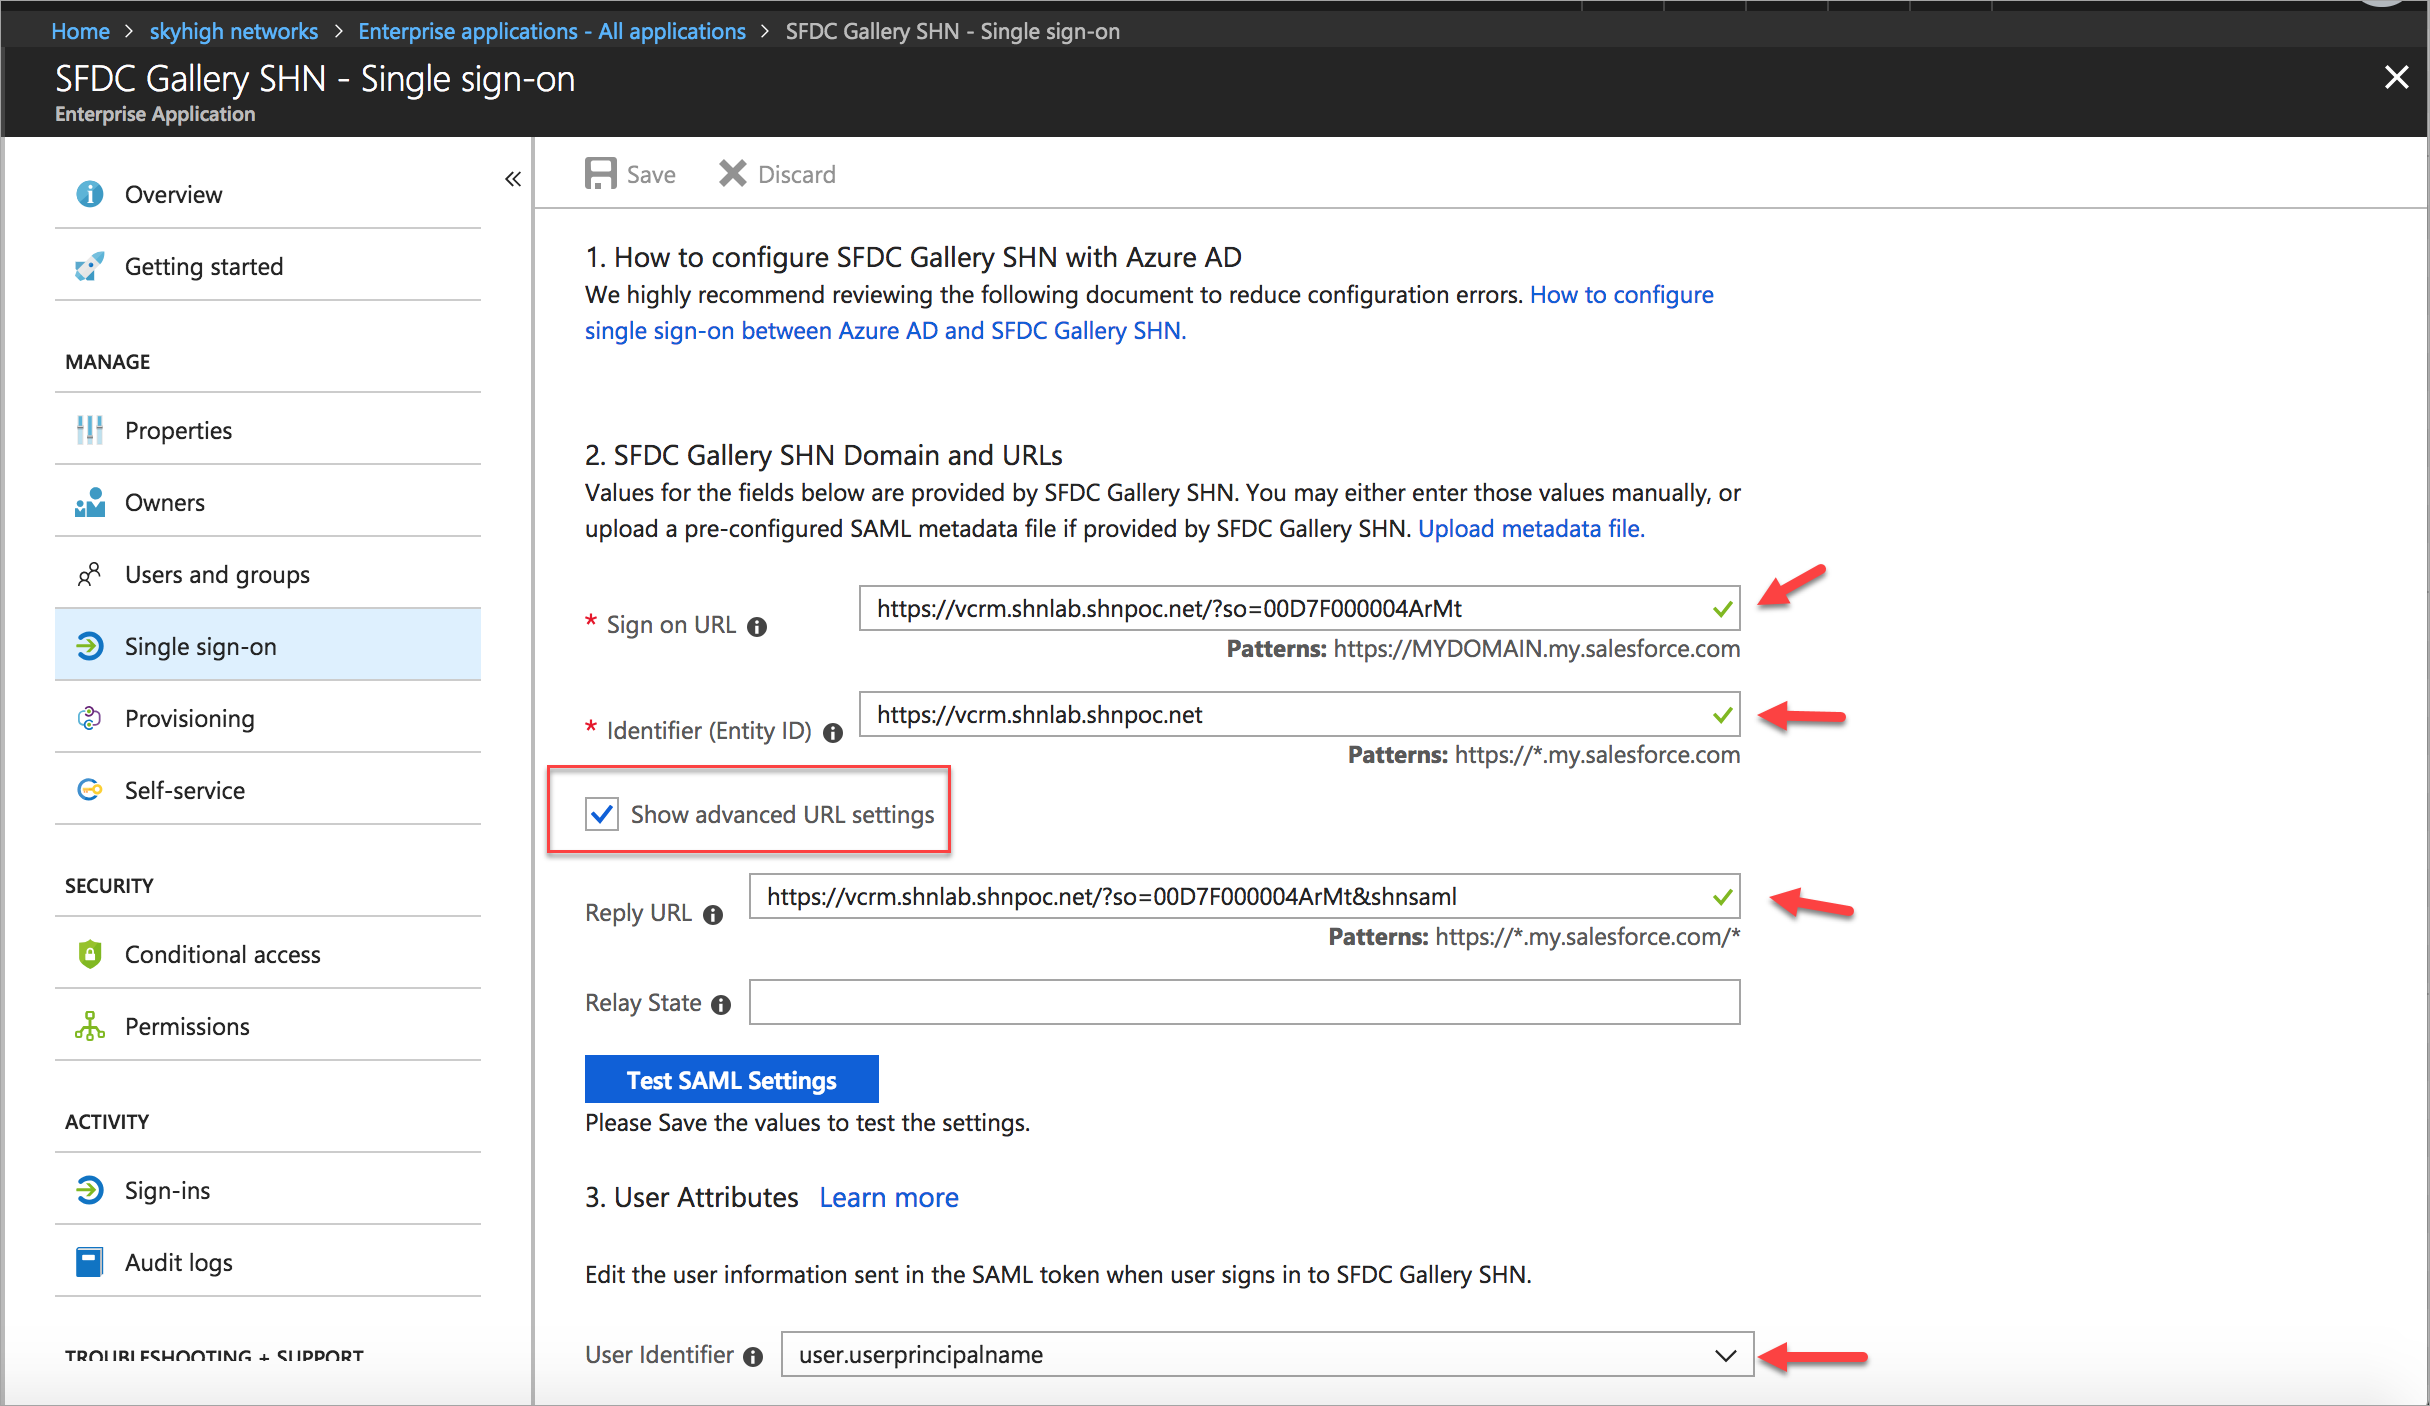
- Copy the Modified Sign-on URL and append & shnsaml at the end of the URL as shown:
- Sign on URL. Replace the original URL with the modified URL as shown:
- Under User Attributes, select the user.userprincipalname from the User Identifier menu.
- Activate the Show advanced certificate signing settings checkbox.
- Select the Sign SAML assertion from the Signing Option menu.
- Select the SHA-256 from the Signing Algorithm menu.
- Enter the email in the Notification Email.

Step 2: Configure SAML Proxy for Salesforce
Perform the following activities to configure SAML proxy for Salesforce.
Download IdP Certificate
- Log In to the Azure AD portal.
- Go to Azure Active Directory > Enterprise applications > SFDC Gallery SHN > Single sign-on.

- Under SAML Signing Certificate, download the Azure AD certificate and save it in your local folder. This is your IdP Certificate used to configure the proxy in Skyhigh CASB.
Download SP Certificate
- Log in to the Salesforce portal.
- Go to Setup > Security Controls > Single Sign-On Settings and edit the Azure AD SSO.
- Click the Request Signing Certificate and you are redirected to the Certificate and Key Detail page.

- To download the Self Signed Certificate, click Download Certificate. This is your SP Certificate used to configure the proxy in Skyhigh CASB.
Configure SAML Proxy in Skyhigh CASB
- Log In to Skyhigh CASB and go to Settings > Service Management to configure the SAML setup for the existing Salesforce managed service.
- To configure SAML, click the existing Salesforce instance and select Setup > Proxy and under Configure SAML, click Configure.
- Under Upload Identity Provider Certificate, upload the IdP Certificate downloaded earlier and click Next.
- Under Provide Service Provider Certificate, upload the SP Certificate downloaded earlier and click Next.
- Under Download SAML Certificate, download the Proxy Certificate and save it in your local folder. The Proxy Certificate is used to configure SSO in the Salesforce portal.
- Go back to the Service Management page and select the Service > Existing Salesforce Instance.
- Click Actions > Edit Properties. Add the following properties and click Save.
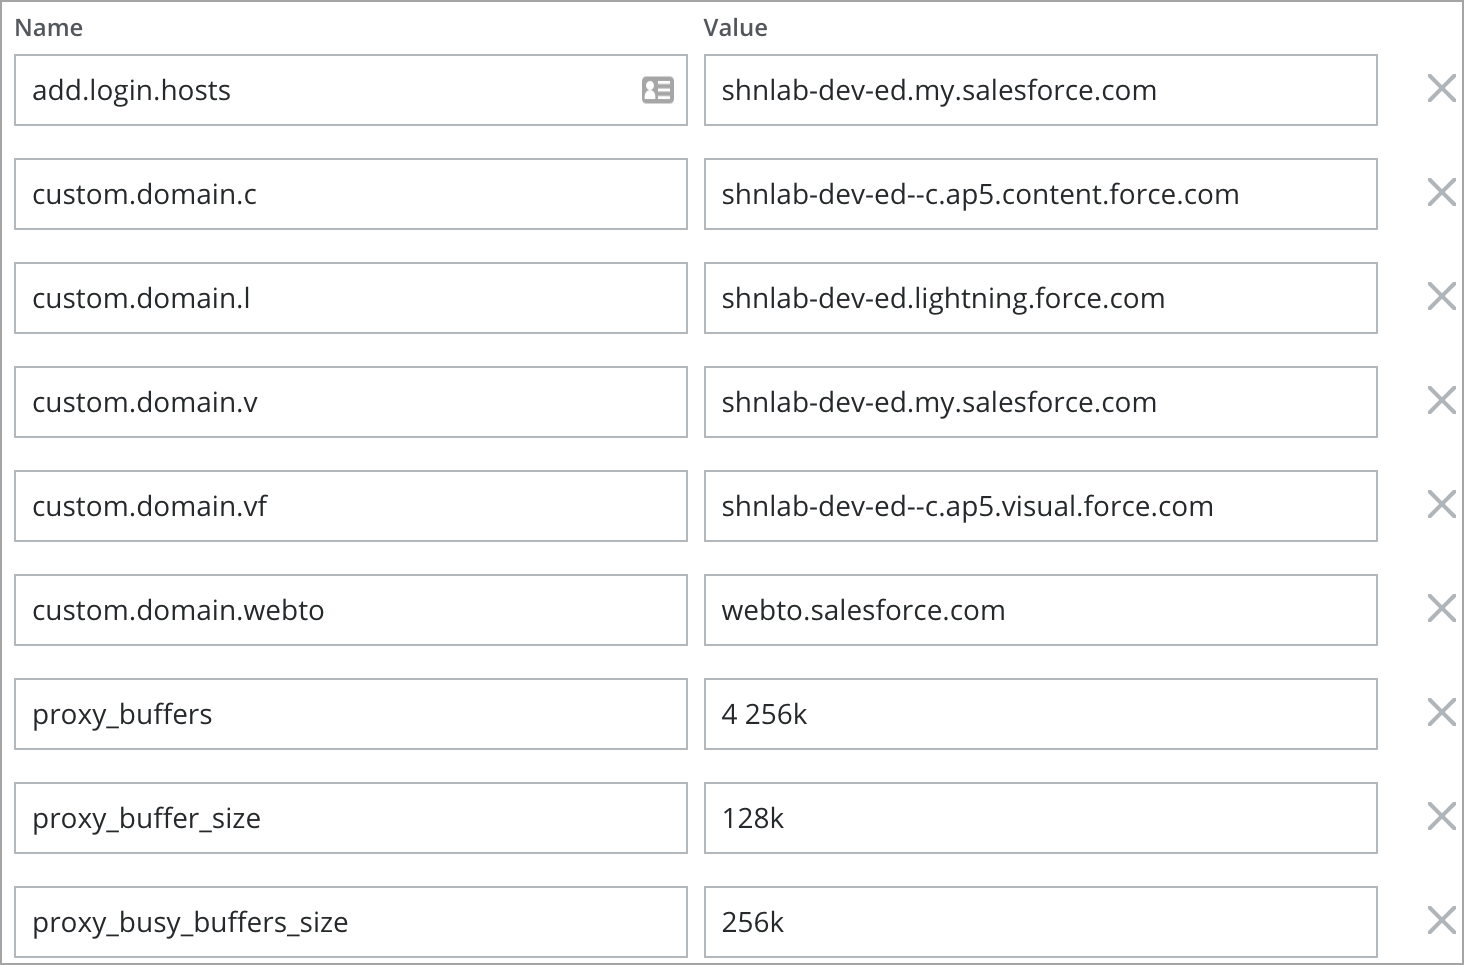
Step 3: Configure SSO in Salesforce Portal
NOTE: Log in to Salesforce directly. Do not log in through the proxy to perform the following activities.
- Log in to the Salesforce admin portal.
- Go to Setup > Security Controls > Single Sign-On Settings.
- Replace the existing IdP certificate (Azure AD Certificate) with Skyhigh CASB Proxy Certificate downloaded earlier to configure SAML Proxy.

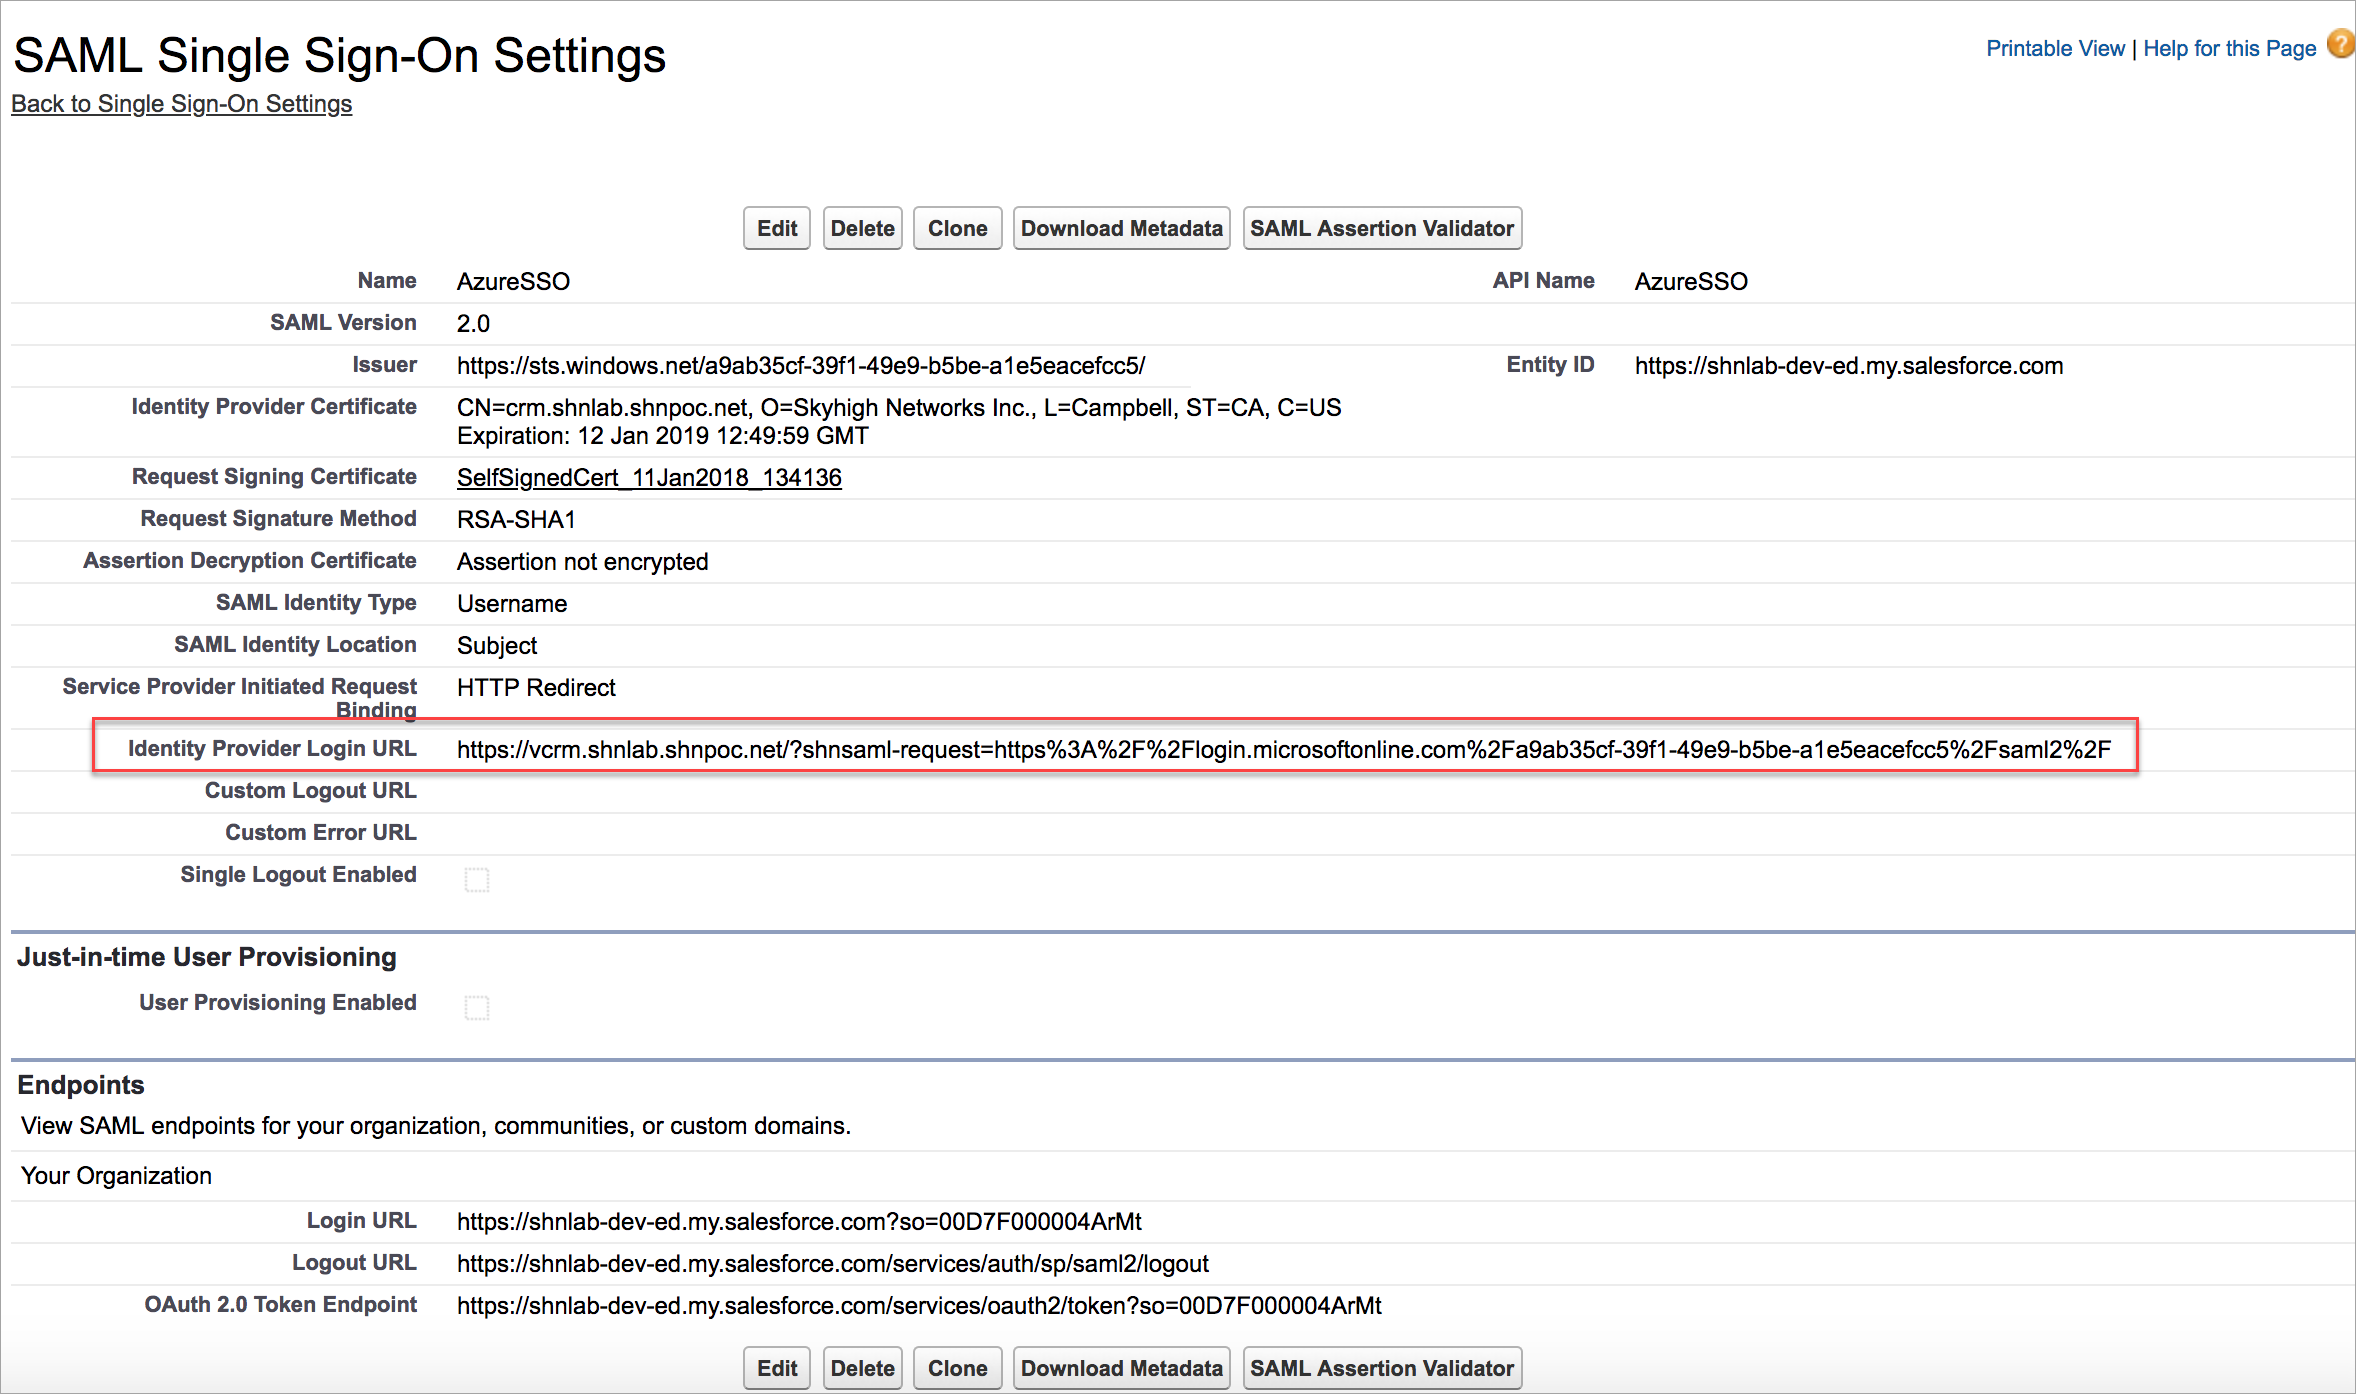
- To redirect SP through the functional SSO or to log in through the Vanity Domain /My Domain, you need to modify the original Identity Provider Login URL with the new URL.
- To construct the Identity Provider Login URL, append the encoded URL https://vcrm.shnlab.shnpoc.net/?shnsaml-request= with the original URL as shown:
Step 4: Validate the Azure AD SSO with Salesforce via Proxy
IdP Initiated Login
- Log In to https://myapps.microsoft.com/ using the SSO user account. The user account should exist on both Salesforce and Azure AD.
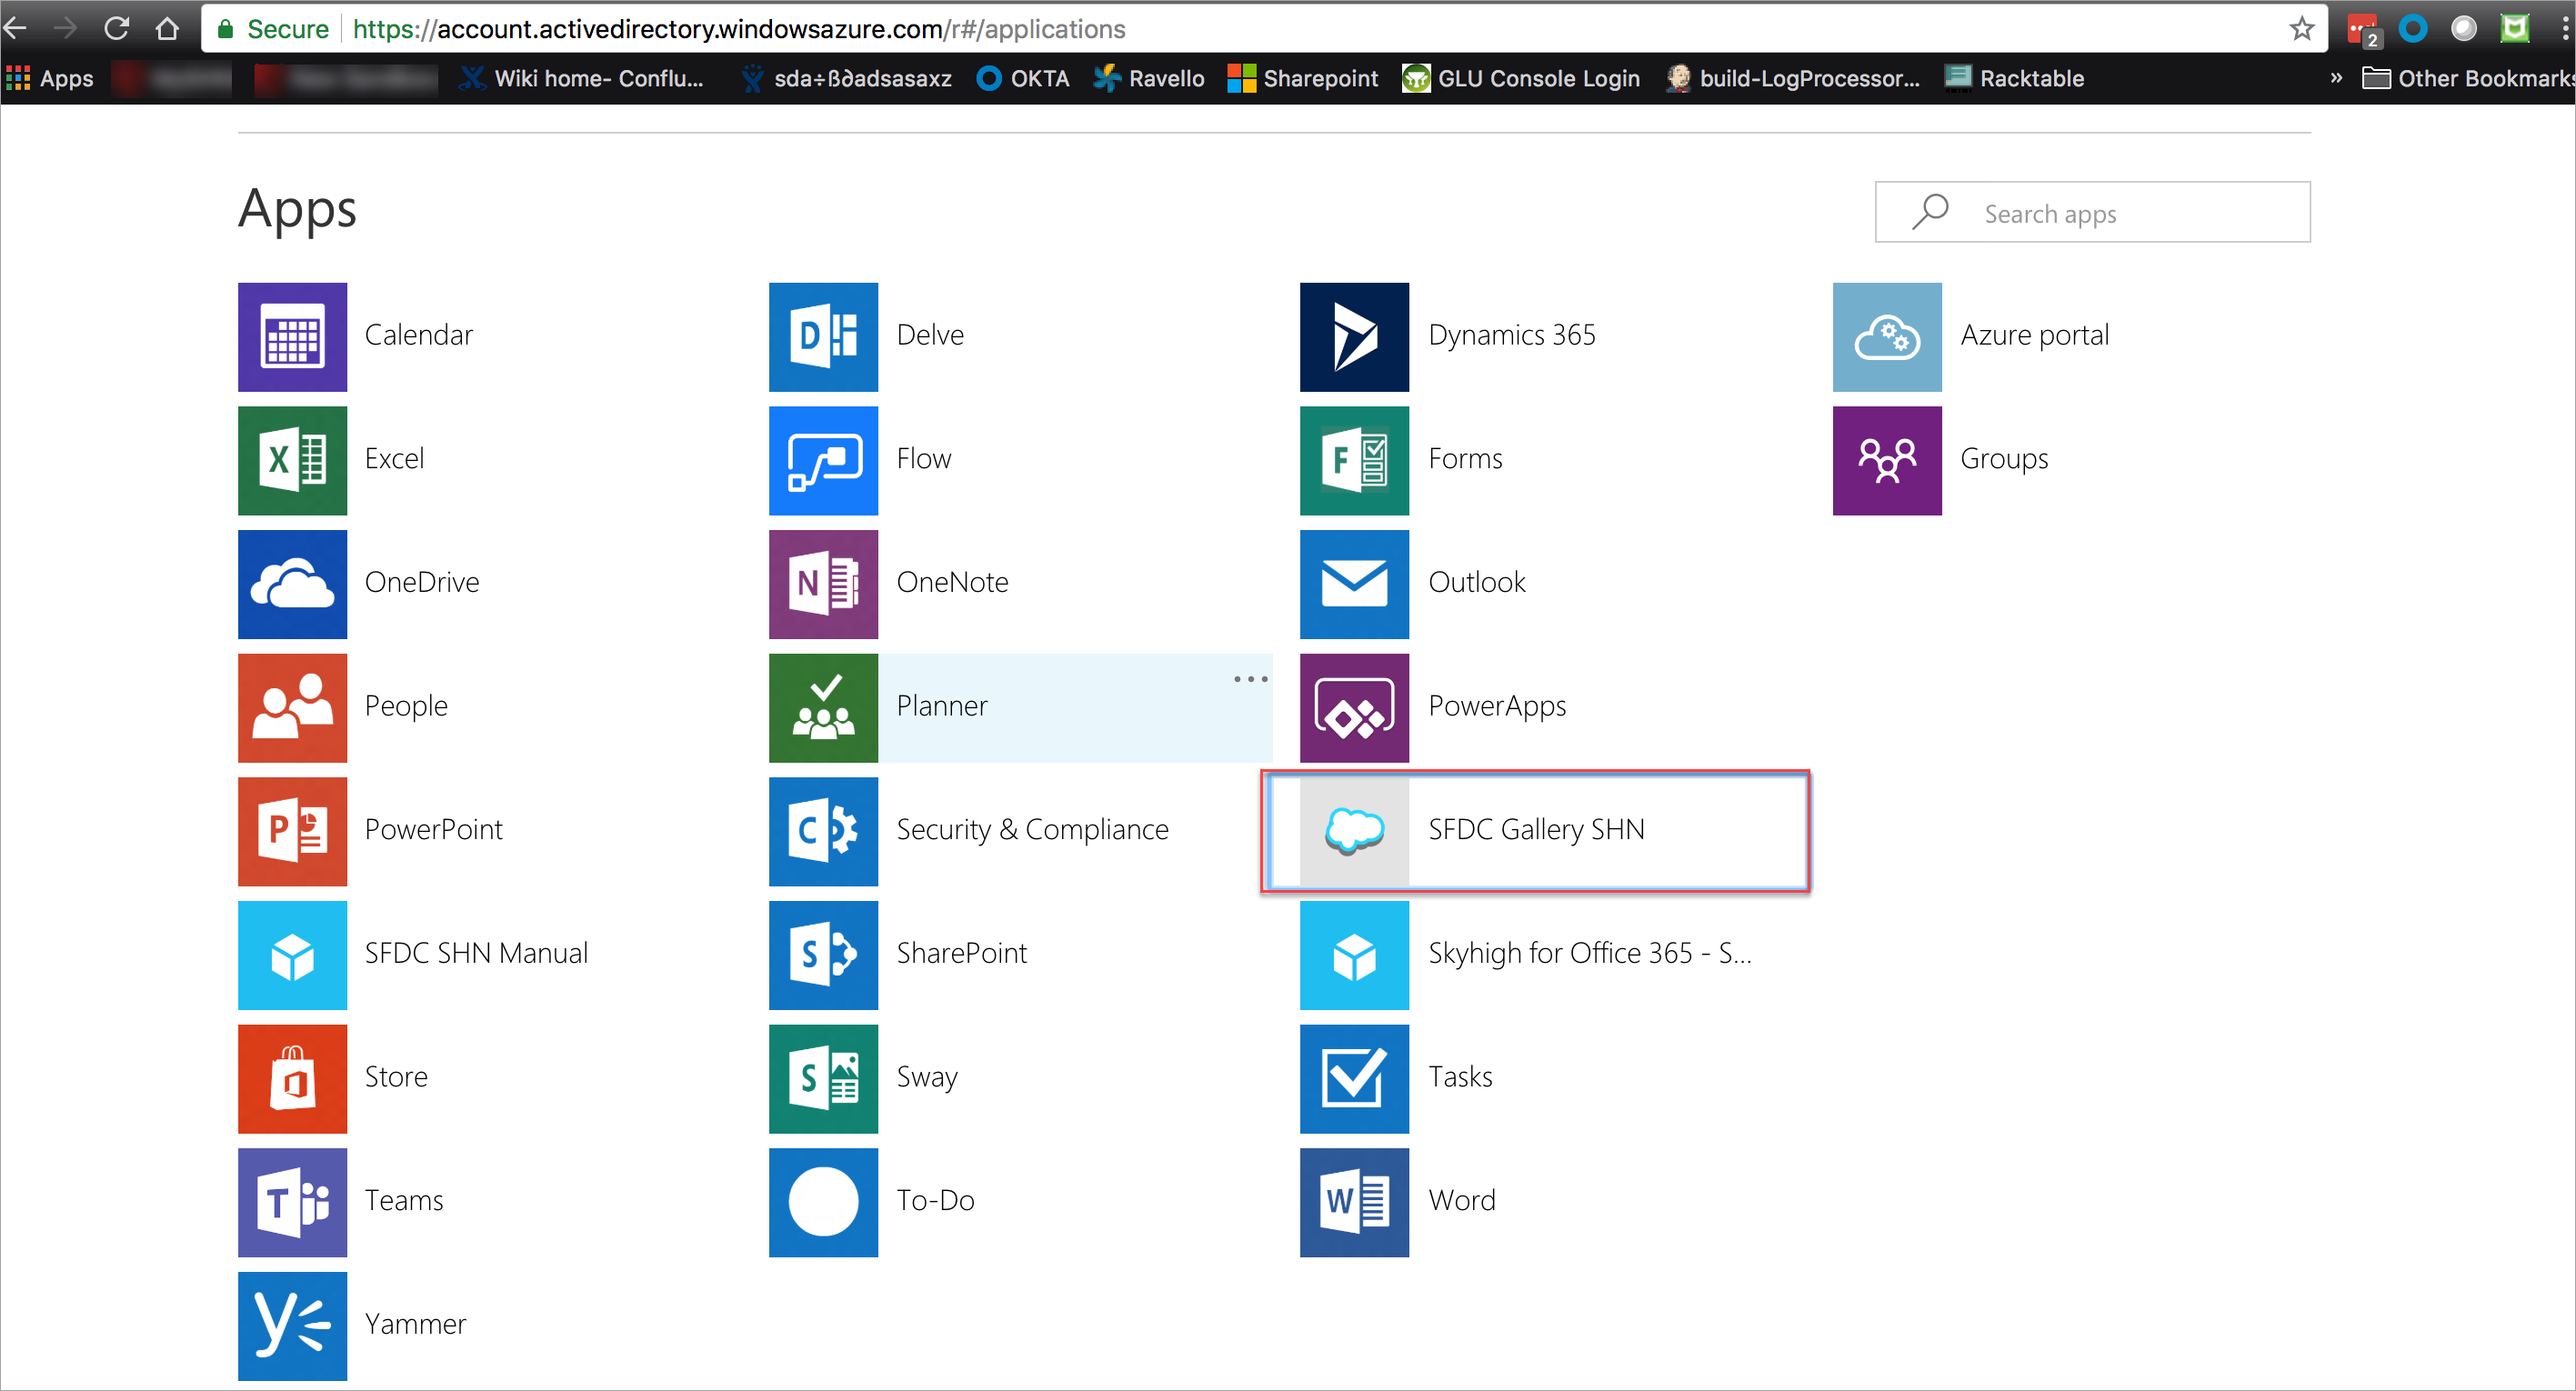
- Make sure the traffic is passing to Salesforce via proxy.
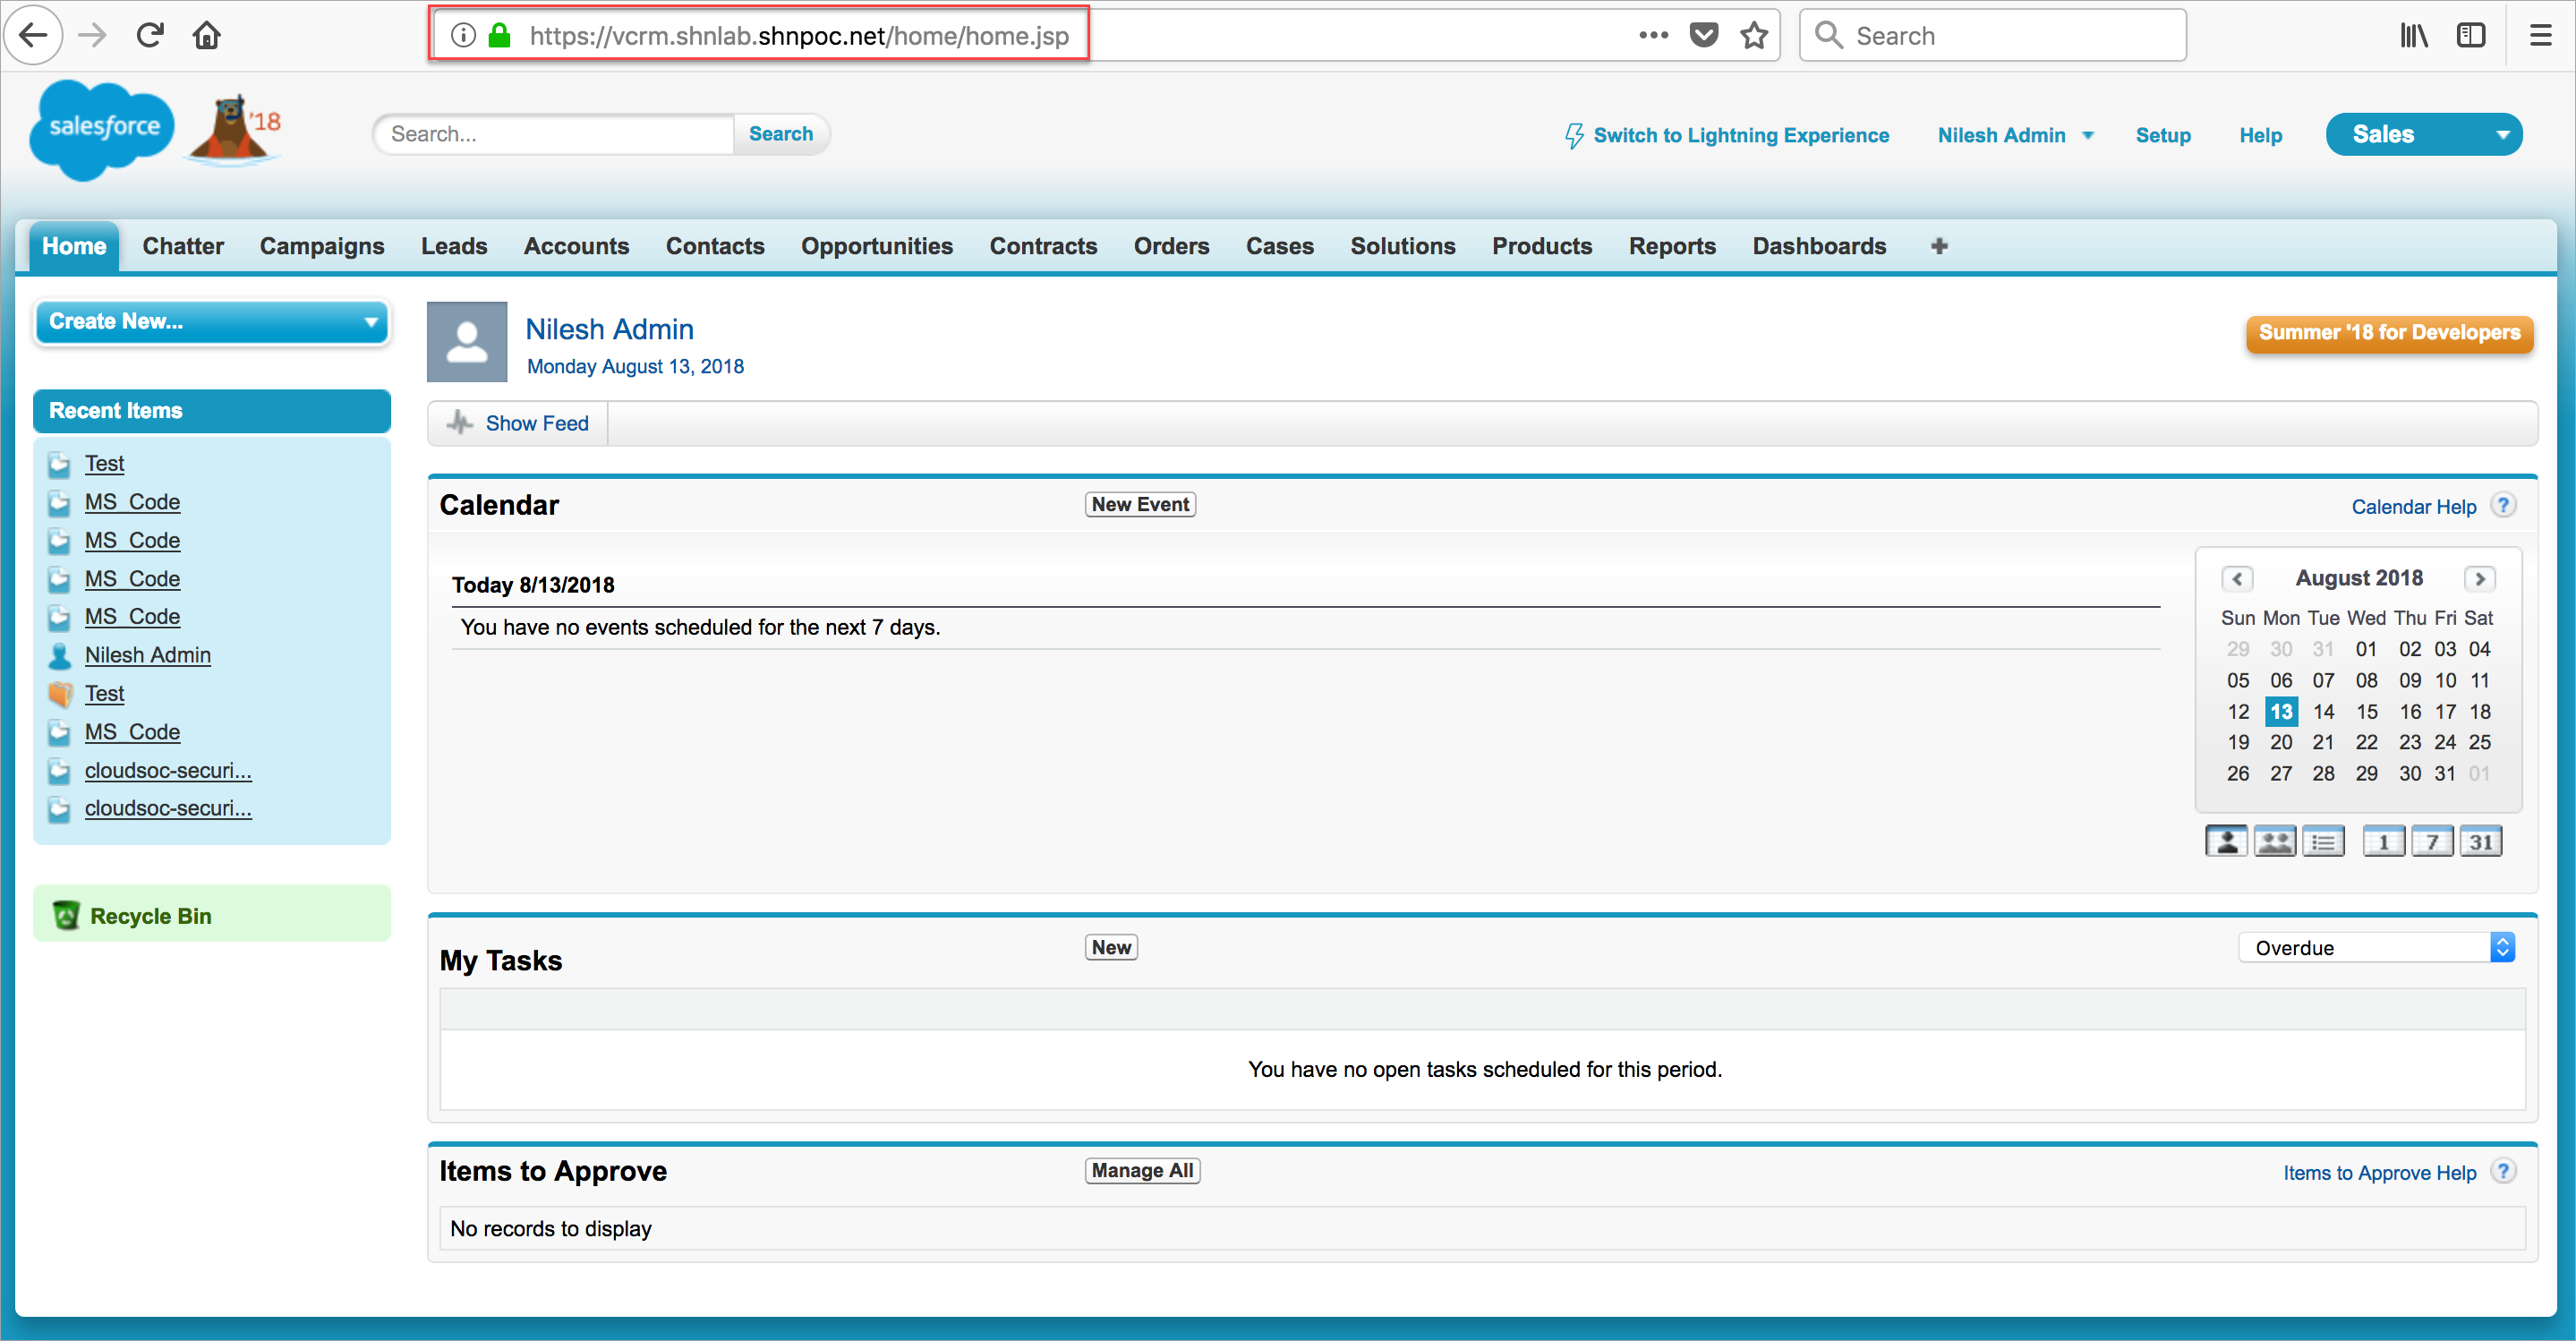
SP Initiated Login
You can validate and use the SP initiated login only if you configure My Domain for Salesforce. To enable My Domain/ Vanity Domain, configure SSO for Salesforce as described in Step 3.
- Go to your Salesforce custom URL. For example, https://rks-corp29-dev-ed.my.salesforce.com/.
- You are redirected to the custom login page as configured in the My Domain Authentication Settings.
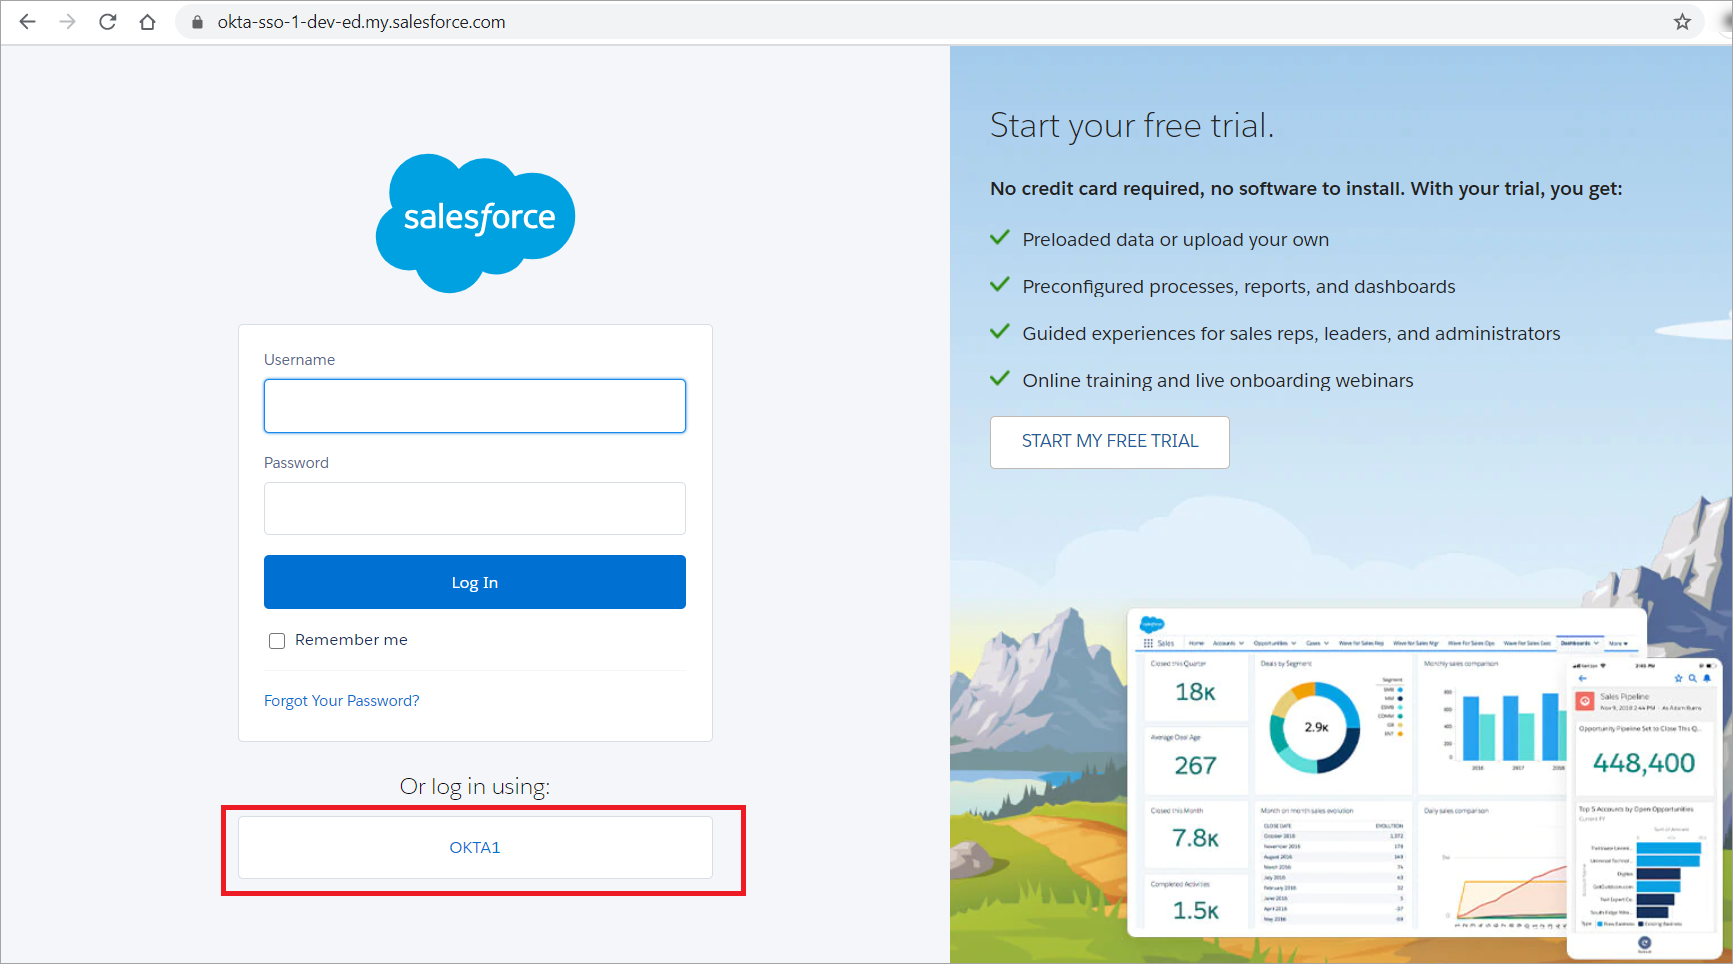
- Click the Single Sign-On configuration name given in the Salesforce portal. For example, Okta1. This initiates the request from Salesforce to the Azure AD (IdP).
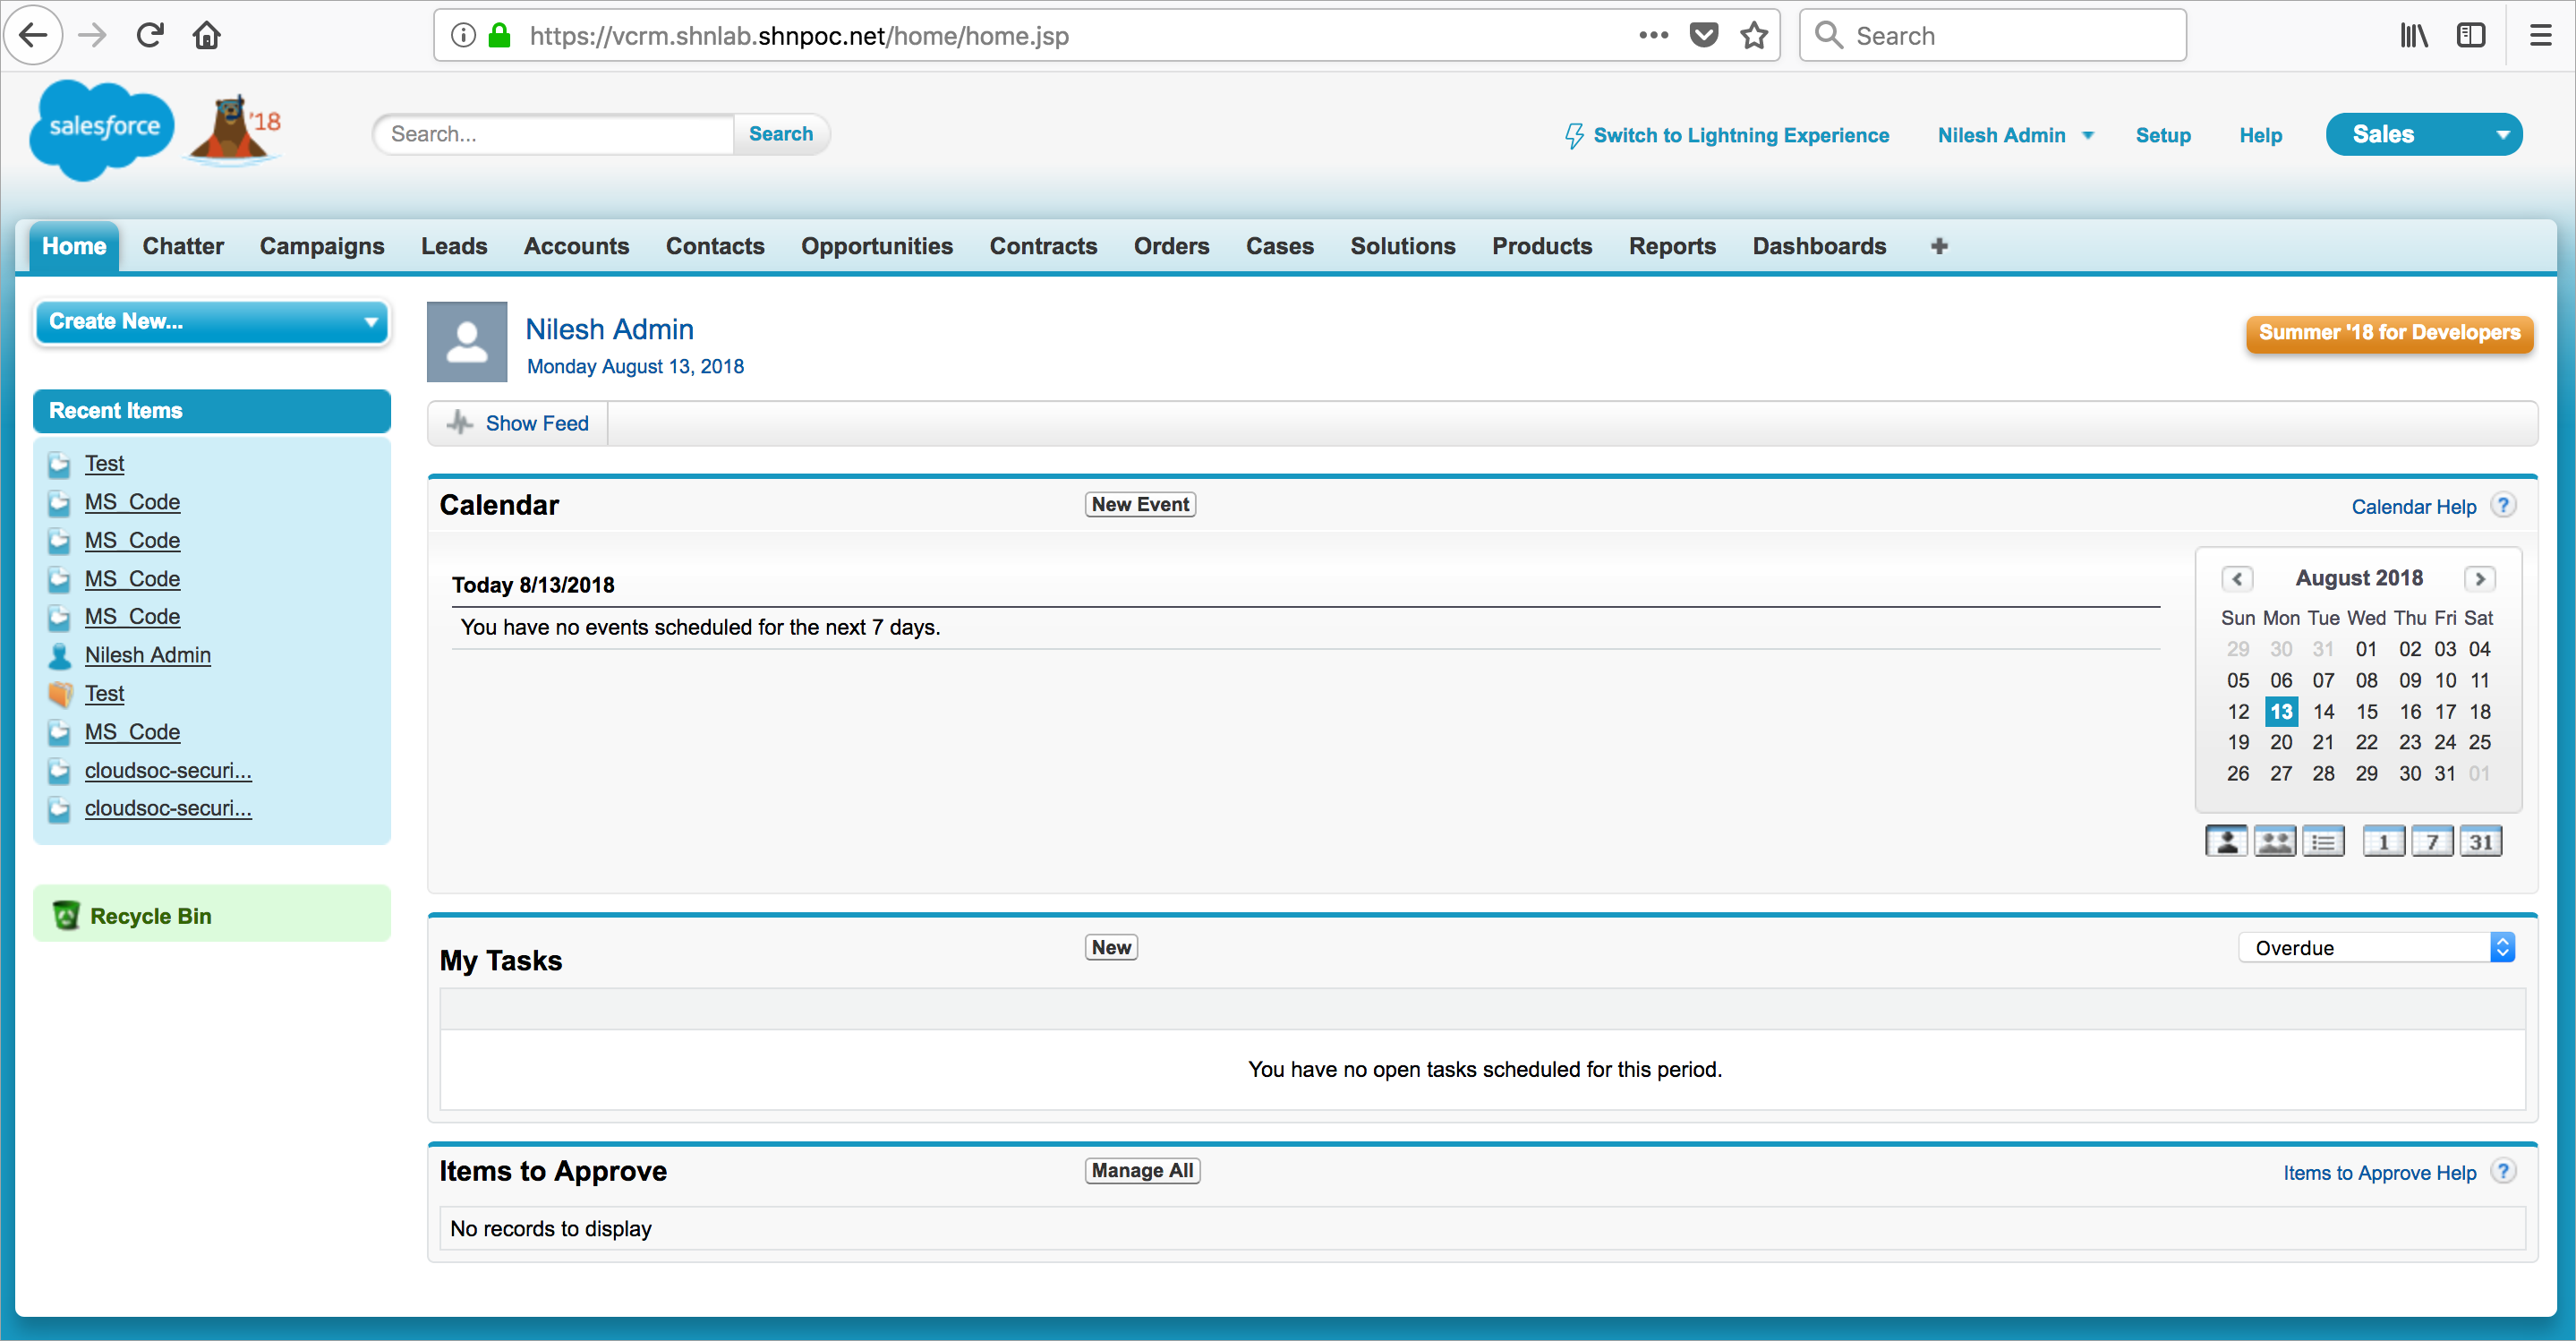
- Log In to the Azure AD to initiate the SAML request to the proxy. Once the proxy sends the SAML response to Azure AD, you are logged into Salesforce Homepage.
