Enable Miro API Access in Skyhigh CASB
| Limited Availability: CASB Connect for Miro is a Limited Availability feature. To enable API access for your Miro instance, contact Skyhigh Support. |
To enable API access for a Miro instance:
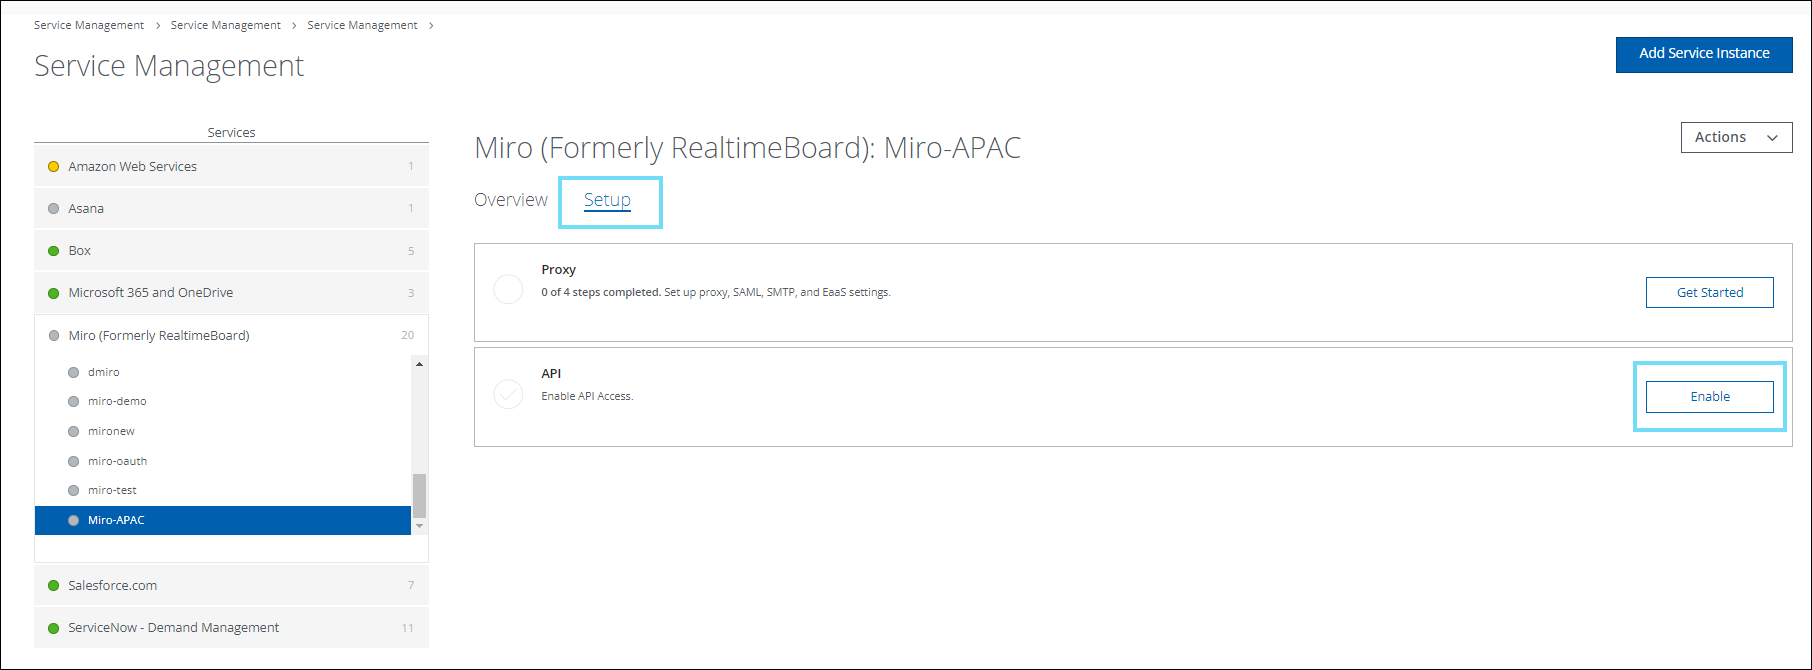
- In Skyhigh CASB, go to Settings > Service Management.
- Select the newly created Miro instance from the list of Services.
- Go to the Setup tab, and then click Enable.
- On the Provide API Credentials page, click Provide API Credentials.

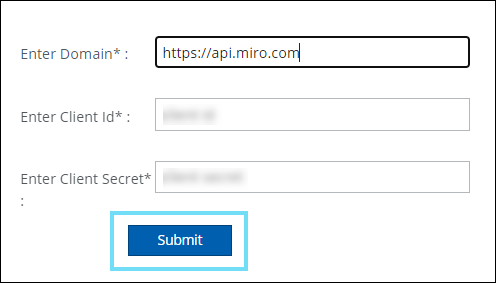
- A pop-up appears. Enter the required information into the fields in the pop-up, and then click Submit:
- Enter Domain. Enter the domain https://api.miro.com.
- Enter Client ID. Enter the Client ID, generated while creating a Custom OAuth application in Miro.
- Enter Client Secret. Enter the Client Secret, generated while creating a Custom OAuth application in Miro.
- You are redirected to the Miro login page. Log in to your Miro account using admin credentials.
- Select a team from the menu, and then click Add. The team that is registered with Miro displays on the menu. Here, the Skyhigh CASB Sandbox team is registered with Miro.
NOTE: You can select only one team at a time. If you have registered multiple teams with Miro, you must enable multiple API instances for each team using your Custom OAuth app configuration.

- Click Done.
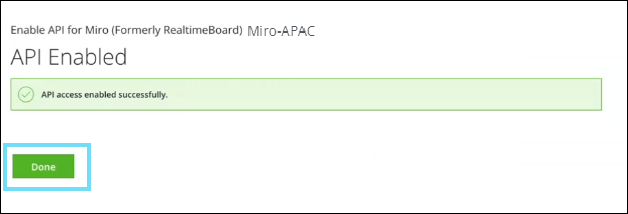
API access is now enabled for your Miro instance in Skyhigh CASB.
NOTE: On the Skyhigh CASB dashboard, go to Incidents > User Activity > Activities to view the Miro monitored activities.