Step 1: Create a Slack Non-Enterprise Instance in Skyhigh CASB
To integrate Skyhigh CASB with Slack, you must first create a Slack Non-Enterprise (Pro or Business+) instance in Skyhigh CASB.
To create a Slack Non-Enterprise instance:
- Log in to Skyhigh CASB.
- Go to Settings > Service Management.
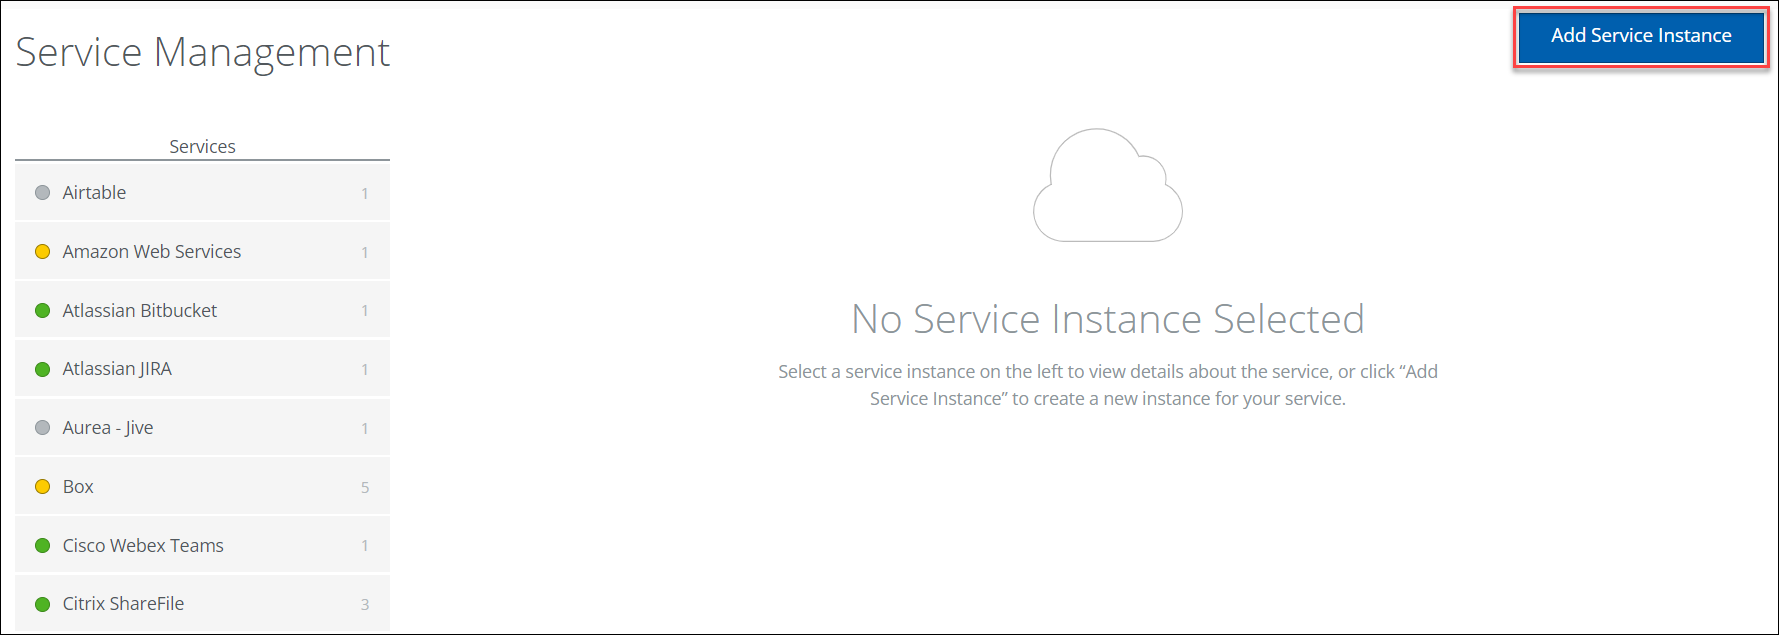
- Click Add Service Instance.
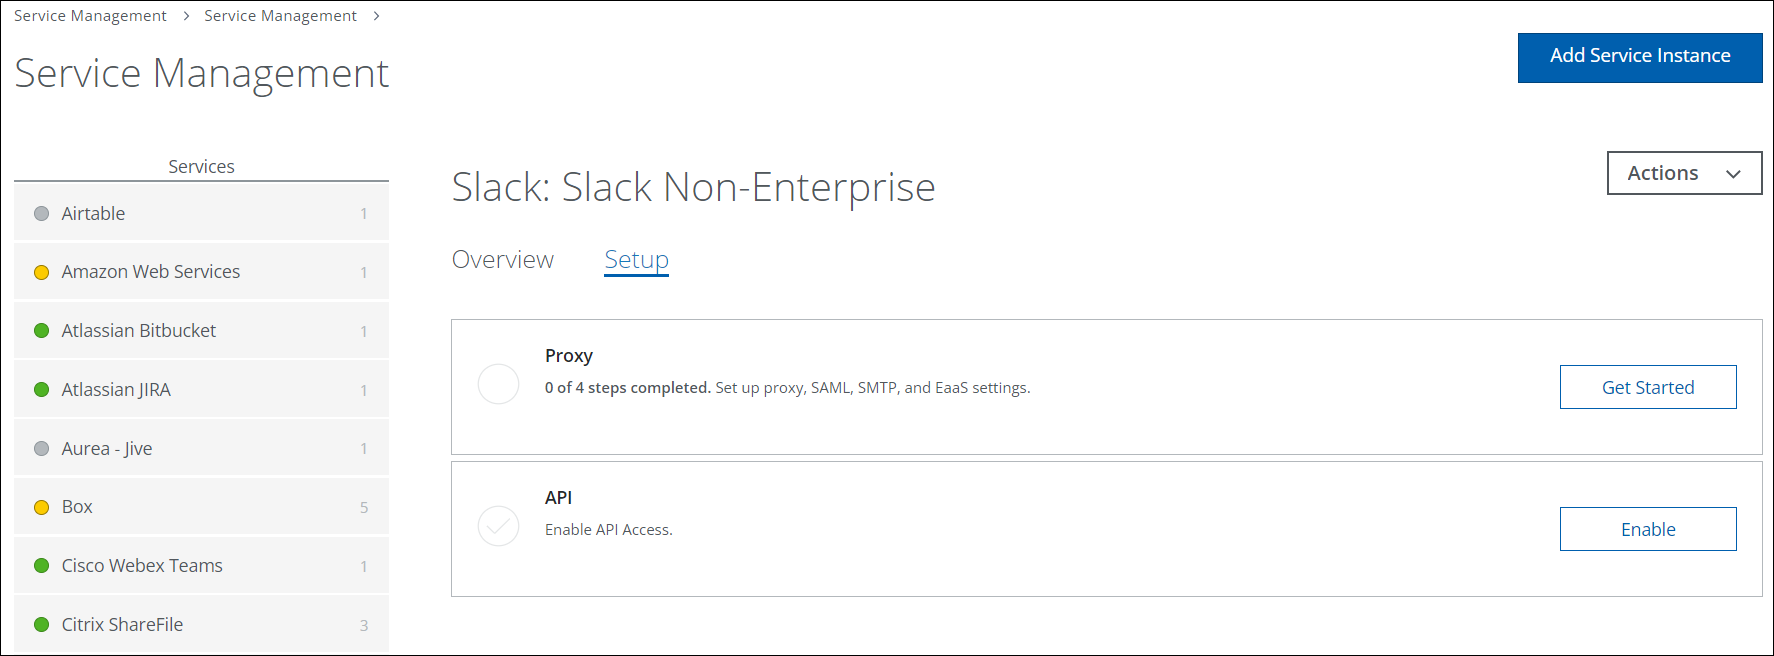
- Select Slack, and enter a unique name for the instance.

- Click Done.
NOTE: After creating an instance in Skyhigh CASB, you must retrieve the Tenant ID and Instance ID from Skyhigh CASB. You will need this in Step 3 to validate Skyhigh CASB's webhook URL for Slack event notifications. For details on how to obtain the Tenant ID and Instance ID, see Skyhigh CASB Tenant ID and Instance ID.
Skyhigh CASB Tenant ID and Instance ID
To obtain the Tenant ID and Instance ID from Skyhigh CASB:
- Log in to Skyhigh CASB, and go to Settings > Service Management.
- Select the managed Slack Non-Enterprise instance, and right-click Inspect Element. You can find the InstanceId from the URL.
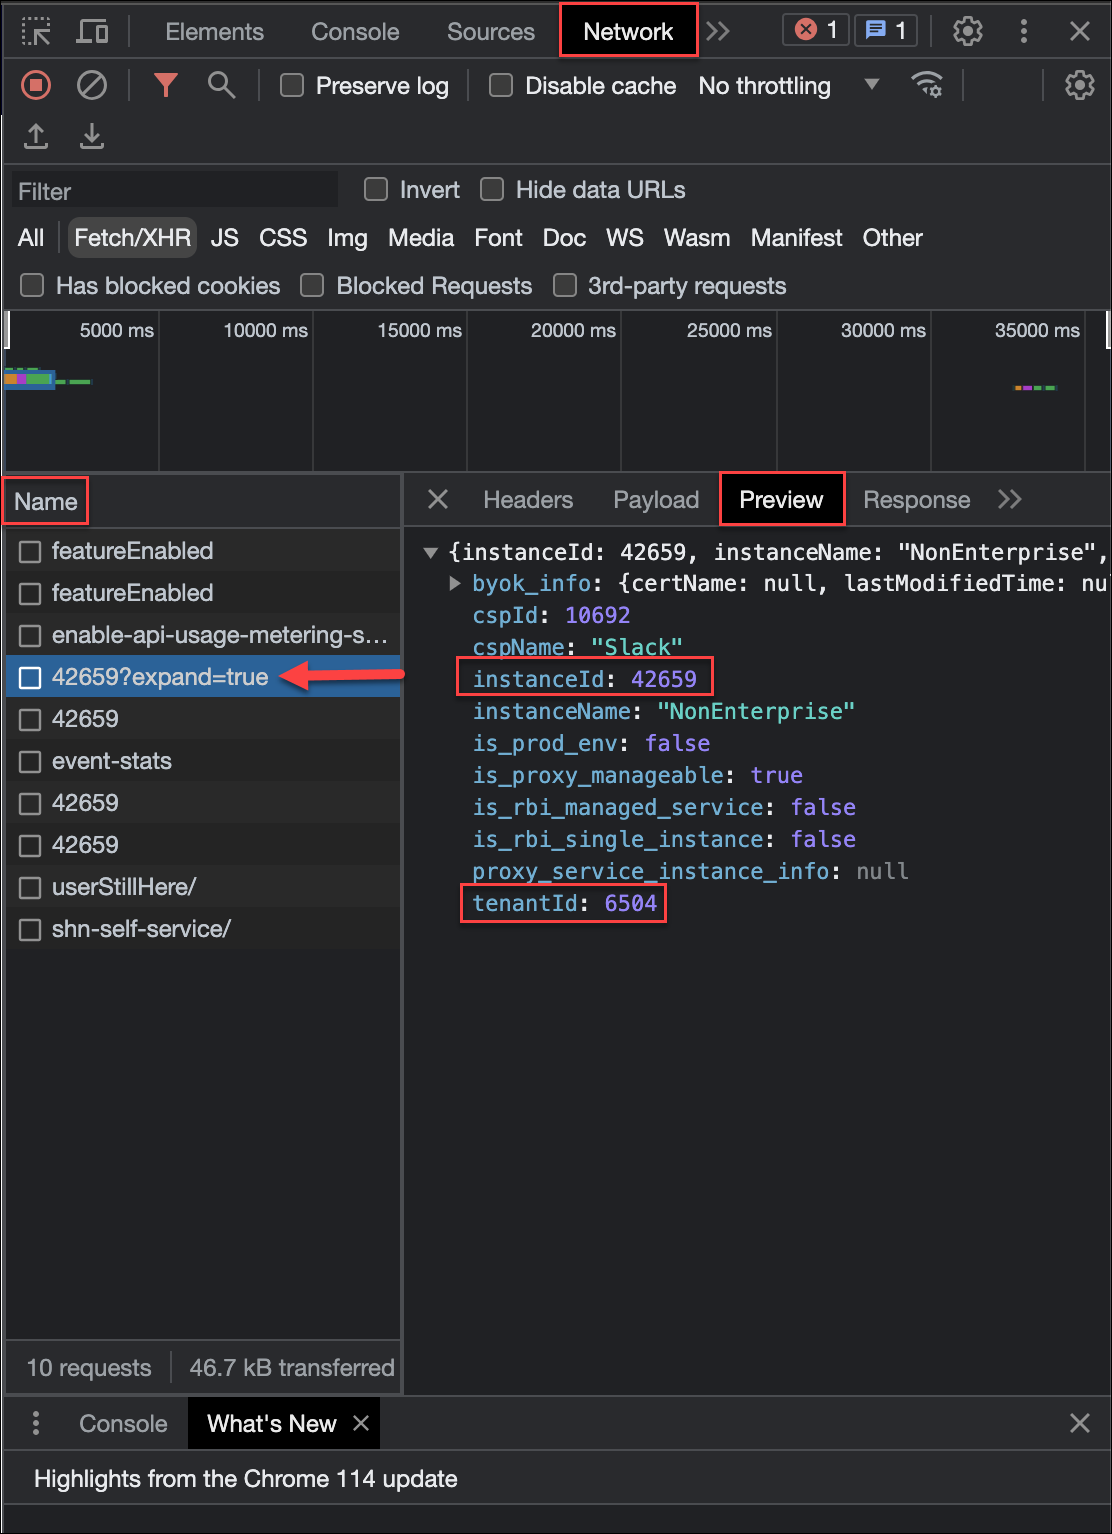
- Go to Network, and click Command R or Control R to reload.
- Under Name, select the InstanceId.
- Select Preview to get the instanceId and tenantId.