Service Principal with a Secret Key and Azure API Integration
Azure Service Principals are an authentication mechanism for Azure instances. An Azure Service Principal is an identity created under Azure Active Directory to work with apps using role-based access controls. For example, when applications, hosted services, or automated tools need to access or modify resources, you can create a service principal and use it to authenticate.
Roles assigned to the service principal allow you to restrict access to resources, so you can control the resources and the level at which they are accessed. You should always use service principals with automated tools rather than allowing the tools to log in with a user identity.
IMPORTANT: Before you begin, contact Support to enable the Azure Service Principal for your tenant.
Configure an Application Registration in the Azure Portal
- Log in to the Azure portal using your Office 365 administrator account. Go to https://portal.azure.com/.
- Go to Home > App registrations and click New registration.
- On Register an application page, configure the below properties:
- Name. The display name for your application.
- Supported Account Types. Select Accounts in their Organizational directory only.
- Redirect URI. Select a platform and enter your Skyhigh CASB environment:
- PROD: https://www.myshn.net/shndash/extensions/offlinedlp_ret.jsp
- EUPROD: https://www.myshn.eu/shndash/extensions/offlinedlp_ret.jsp
- CAPROD: https://www.myshn.ca/shndash/extensions/offlinedlp_ret.jsp
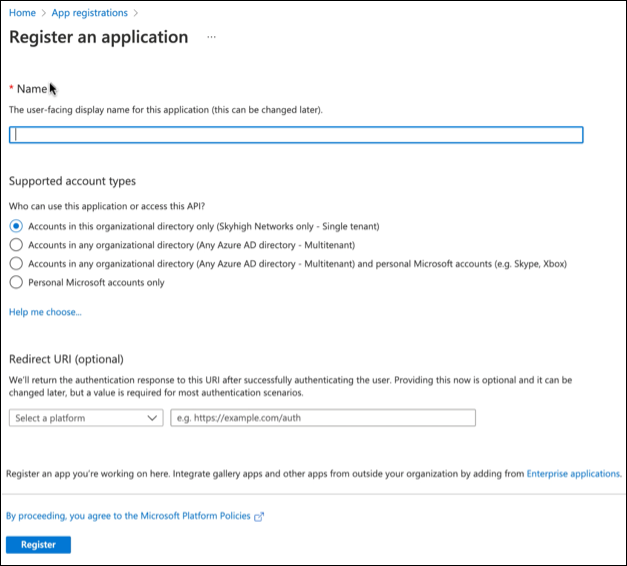
- To create a new application, click Register.
- Confirm the new application's properties are configured correctly, as per step 3.
- Copy the Application (Client) ID and Tenant ID for future reference.

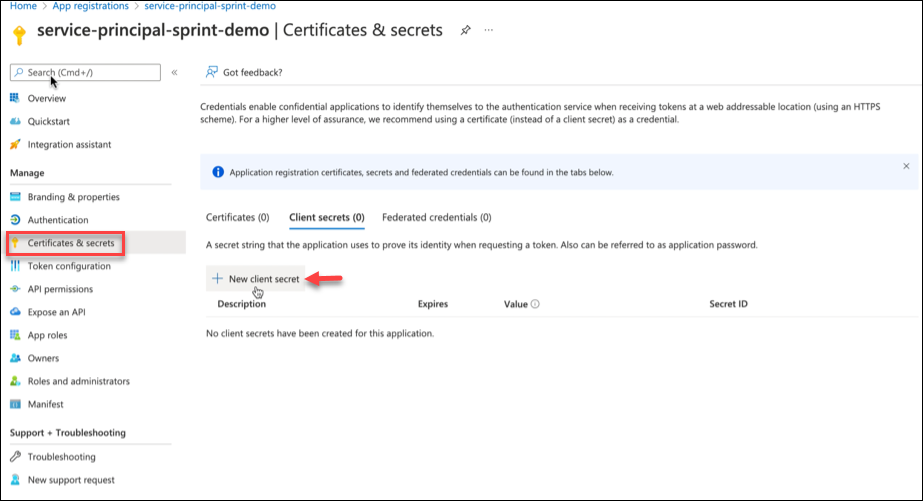
- Go to Certificates & secrets > Client secrets tab and click New client secret.
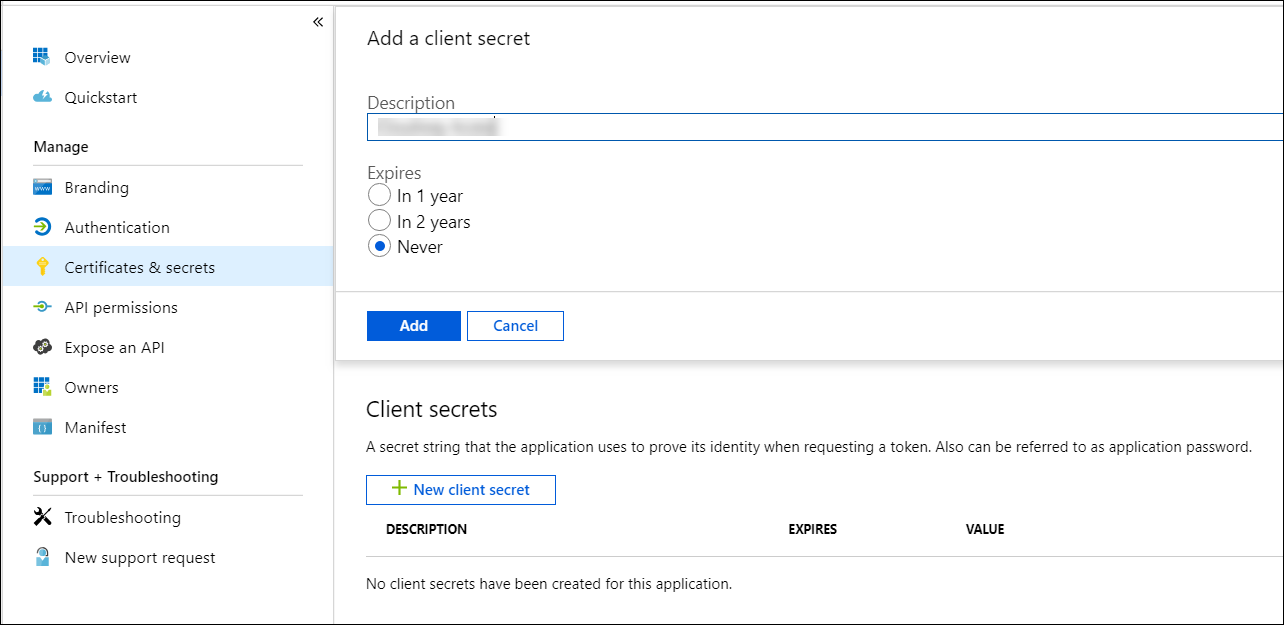
- Enter a description, an expiration date, and click Add.
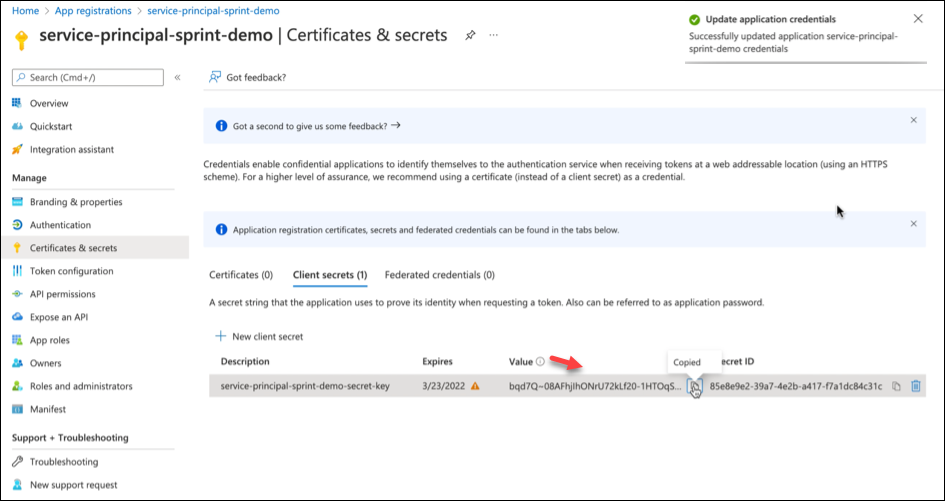
- Copy the Secret Value for future reference.
- Select the existing subscriptions from the options to add new service principal to the existing subscriptions. This gives the service principal access to the resources within those subscriptions.
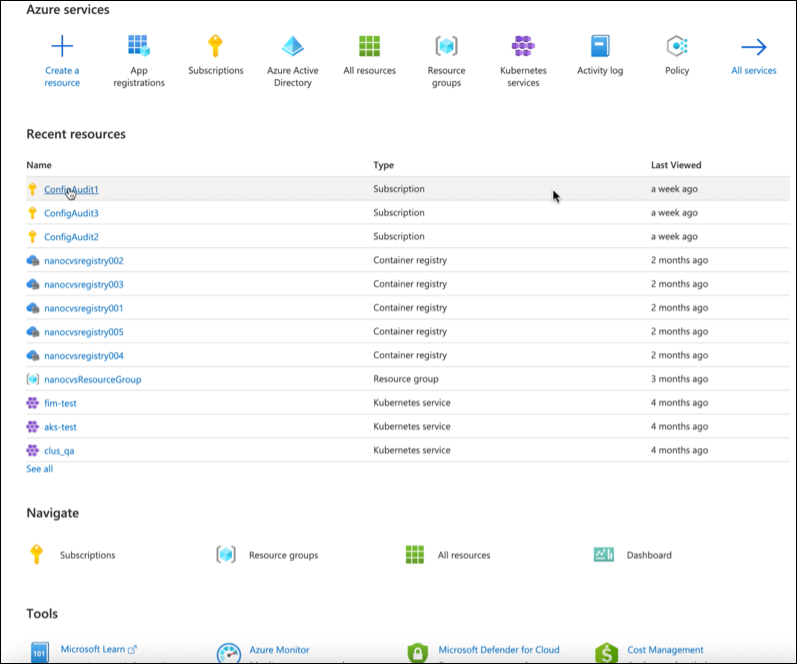
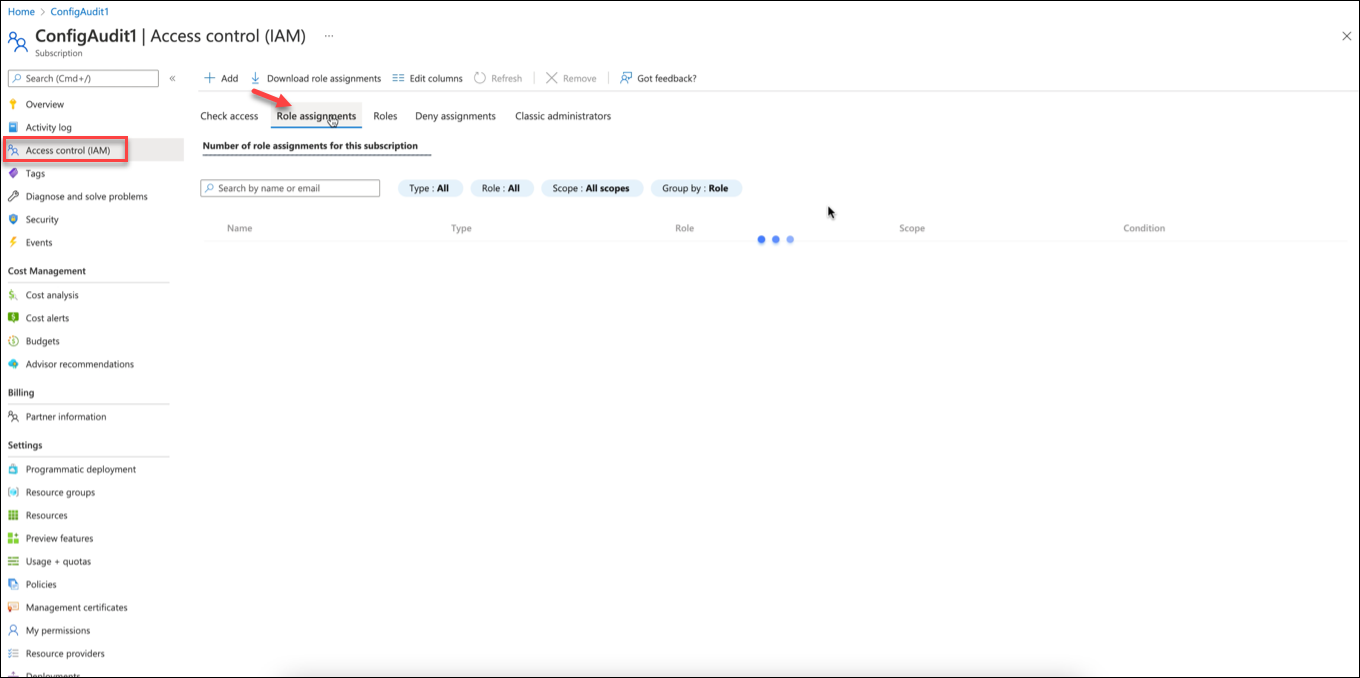
- Go to Subscription.
- Click Access Control (IAM) on the left side bar, then click the Role assignments tab.
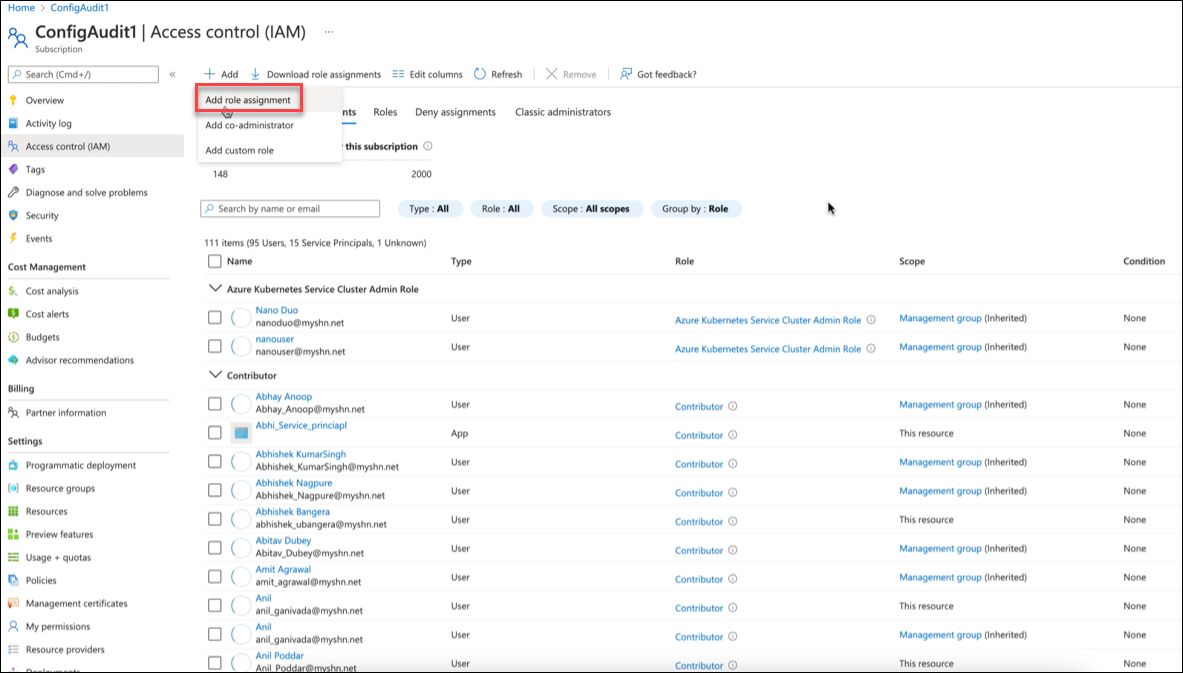
- Click Add > Add role assignment.
-
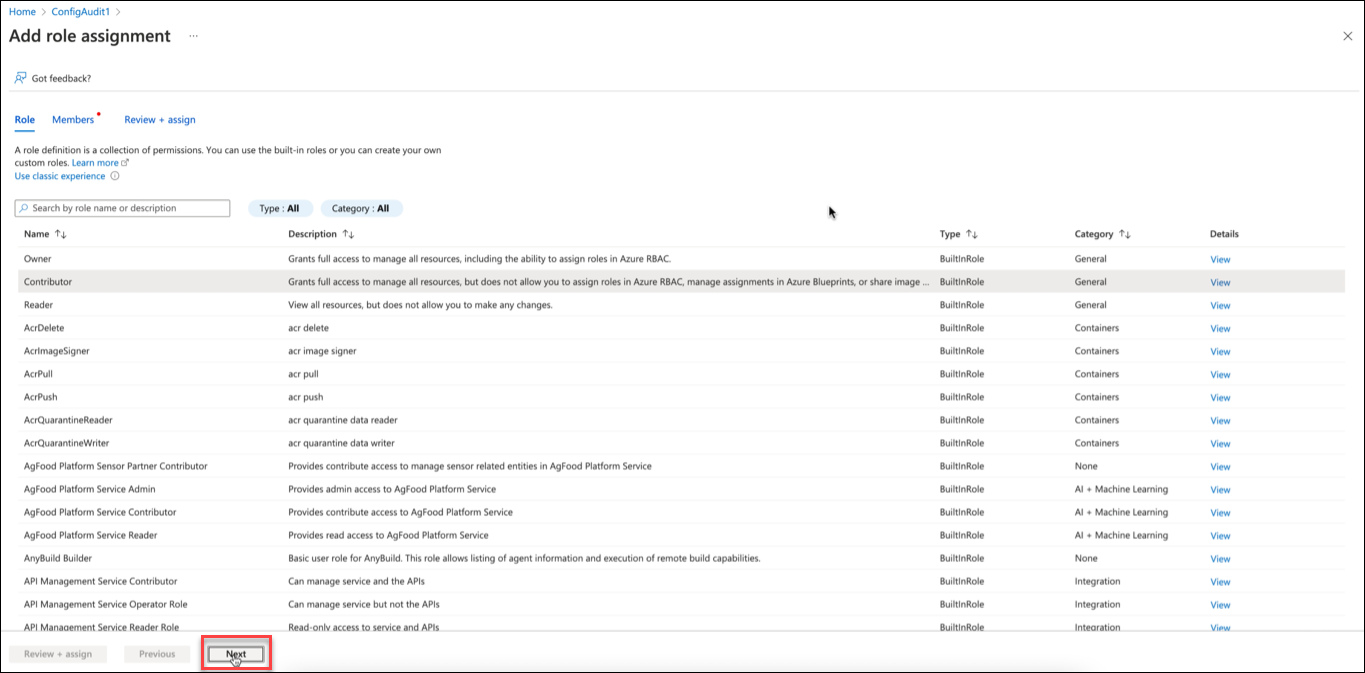
On the Add role assignment page, select the required role and click Next.
NOTE: The application must have the Reader and Storage Blob Data Reader roles to access the Azure resources.
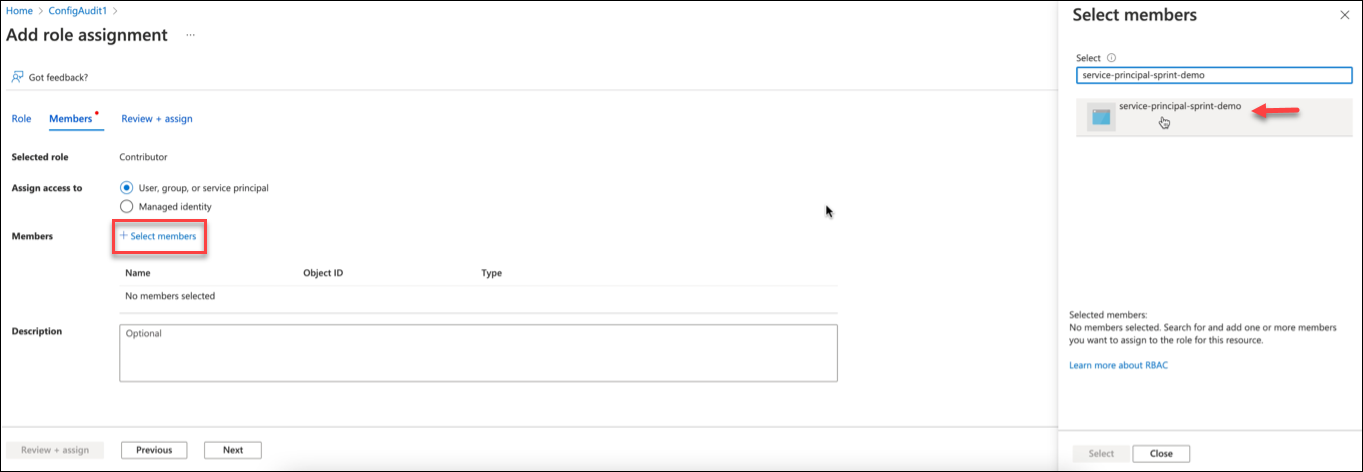
- On the Members tab, click +select members to open the Select members pane. Select the member from the option and click Select.
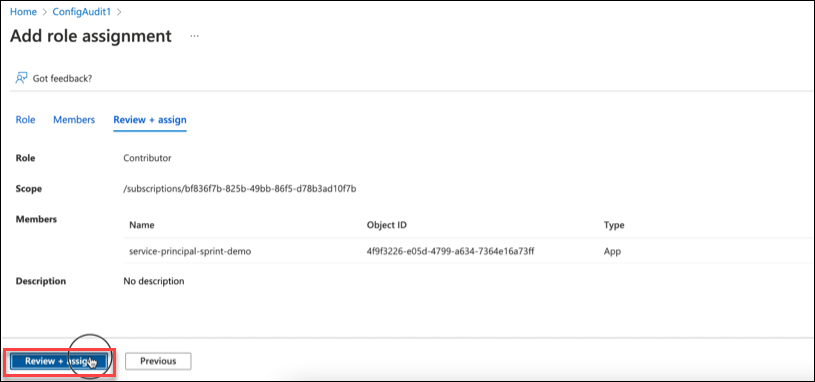
- Click Review + assign.
Follow the same steps for any other subscriptions you may have.
Create Azure Service Instance Using Service Principal in Skyhigh CASB
- In Skyhigh CASB go to Settings > Service Management.
- Select your Azure instance or create a new one.
- When you provide API credentials, enter the Client ID, Client Secret, and Tenant ID you saved from the previous steps.
References
- https://registry.terraform.io/providers/hashicorp/azurerm/latest/docs/guides/service_principal_client_secret
- https://docs.microsoft.com/en-us/azure/active-directory/develop/howto-create-service-principal-portal
- https://docs.microsoft.com/en-us/azure/active-directory/develop/app-objects-and-service-principals