Configure the IdP Connection for Okta
| Limited Availability: To access SCIM Provisioning, contact Skyhigh Support. |
To establish a connection between Skyhigh and SCIM, you must set up SCIM provisioning in your IdP. After setting up, you can push groups to the Skyhigh SSE to assign permissions and record the activities.
Follow the steps to set up SCIM in an IdP:
- Create an SSE tenant using the desired email ID, which will be the primary user of that tenant. You will receive an activation link notification via email.
- Click the activation link to log in to the tenant and set the user password.
- Enable SSO for the tenant. To enable SSO, see Configure SAML and SSO for Skyhigh Cloud Administrators.
- Log in to the Okta dashboard as an admin.
- Click Admin.

- On the Admin Console, select Applications > Applications to create a new SAML 2.0 application within Okta. This application is then used to connect to the previously created SSE tenant.

- Click the Create App Integration tab.

- In Create a new app integration dialog, select SAML 2.0, and then click Next.

- In the Create SAML Integration page, configure the following:
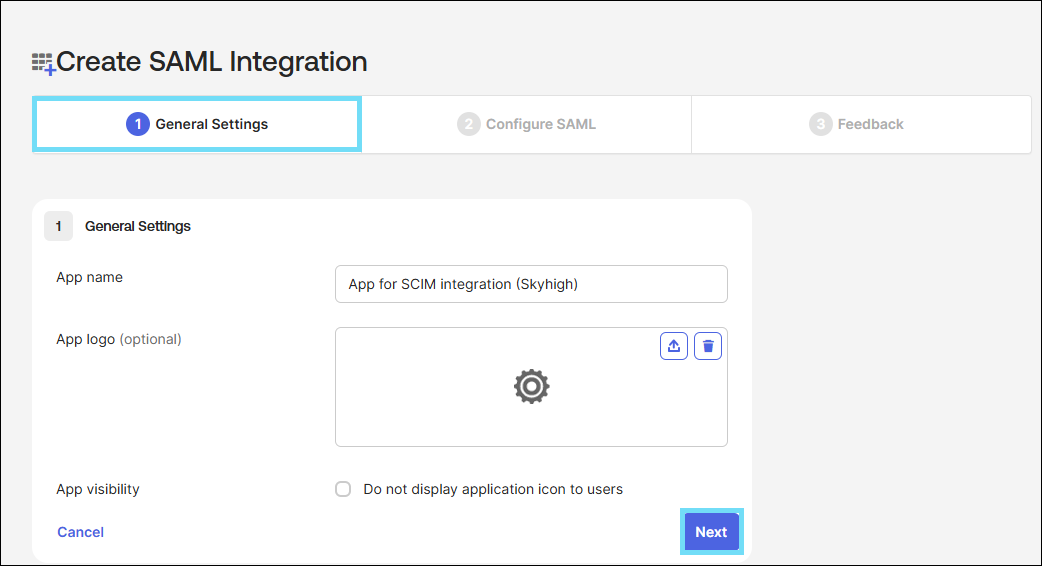
- In the General Settings tab, enter the application name in the App name field, and then click Next.
- In the Configure SAML tab, under SAML Settings > General, configure the following, and click Next:
- Single sign-on URL. Enter the Assertion Consumer Service URL from Skyhigh CASB. Enter the saved URL from the Identity Provider page. For details, see Primary User - Identity Provider.
- Audience URl (SP Entra ID). Enter the Audience URL from Skyhigh CASB. Enter the saved URL from the Identity Provider page. For details, see Primary User - Identity Provider.
- Name ID format. Select EmailAddress from the menu.

- In the Feedback tab, Under Help Okta Support understand how you configured this application, select the This is an internal app that we have created checkbox, and then click Finish.

- In the General Settings tab, enter the application name in the App name field, and then click Next.
You have successfully created a SAML 2.0 application within Okta.
When you click Finish, it automatically redirects you to the Sign On tab of the newly created application.
- From the newly created application, click the General tab.
- In the App Settings section, click Edit.

- Under Provisioning, select SCIM, and then click Save.

- On the Provisioning tab > Settings > Integration > SCIM Connection section, configure the following:
- SCIM connector base URL. Enter the copied Base URL from the Create API Credentials page.
- Unique identifier field for users. Enter userName.
- Supported provisioning actions. Select Push New Users, Push Profile Updates, and Push Groups
- Authentication Mode. Select OAuth 2 from the menu.
- On the Provisioning tab > Settings > Integration > OAuth 2 section, configure the following, and then click Save:
- Grant Type. Select Client Credentials from the menu.
- Access token endpoint URI. Enter the copied OAuth Token Endpoint URL from the Create API Credentials page.
- Client ID and Client Secret. Enter the Client ID and Client Secret generated when creating API credentials.

- Under Provisioning > Settings > To App, click Edit and enable the following:
- Create Users
- Update User Attributes
- Deactivate Users

- The newly created application requires a token to authenticate against their app (Skyhigh). Under Provisioning > Settings > Integration, click Authenticate with <app name> to generate a token.

You have successfully established a connection between the SCIM application in an IdP and Skyhigh. Now, when you create users and groups in an IdP and add them to the SCIM application, they will appear on the Skyhigh User Management > Users and Roles > Users tab when pushed. For details, see Assign Users to the Application in an IdP and Add a Group to the Application in an IdP.