Create Web DLP Policy for CAI
| Limited Availability: Cloud App Isolation (CAI) is a Limited Availability feature. To enable CAI for Sanctioned SaaS apps in your tenant, contact Skyhigh Security Support. |
A Web Data Loss Prevention (DLP) policy for CAI protects sensitive data from being exfiltrated on both managed and unmanaged devices. A Web DLP policy defines the criteria for generating an incident and optionally sets specific actions that are triggered in response to the detected incident.
Suppose a user has accessed Office 365 and OneDrive applications from a managed device via RBI. A security admin must create a DLP policy to restrict downloading sensitive data such as legal, financial, security compliance, and confidential files to managed devices. Use the following procedure to create or edit a DLP policy for RBI.
NOTE: Before creating a Web DLP policy for CAI, you must create a CAP Policy to establish a connection with RBI. To create CAP Policies, see Cloud Activity Controls with CAI.
Prerequisites
To create a Web DLP Policy for CAI using the Skyhigh CASB DLP Policy wizard, your user account must have the following roles:
- DLP Policy Manager
- Web Policy Manager
Policy Wizard Rules
To scope your policy, the DLP Policy wizard uses the following rules:
- AND/OR to refine the rule.
- Change IS to IS NOT to create exceptions.
- There is no THEN for scoping.
- Click Next when complete.
Create a Web DLP Policy for CAI
To create a Web DLP Policy for CAI using the Policy wizard:
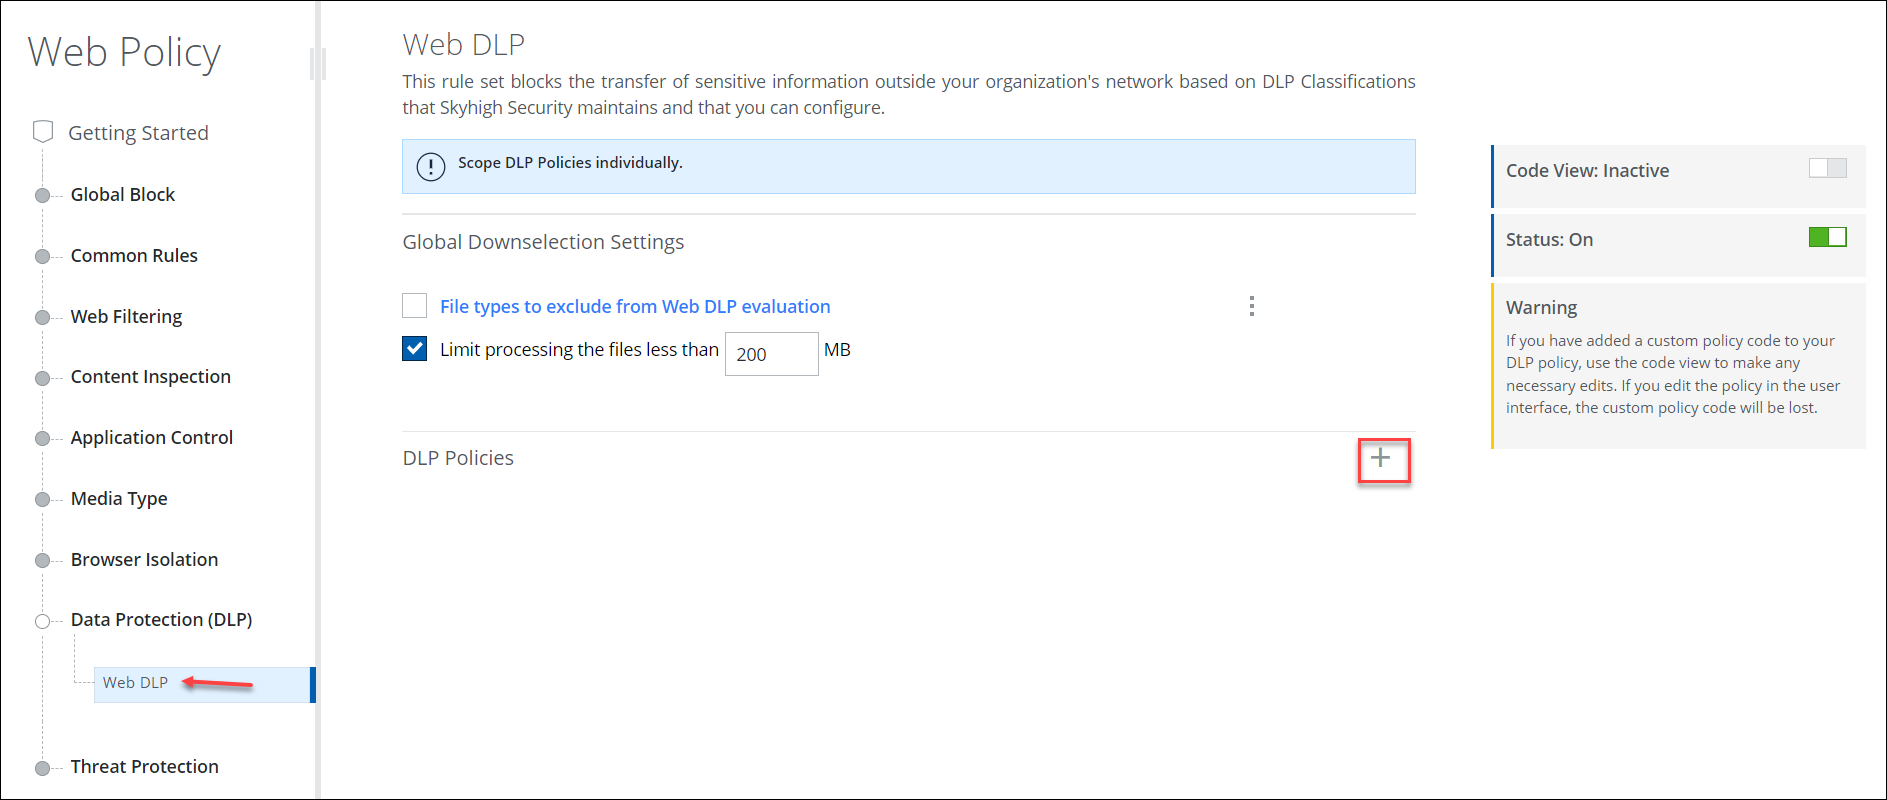
- Sign in to Skyhigh CASB and go to Policy > Web Policy > Policy.
- On the Web Policy tree, go to Data Protection (DLP) > Web DLP.
- Click the "+" icon to create a new Web DLP Policy.
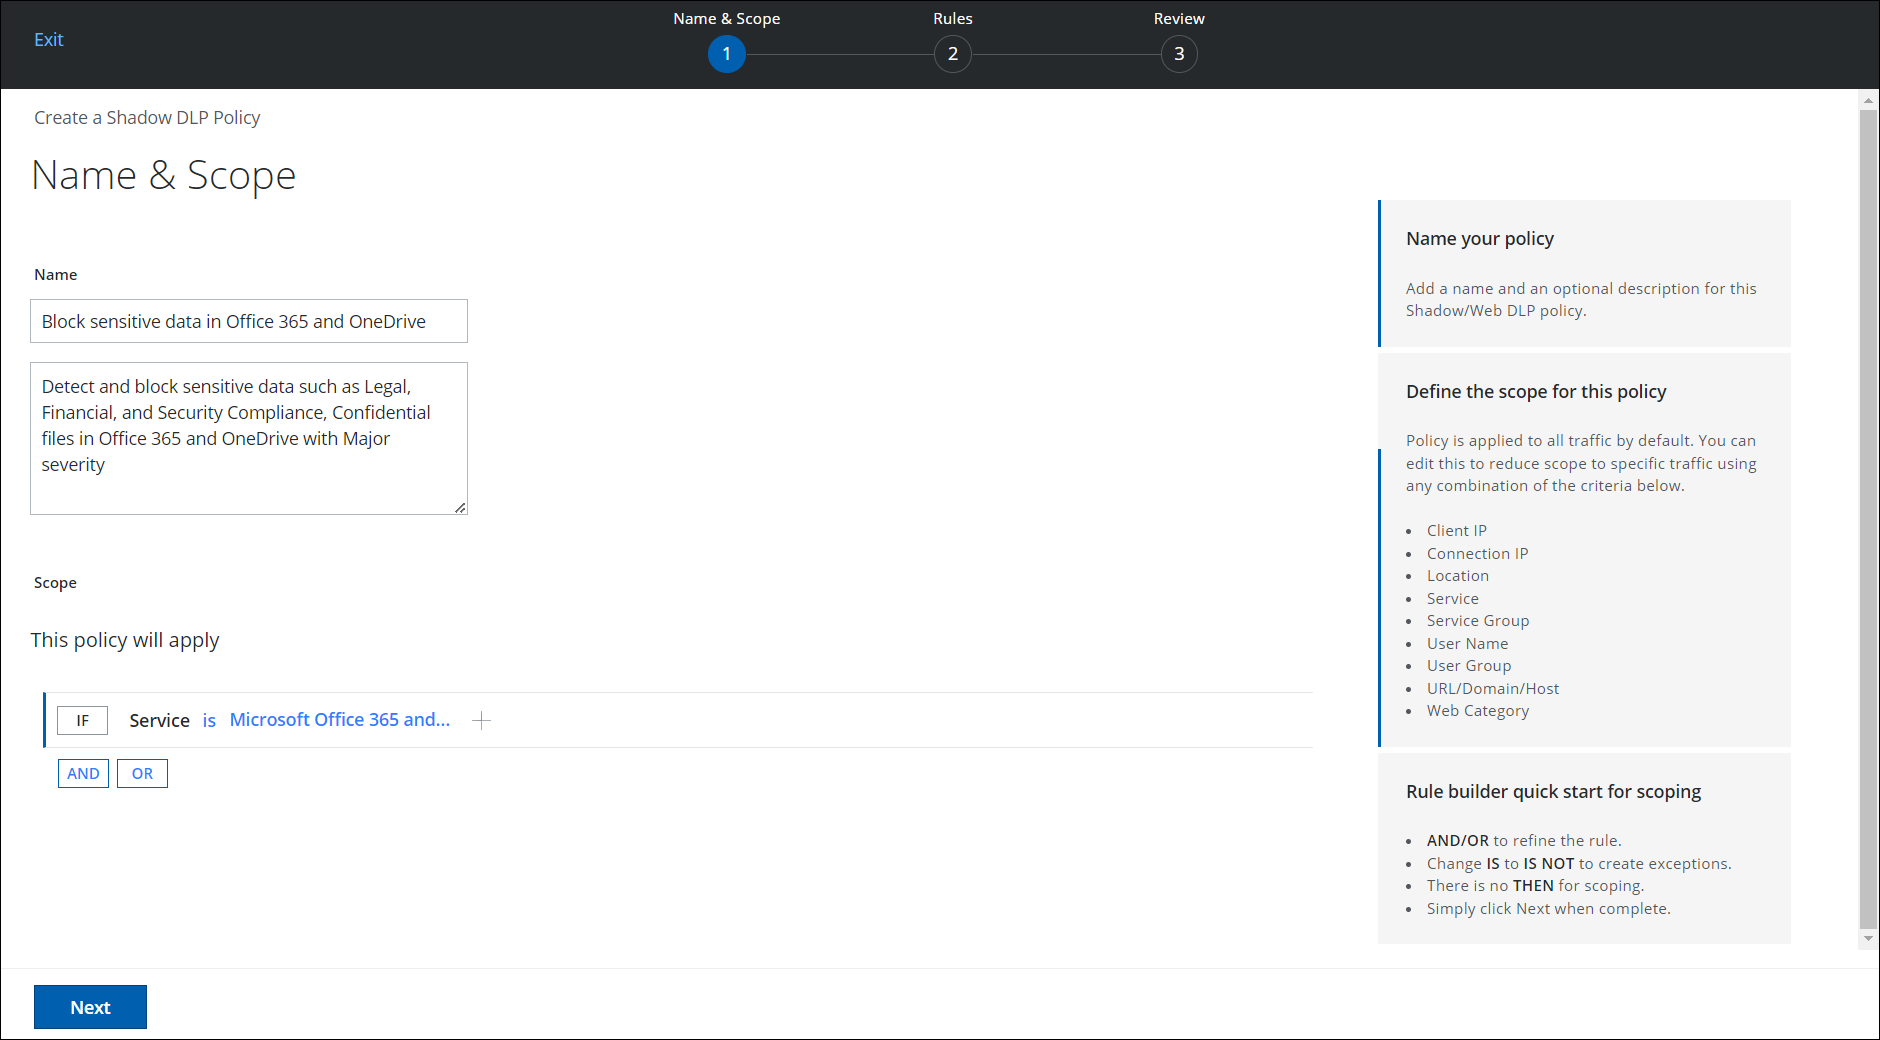
- On the Name & Scope wizard, configure the following information:
- Name. Enter a unique name for your policy.
- Description. Add an optional description for the policy.
- Scope. The policy is applied to all traffic by default. You can edit this to reduce the scope to specific traffic using any combination of the following criteria.
(For this example, click Service, and in the Search for Service pane, search for and select Microsoft Office 365 and OneDrive.)- Client IP. The IP address of the endpoint.
- Connection IP. The IP address of the firewall or other device between your organization's network and the cloud. (Your public IP address.)
- Location. Any location name configured in the UI for Web Policy.
- Service. The cloud service to which it applies.
- Service Group. The group that contains the cloud service to which it applies.
- User Name. Name of the user making the web request.
- User Group. Names of one or more groups where the user making the web request is a member.
- URL/Domain/Host. The URL/Domain/Host name of the user making the web request.
- Web Category. Category of the URL requested by the user.
- Click AND or OR to add another criteria parameter. Otherwise, click Next.
- On the Rules wizard, set a condition for a rule that triggers a response if this condition matches. If this data is involved, the response is triggered.
- Classification. Classification allows you to categorize files based on their confidentiality and enforce security policies associated with confidentiality levels. Click Select, then in the Select Classification pane, search for and select the Classification you want to use. (For this example, click Sensitive > Legal, Financial and Security Compliance, Confidential)
- Skyhigh. Default Classifications are provided by Skyhigh Security.
- Custom. Create Custom Classifications.
- All Classifications. Displays all available Classifications.
- Severity. Assign severity level for content matches. This determines the severity level of the incident. Click Then, then select the severity of the incident. (For this example, select Major.)
- Critical
- Major
- Minor
- Warning
- Info
- Additional Responses. Select an optional response, if required. (For this example, select Block.)
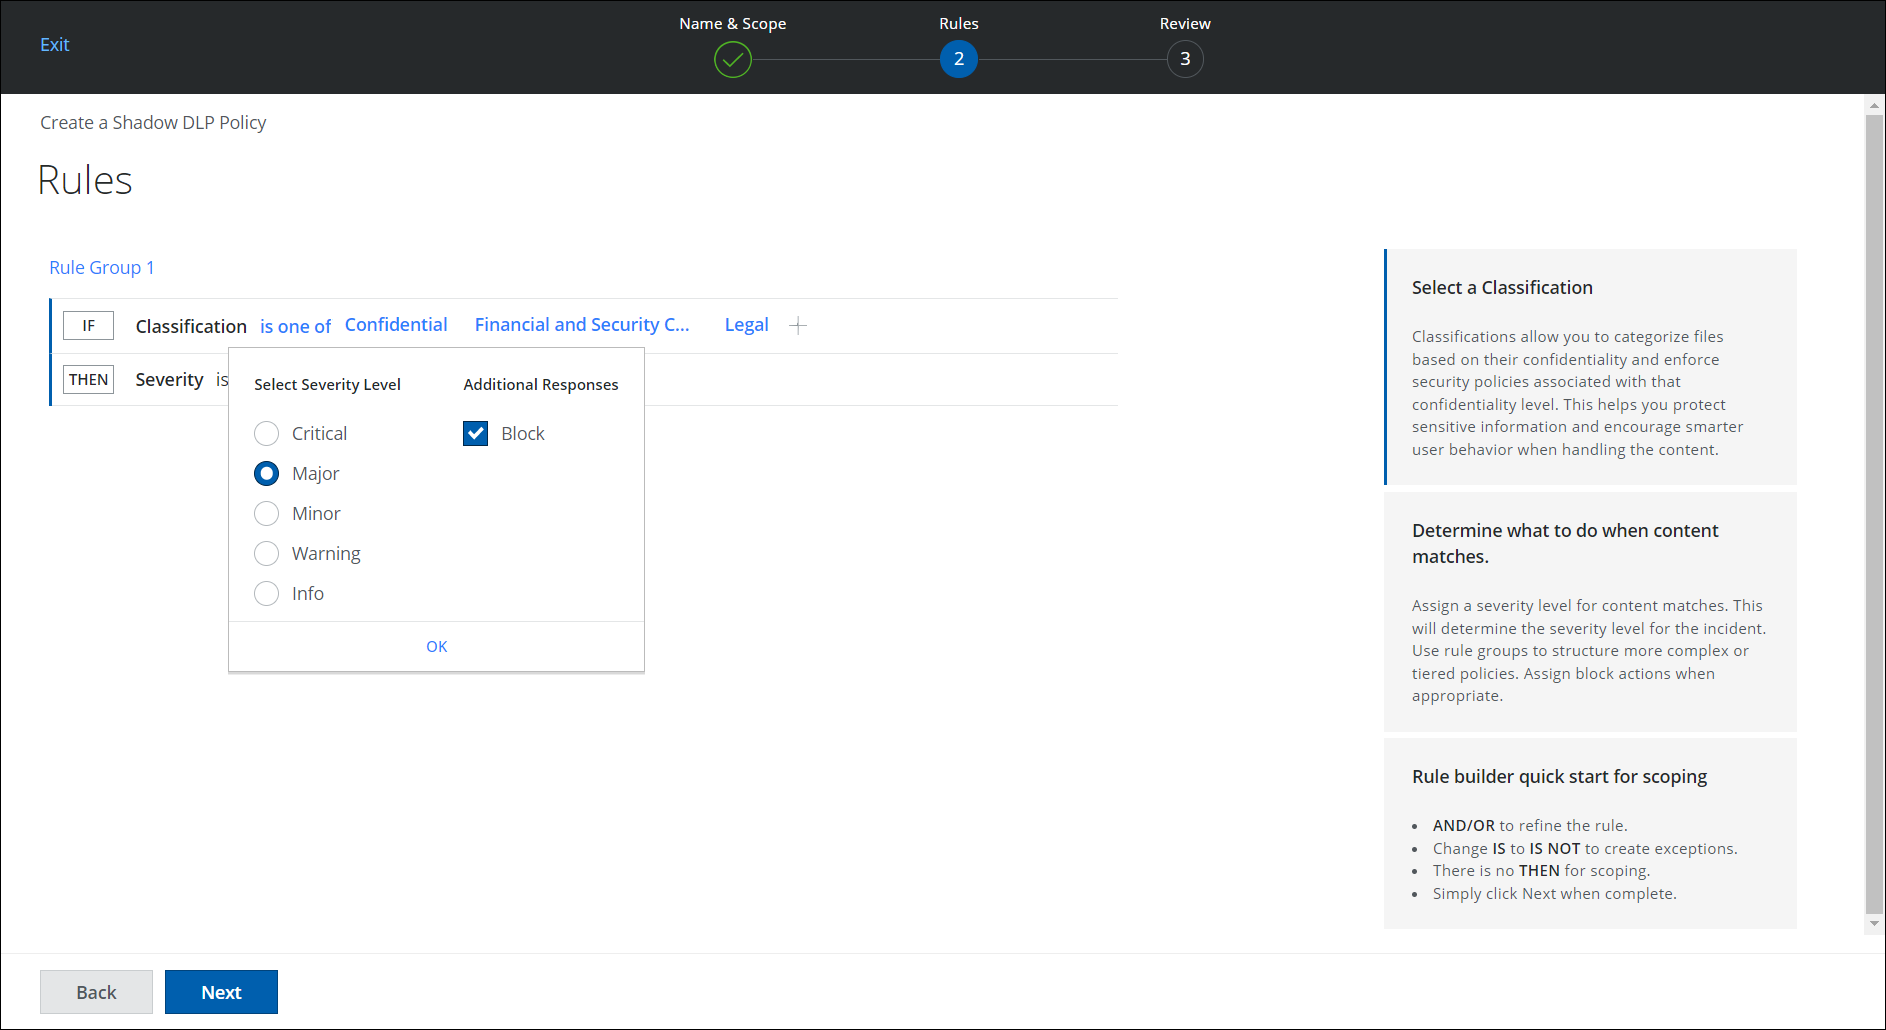
- Click Next.
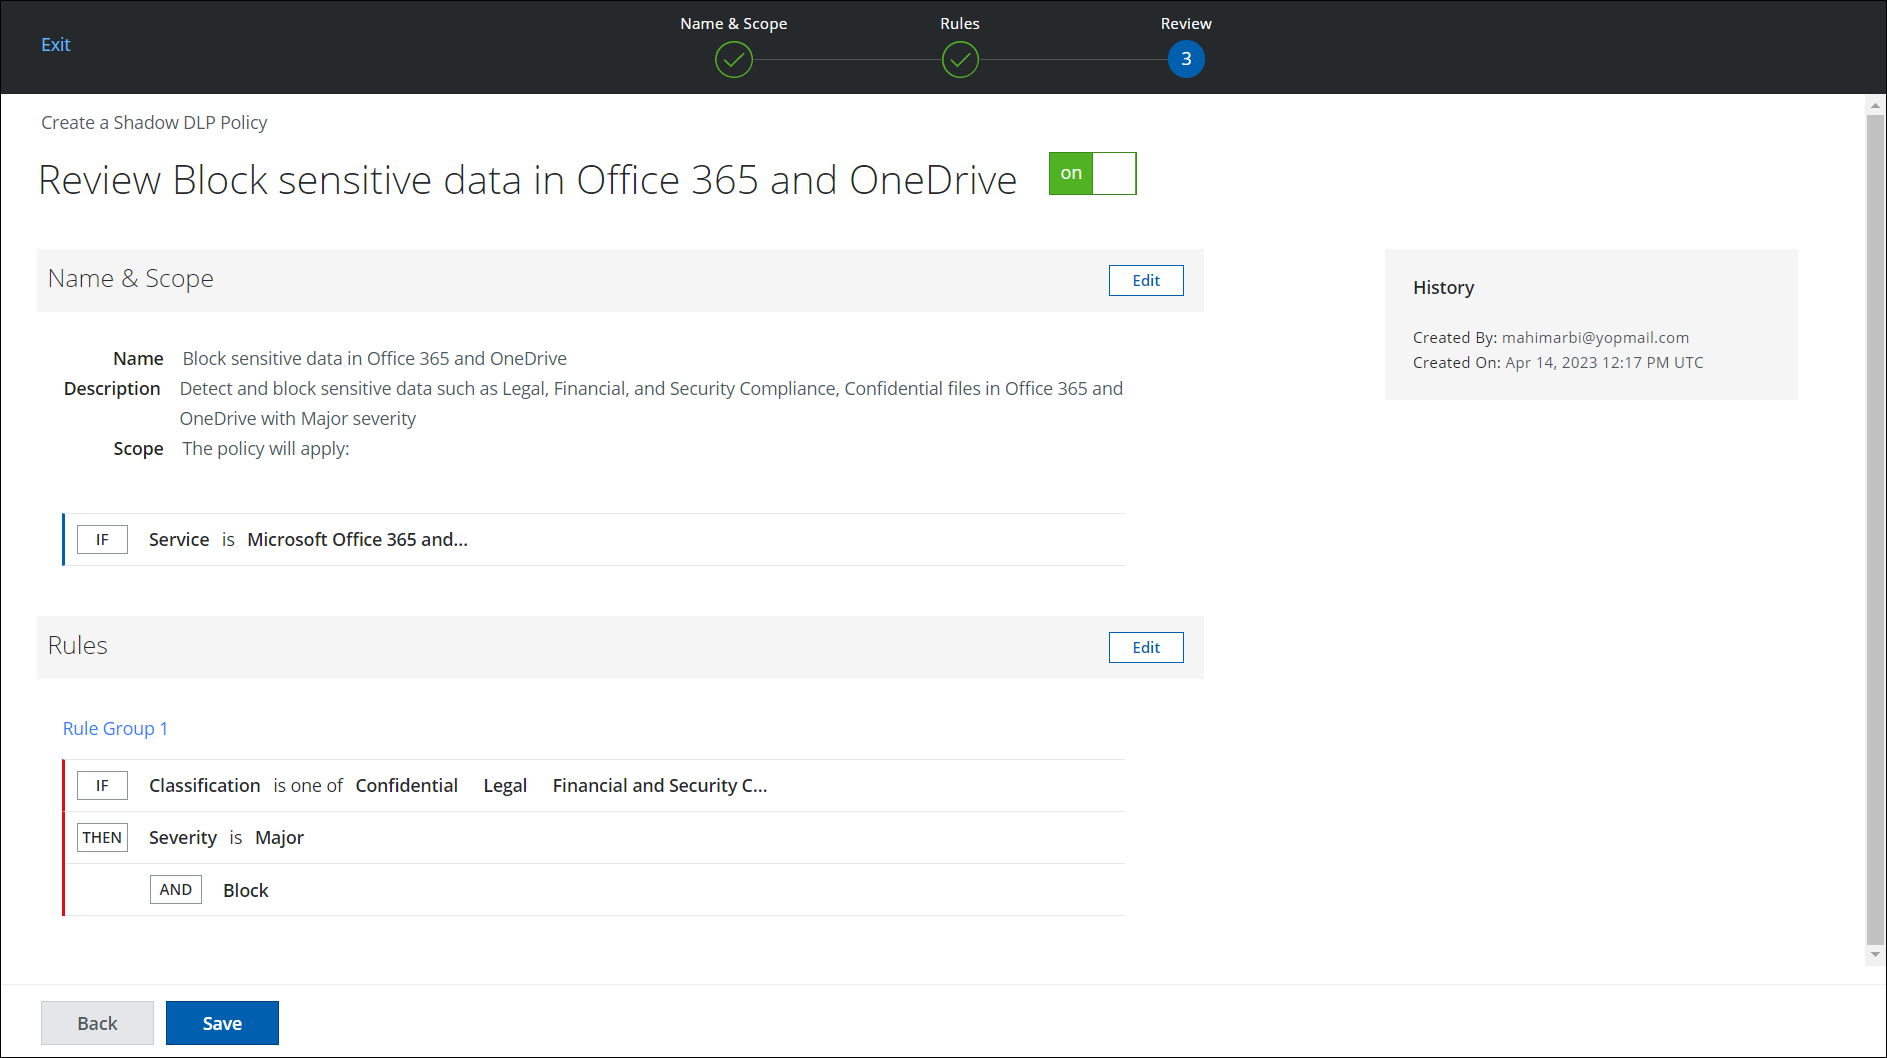
- On the Review page, review the policy you have created. To make any edits, click Edit.
- Click Save.

- Your policy is saved but still needs to be published to be enabled.
- Keep Working. Click to continue editing. You are alerted by the shield icon in the Skyhigh CASB navigation bar when a Web Policy change is waiting to be published.
- Publish. Click to publish your policy.
- Your policy is published and enabled. Click OK.
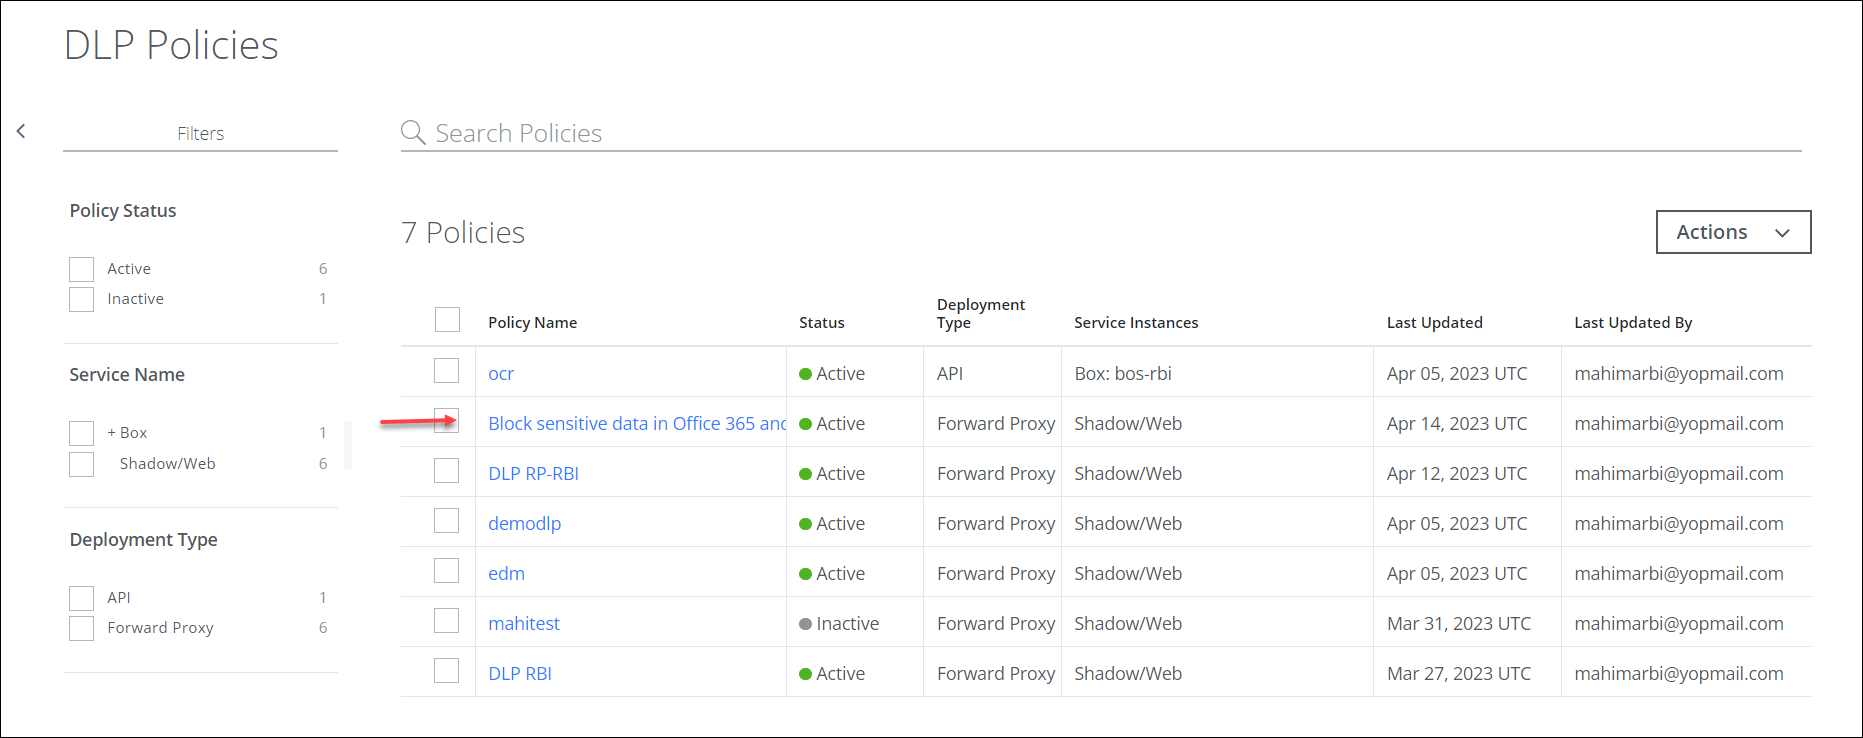
- Your new Web Policy is displayed on the following pages:
- Policy > DLP Policies > DLP Policies
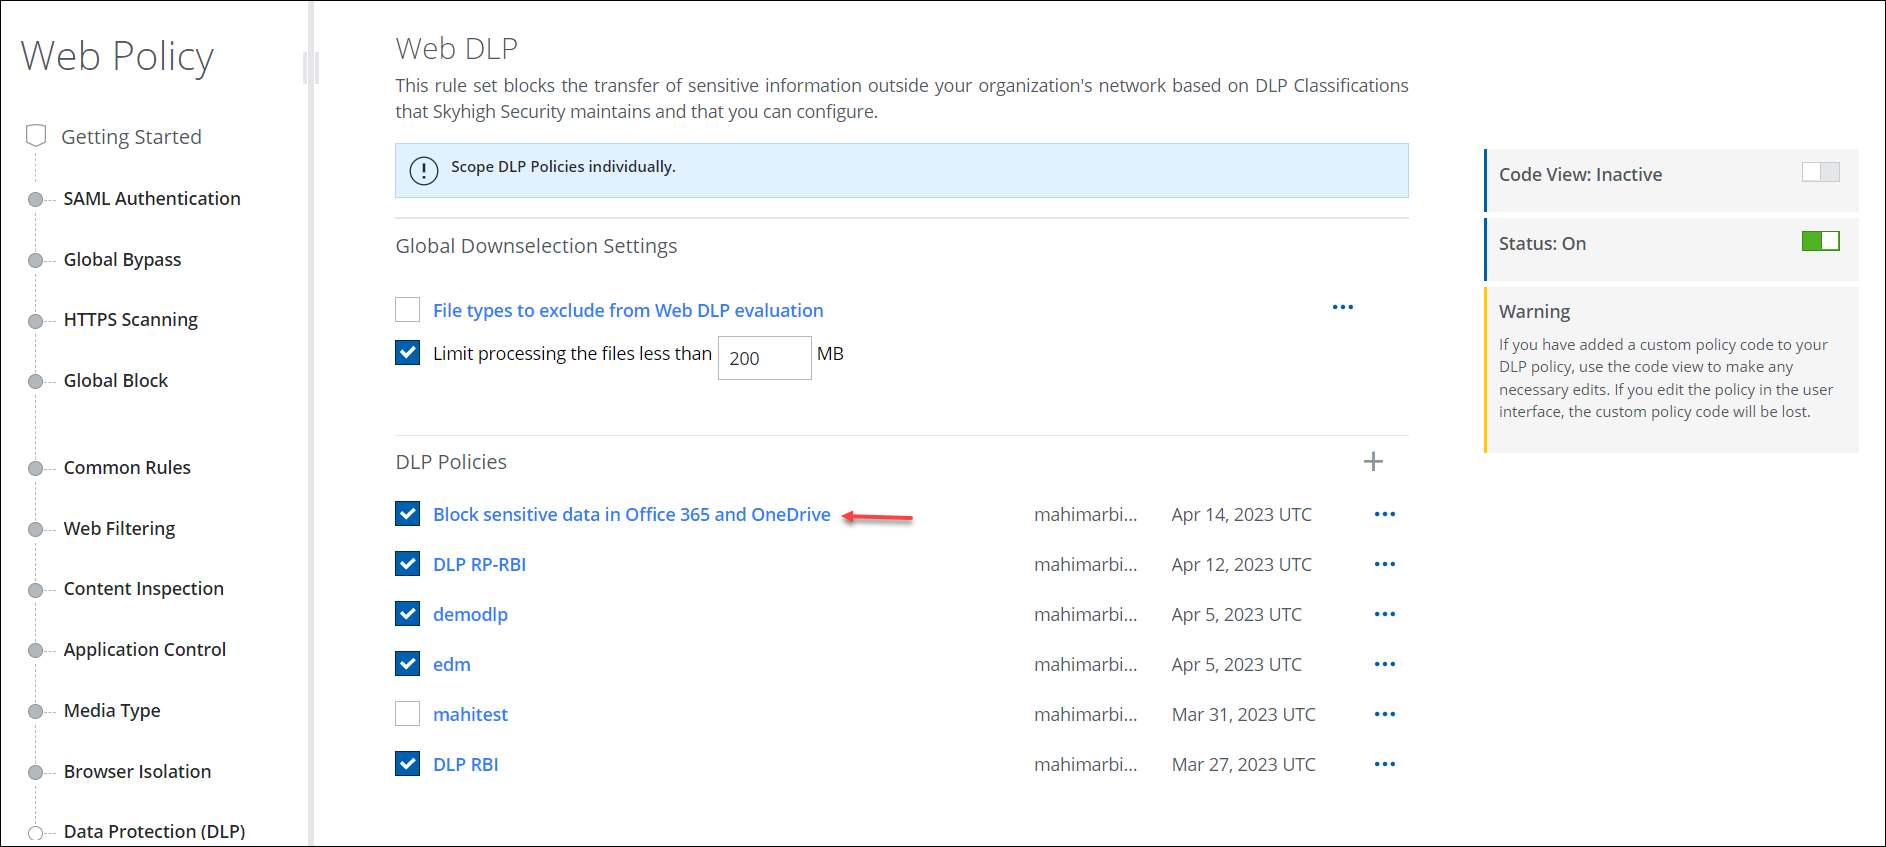
- Policy > Web Policy > Policy
- Policy > DLP Policies > DLP Policies
If any Web DLP policies are violated, you can view the incidents and apply the necessary remediation actions on the Incidents > Policy Incidents page. For details, see Shadow/Web DLP Incidents.