Workflow for Configuring a Web Policy — Overview
What a workflow for configuring your web policy under Secure Web Gateway looks like depends on what your particular requirements are when you configure this policy.
Here is an overview that explains the steps of this workflow from a high-level perspective.
If you have already completed some steps for configuring your web policy, you can create a backup of this policy before going through this workflow again. This allows you to revert at any time to what you had configured earlier on.
For more information, see About Backing Up and Restoring Secure Web Gateway.
Go through this workflow as follows:
- On the user interface for Secure Web Gateway, select Policy > Web Policy > Policy.
The main page for configuring your web policy appears. Its title is Web Policy.

-
Using the options that are provided on this page, configure your web policy. Complete any of the following tasks as needed.
-
Configure an existing rule or rule set — You can modify the settings of a rule that already exists. This might be a default rule, a default rule that you have already modified, or a rule that you created entirely on your own.
You can also modify the settings of any existing rule set.
Default rules are in place embedded in default rule sets after you have initially set up Secure Web Gateway. For more information about these rule sets, see Default Rule Sets — Overview.
For an example that shows how to modify rules in a default rule set, see Global Bypass Lists — Allow Global Access to Web Objects. -
Create a new rule — You can create a new rule in different ways.
-
Using the Rule Builder — You can use this tool to create a new rule of your own by specifying values for each of the elements that are included in a rule.
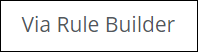
For more information, see Create a Rule with the Rule Builder. -
Writing it in the code — You can access the code that underlies the rules of your web policy and add code for a new rule that you write on your own to the existing code.

For more information, see Write a Rule in the Code of Your Web Policy.
-
-
Add a new rule set — You can add a new rule set in different ways.
-
Importing it from the library — You can import a rule set from the library and add it to the existing rule sets.
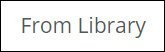
For more information, see Import a Rule Set from the Library. -
Creating it on your own — You can create a rule set of your own by specifying values for each of the elements that are included in a rule set.
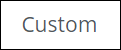
For more information, see Create a Rule Set.
-
-
-
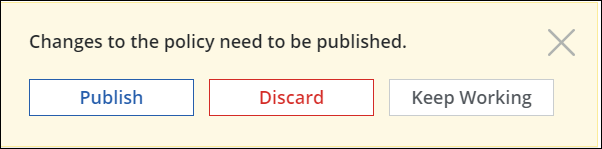
Save what you have configured for your web policy using the publishing option. It will take effect then.
If you do not want your modified web policy to take effect immediately, you can keep working and publish it later on. You can also discard what you have configured.
When you have completed this workflow for configuring your web policy, you can create a backup of this policy now and use it later on to restore what you have configured here.
You can also restore the default settings for your web policy at any time. These are the settings that were in place after you had initially set up Secure Web Gateway.
For more information, see About Backing Up and Restoring Secure Web Gateway.