Web Policy Page
The Web Policy page provides you with options for configuring your web policy. It includes the following items.
-
Web policy tree — Shows the rule sets of your web policy and allows you to access them.
-
What's New section — Informs you about updated and new rule sets.
-
New Ruleset button — Opens a menu with options for creating or importing a new rule set.
-
Important concepts and configuration area — Explains important concepts of configuring a web policy or shows the rules of the rule set that is currently selected on the web policy tree and allows you to work with them.
-
Change management icon — Provides you with options for handling your changes when configuring a web policy.
The following sections describe these items in more detail.
Web Policy Tree
The rules of your web policy are grouped in rule sets, which are shown in a tree structure on the left of the Web Policy page. This tree structure is known as the web policy tree or simply policy tree.
Rule sets are themselves grouped under parent rule sets here. For example, under the Global Bypass parent rule set, three default rule sets with rules for global bypassing can be found.
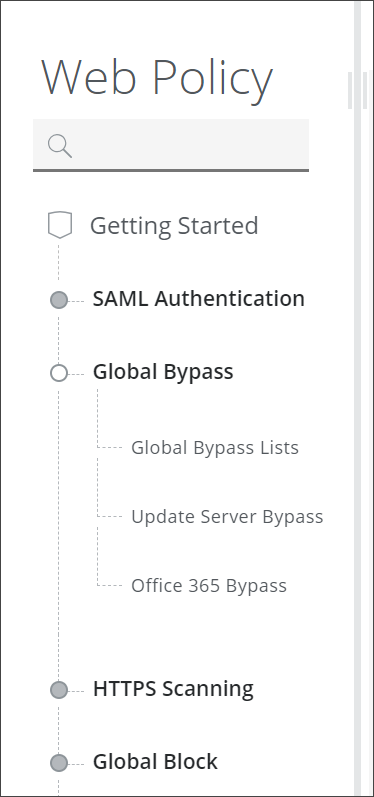
If you select a rule set, for example, the Global Bypass Lists rule set, it is shown with its rules in the configuration area on the right.
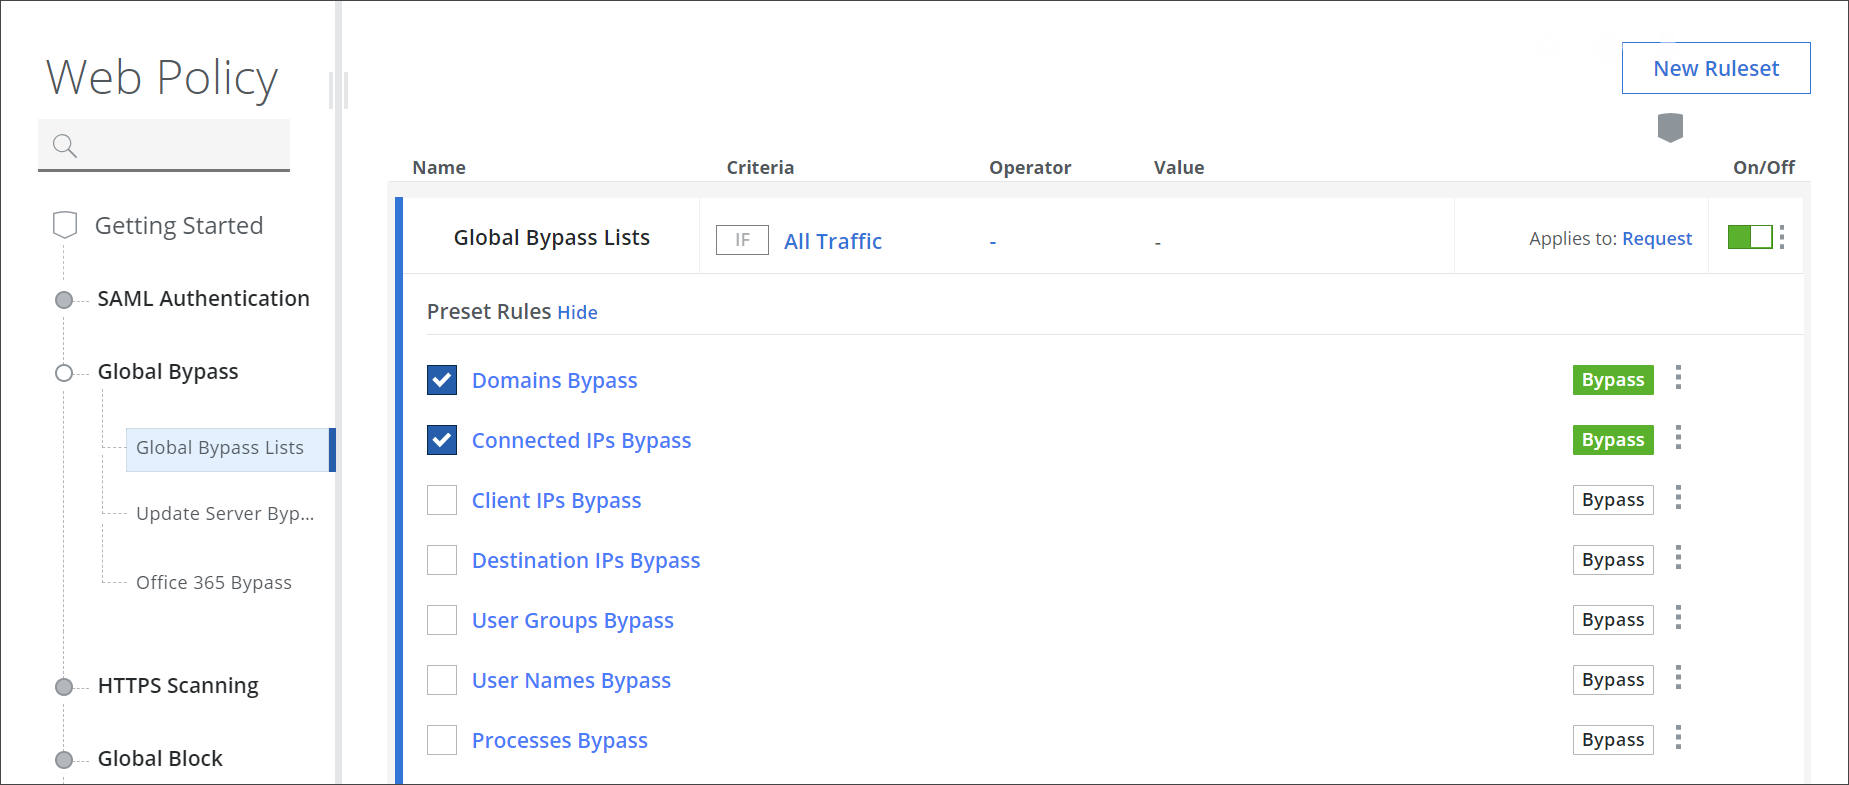
You can configure these rules as needed and also create rules of your own or access the code that underlies the rules here.
Using the search field at the top of the web policy tree, you can search for a rule set that you want to view or work with.
When Getting Started is selected on the web policy tree, important concepts of configuring a web policy are explained in information boxes instead of showing a rule set and the What's New section appears if there are updated or new rule sets.
For more information, see About Configuring a Web Policy.
What's New Section
This section informs you about updated and new rule sets. It appears when Getting Started is selected on the web policy tree if there are any updated or new rule sets.
You can add these rule sets to your web policy by importing them from the rule set library.

Upon clicking View, a panel is inserted on the right with a list of the updated and new rule sets. A short description is also provided for each of them.
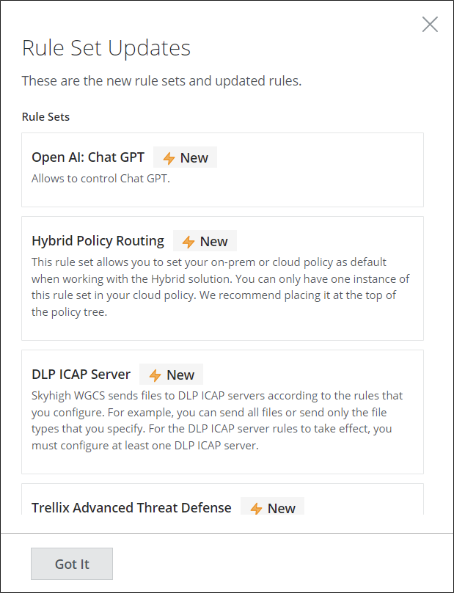
After you have imported a rule set, it is no longer shown in the list. Once you have imported all updated and new rule sets, the section does not appear anymore.
For more information, see Import a Rule Set from the Library.
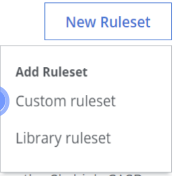
New Ruleset Button
This button provides you with options for adding a new rule set to your web policy.
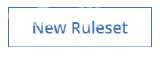
Clicking the button opens a menu where you can select the option to create a new rule set of your own or to import a rule set from the library.
For more information, see Create a Rule Set with the Rule Builder and Import a Rule Set from the Library.
Important Concepts and Configuration Area
This area is used for two different purposes.
-
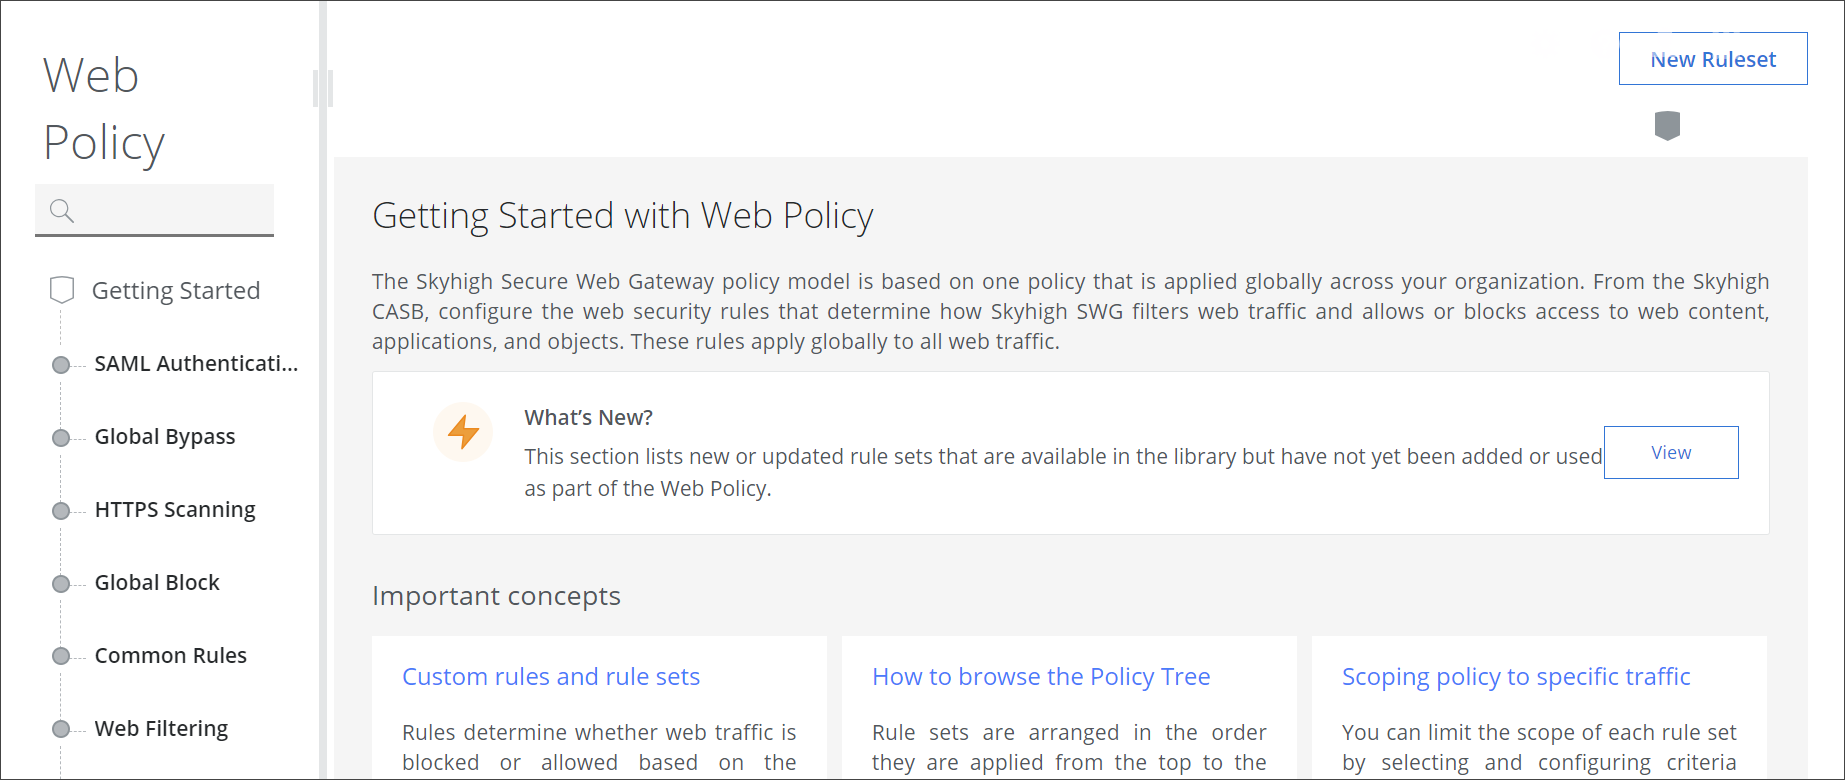
When Getting Started is selected on the web policy tree, a short introduction into configuring a web policy is shown and important concepts of configuring a web policy are explained in information boxes on the right.
Clicking the blue header of an information box directs you to still more information.
The What's New section also appears if there are updated or new rule sets that you have not yet imported into your web policy. - When a rule set is selected, this rule set is shown with its rules.
The following illustration shows what you can see in this area when Getting Started is selected.
When, for example, the Global Bypass Lists rule set is selected, it is shown with its rules.
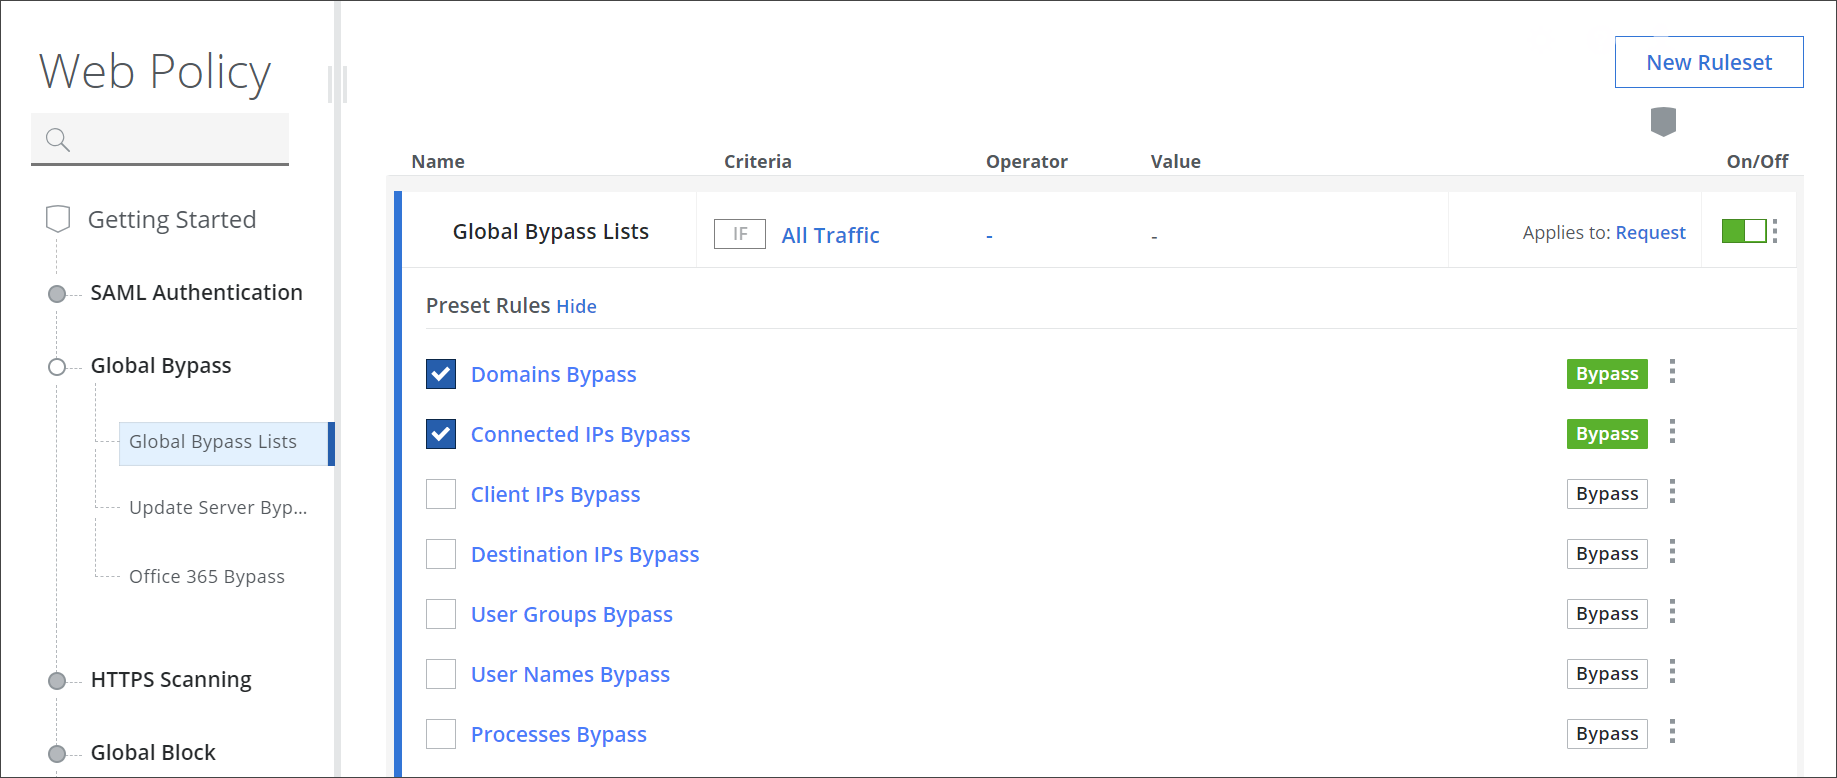
You can configure these rules as needed and also create rules of your own or access the code that underlies the rules here.
For more information, see About Configuring a Web Policy.
Change Management Icon
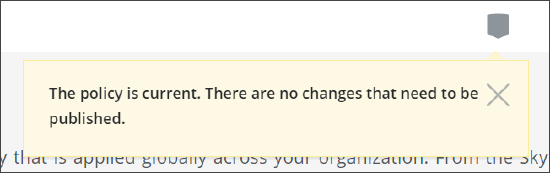
Clicking this shield icon provides you with options for handling your changes when configuring a web policy.

Your changes are saved locally while you are making them. To let them take effect in the cloud, you also need to publish them.
If there are no changes to publish, you are told so upon clicking the icon.
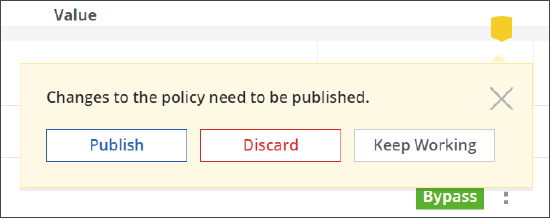
If you make any changes, the gray color of the icon turns to yellow. Another message appears stating that these changes need to be published and providing you with options for handling it.
You can choose to publish your changes, discard them, or keep working and publish later.
The message disappears after a few seconds, but the yellow shield icon remains. Upon clicking it, the message reappears. You can again choose how to handle your changes then.