Create a Template for an End User Notification Page
You can create a template for an End User Notification Page on your own and configure settings for its elements. You can also configure the language to be used on this page.
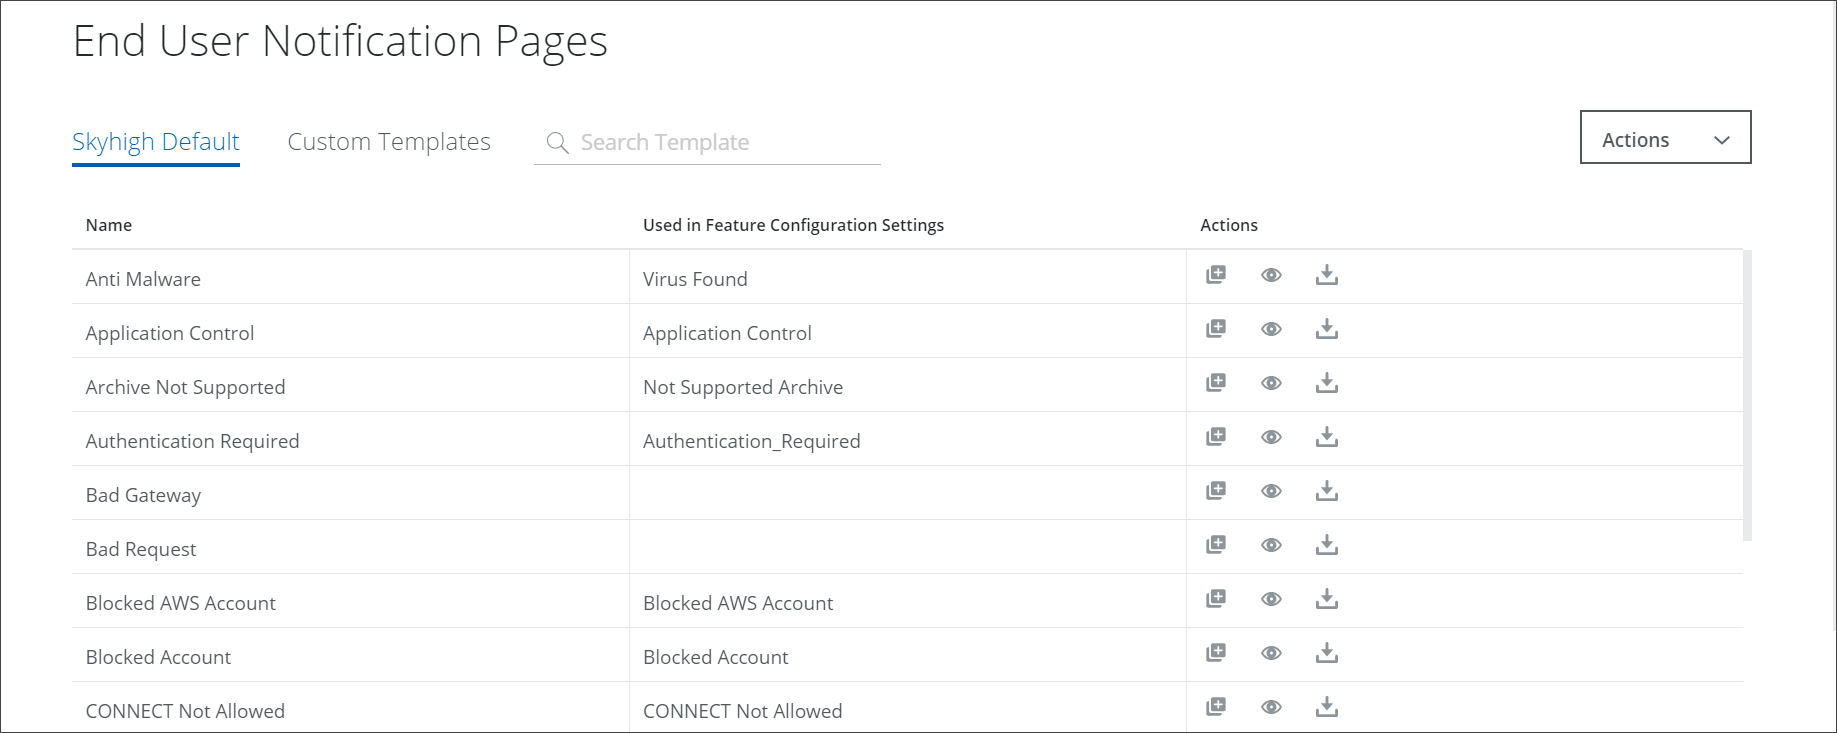
- On the user interface for Secure Web Gateway, select Policy > Web Policy > End User Notification Pages.
The End User Notification Pages page appears.
-
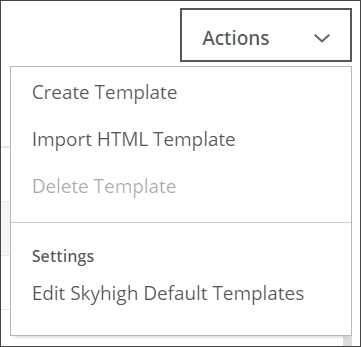
From the Actions menu in the top-right corner, select Create Template.
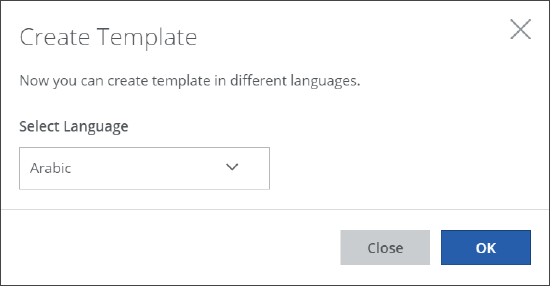
- In the Create Template window that opens, select a language, for example, English. The End User Notification Page that uses the template will be sent to the user in this language.
If no language is configured for a template, English will be used by default.
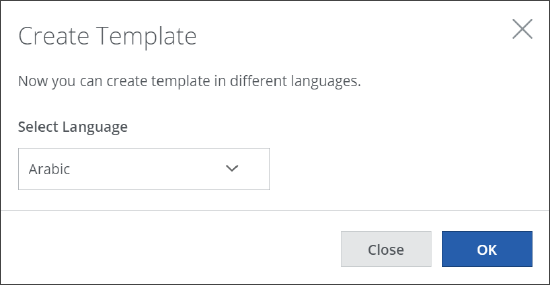
- Click OK.
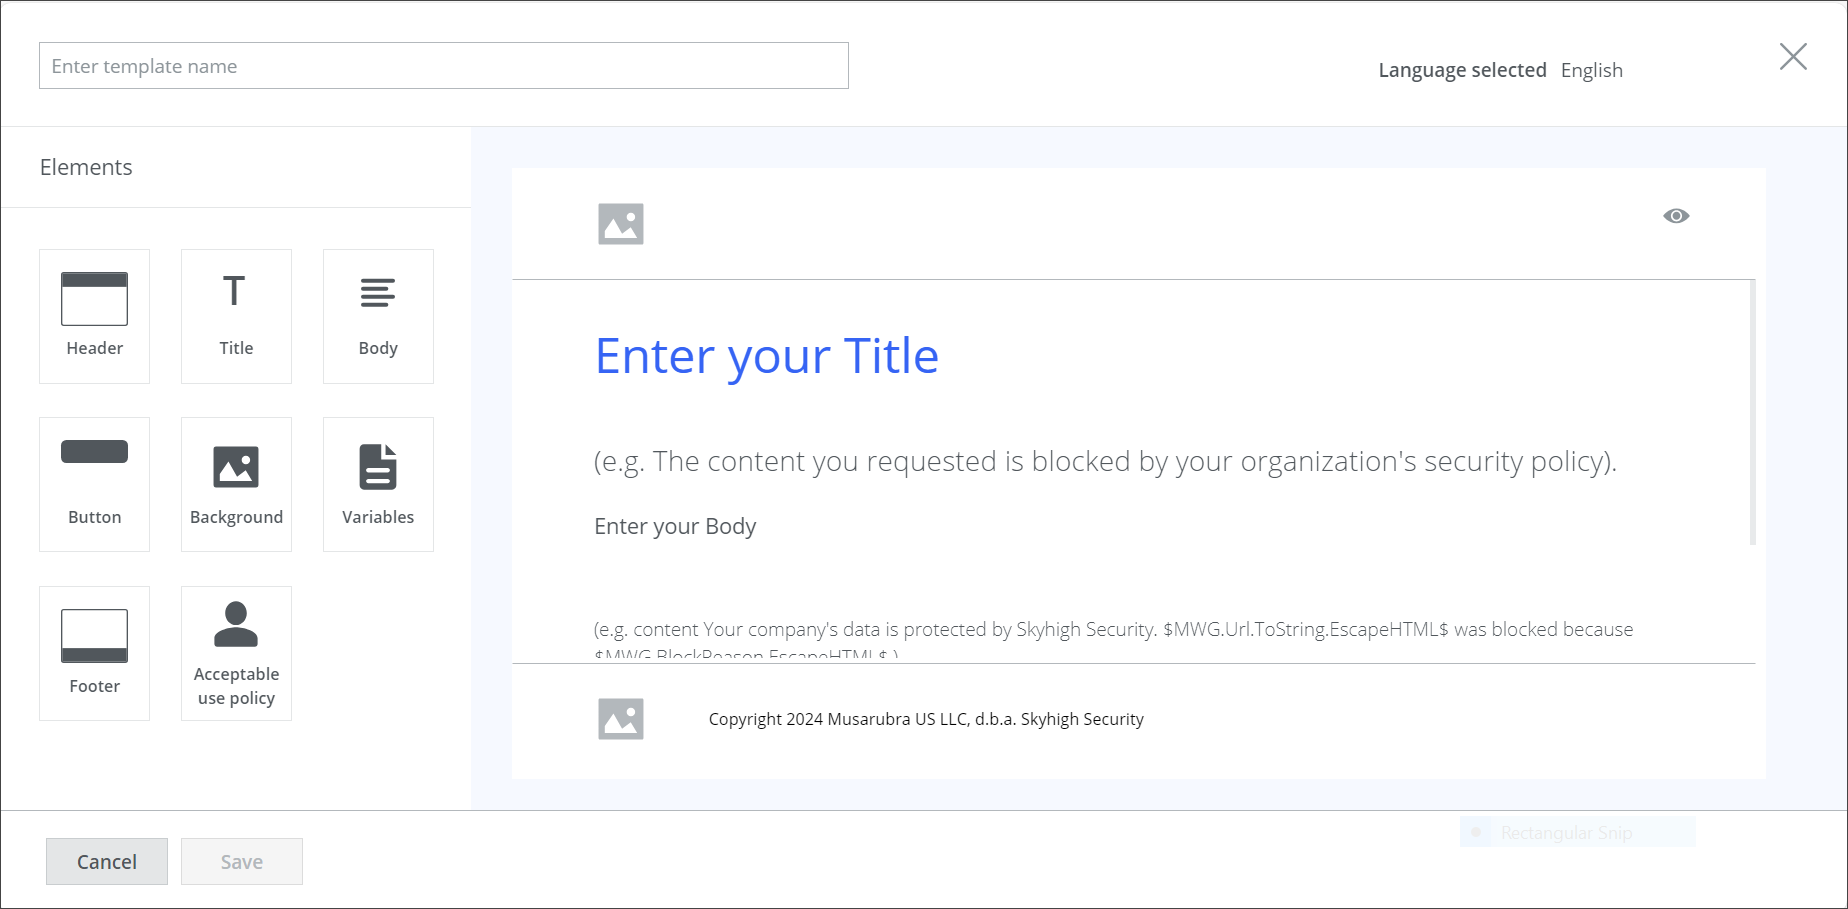
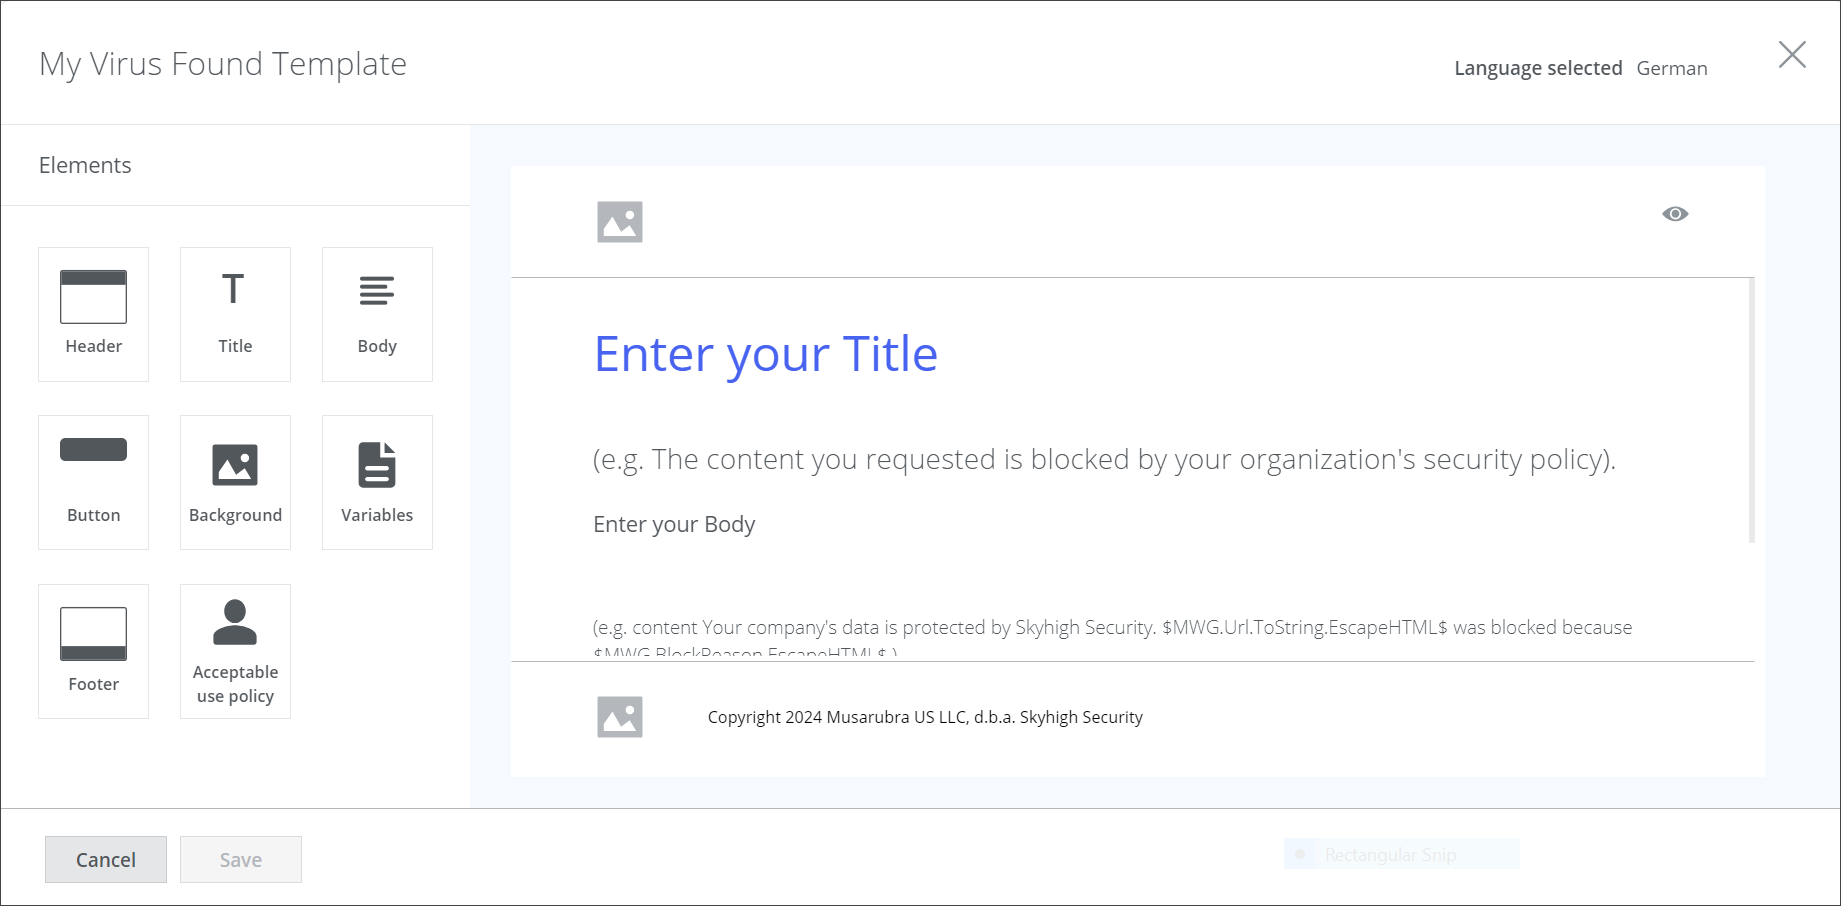
The window closes and a page where you can configure a name and settings for the elements of the template appears. The language that you selected is shown in the top-right corner of the page.
The names of the variables that you configure for your template will appear in this language. For the other template elements, for example, for the title or body, you need to enter text in this language yourself.
-
In the field within the top-left corner, enter a name for the template.

Enter, for example, My Virus Found Template. -
If you want to configure another language for the template, complete the following substeps. Otherwise, proceed with step 7.
-
After entering a name for the template, click Save.
The template is shown in a row under Custom Templates with the name and language you have configured for it.

-
Click the right-most icon in the row with the template. When you place your mouse pointer over it, a label appears reading Create localized template.
The Create Template window opens again.
-
Select another language, for example, German, then click OK.
The End User Notification Pages page opens again. The other language that you selected is shown in its top right corner.
-
To view both of the languages that you have configured, click any of the element icons on the left, for example, Header, then click Save.
The row with your template is shown as configured with two languages.

-
To view both languages, click the arrow at the beginning of the row.
Both languages are shown.

-
Repeat these substeps to configure more languages for your template if needed.
-
-
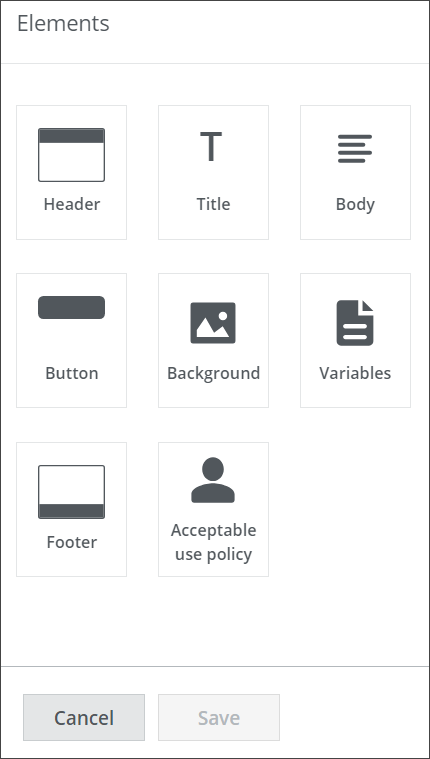
To configure settings for the elements of the template, select the symbols of the element one after another from the area on the left of the configuration page.
-
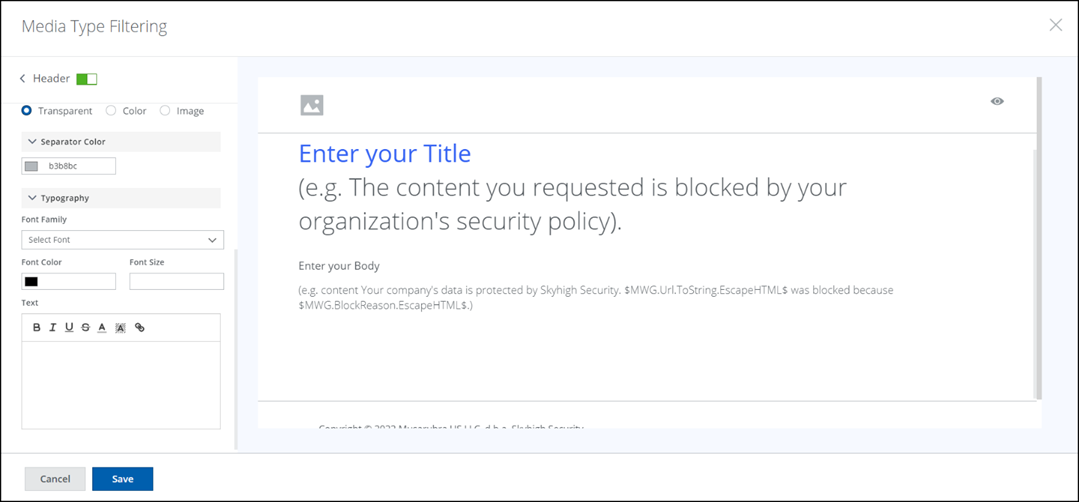
Select the Header element and on the page that appears, configure settings for the template header.
On this page, you can configure the following for this header: logo, alignment, background, separator color, font type, font color, font size, and text.
-
Select the Title element and on the page that appears, configure settings for the template title.
On this page, you can configure the following for this title: font type, font color, font size, font alignment, and background.

-
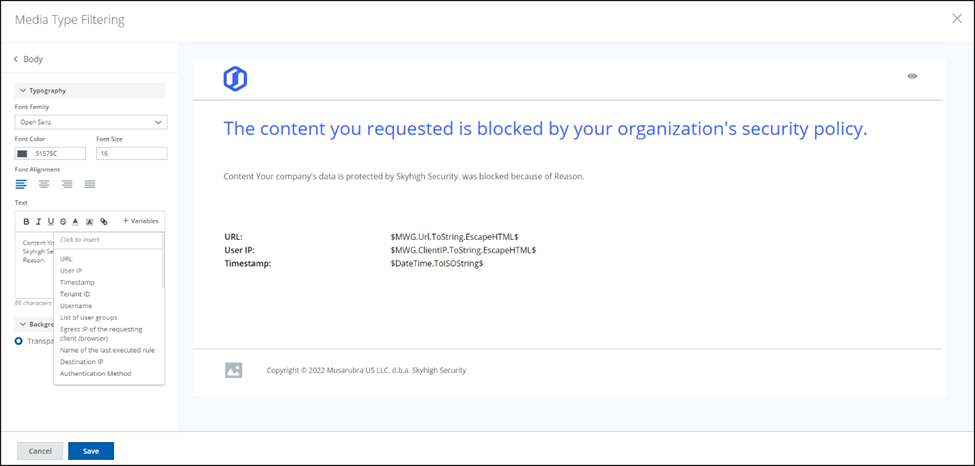
Select the Body element and on the page that appears, configure settings for the template body.
On this page, you can configure the following for this body: font type, font color, font size, font alignment, and background.
-
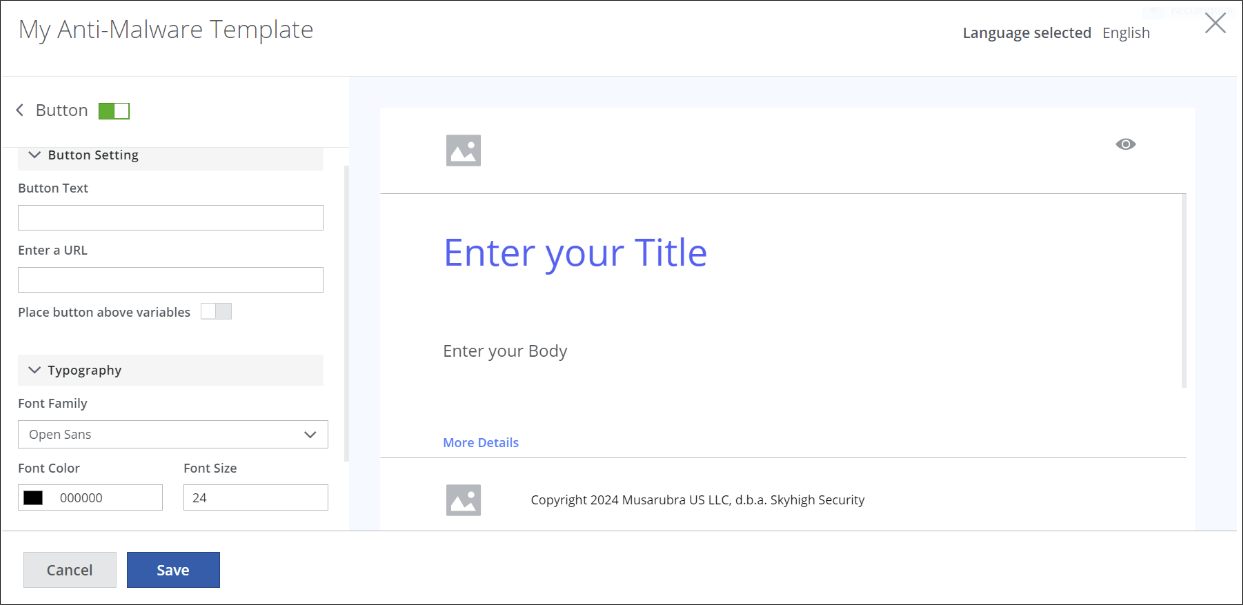
Select the Button element and on the page that appears, configure settings for the button that is provided by the template.
Clicking this button on an End User Notification Page allows the end user to go to a destination that you configure here.
You can configure the following for this button, including this destination.-
Typography and style of the button
These settings include the font family, color, and size for the button, as well as its alignment, the background color, and the border color, size, and radius. -
Function and position of the button
These settings include the text on the button, the destination that clicking the button will direct the end user to, and the position of the button on the End User Notification Page.
To configure function and position of the button, the following options are provided under Button Setting.

-
Button Text — Enter the text that is to appear on the button.
For example, enter Contact us. -
Enter a URL— Enter the URL for the destination that clicking the button will direct the end user to.
For example, enter https://www.skyhighsecurity.com/about/contact-us. -
Place button above variables — Use the toggle switch to enable or disable this option.
If this option is enabled, the button appears above the variables on the End User Notification Page. It is located immediately under the body of the page then. Otherwise it appears below the variables.
You can only access this option if you have configured any variables before, see substep f. Otherwise it is grayed out.
-
-
-
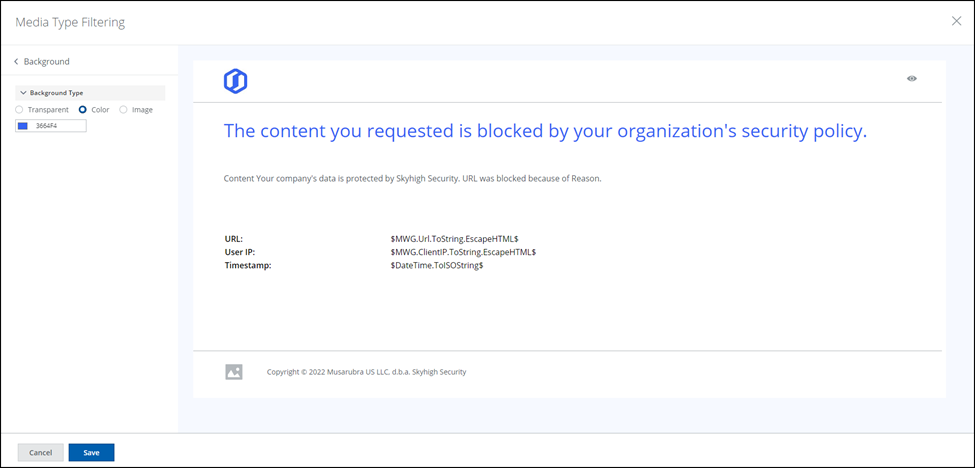
Select the Background element and on the page that appears, configure settings for the template background.
On this page, you can configure the type of this background. You can choose a transparent or colored background or upload an image that will serve as background.
-
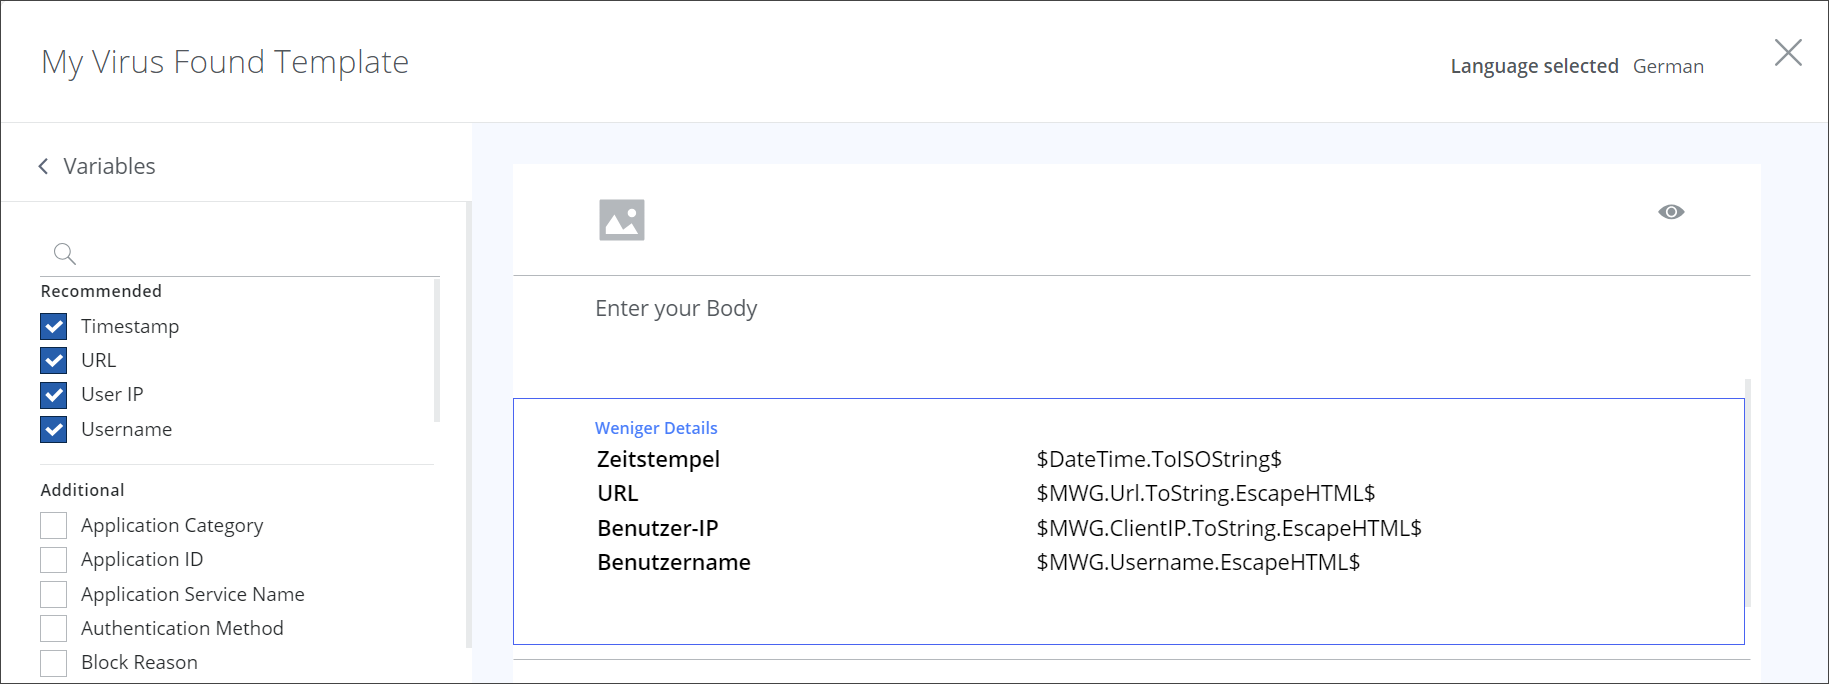
Select the Variables element and on the page that appears, configure settings for the variables used in the template.
On this page, you can select variables and configure the following for them: font type, font color, font size, and alignment. You can insert variables in the title and body of the template.
For some variables, we recommend that you select them, for example, URL or Username. You can additionally add others as needed.
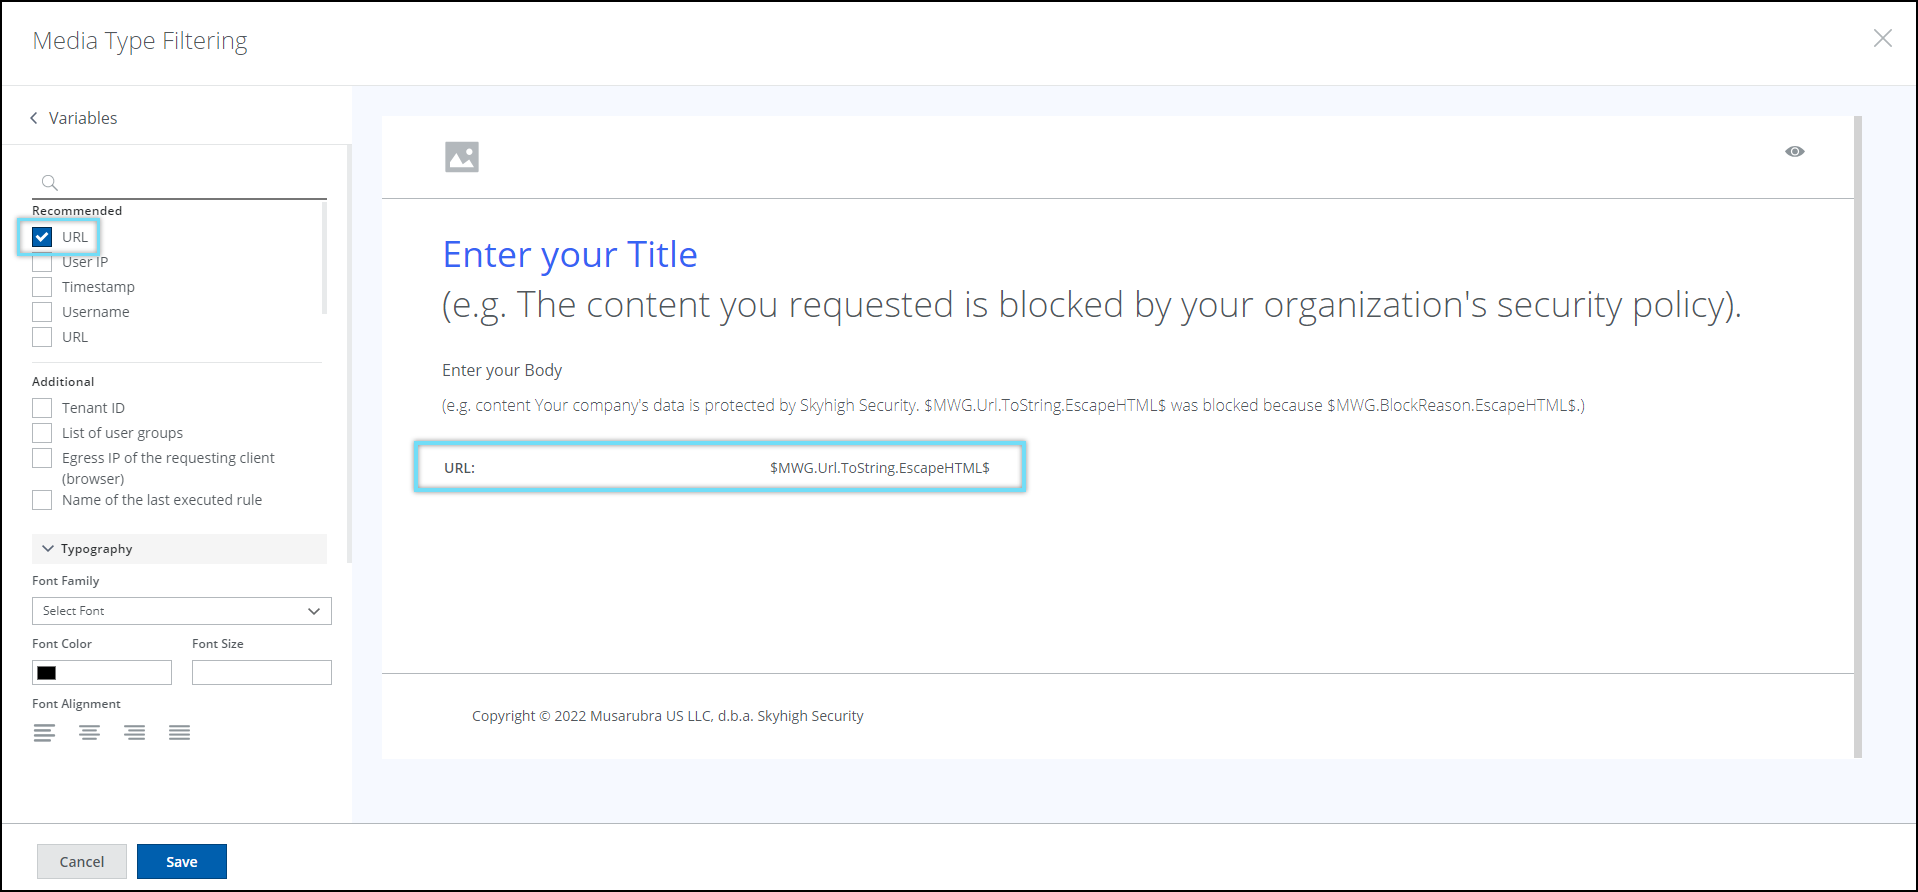
The variable names are shown in the language that you selected in step 3. For example, if you have selected German, Zeitstempel is shown as a variable name, which means Timestamp.
-
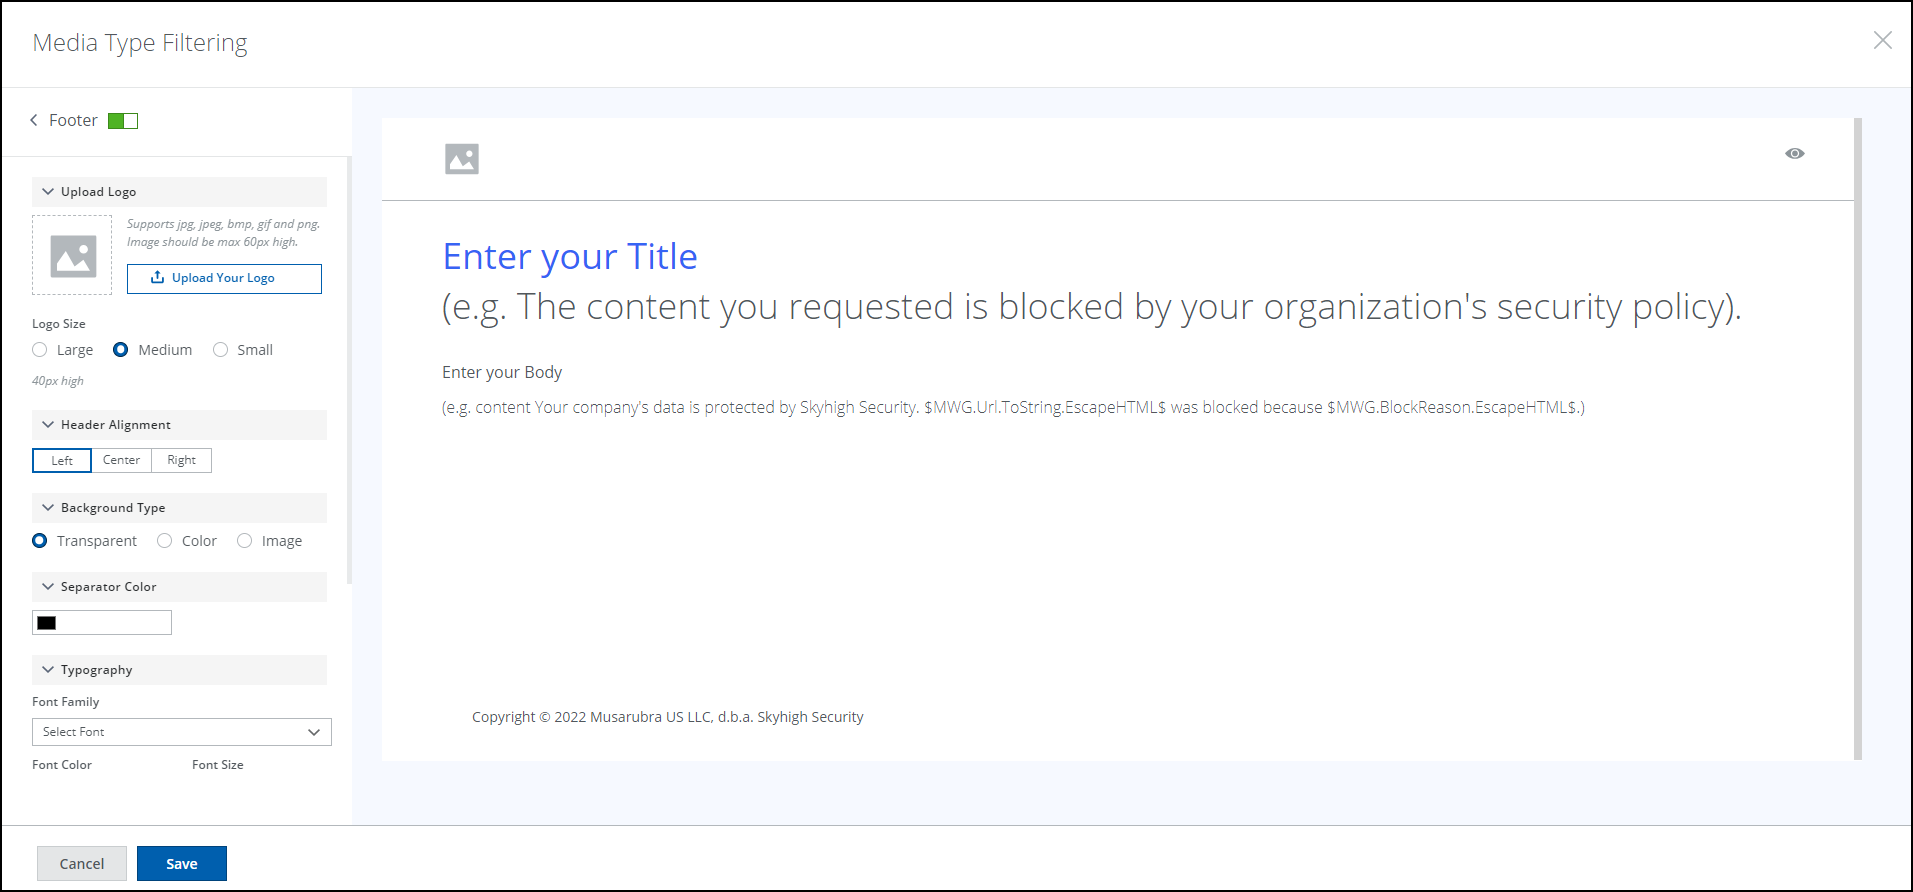
Select the Footer element and on the page that appears, configure settings for the template footer.
On this page, you can configure the following for the header: logo, alignment, background, separator color, font type, font color, font size, and text.
-
Select the Acceptable use policy element and on the page that appears, configure settings for this element.

You can configure the following for this element:-
Text and typography of your acceptable-use-policy information
These settings include the text and its alignment and the family, size, and color of the font. -
The option for a user to send an email to Skyhigh Security support after receiving an End User Notification Page
To send this email, the user clicks the Mail to option, which appears on the End User Notification Page after you have configured it here.
To configure this option, you need to configure the following settings under Mail to.

-
Mail to — Click this toggle switch to enable the option.
The colors of the toggle switch turn from white and gray to green and white.

You can now configure the remaining settings. -
Enter Recipient — Enter the email address of the recipient.
Contact Skyhigh Security support for this email address. -
Enter Subject — Enter the subject of the email.
Contact Skyhigh Security support for this subject. -
Enter Text — Enter the text of the email.
This is the text that support will read after receiving the email. -
+ Variables — Add variables as needed to the text of the email. Click this option and select variables from the list that appears.

For example, if a user's request to access a website was blocked, and End User Notification Page is sent to this user. If you configure the Mail to option for this page, the user can send an email to support after receiving the page.
If you also configure the Timestamp and URL variables for the Mail to option, the email that the user sends to support will include the time when the request was submitted and the URL of the website.
-
-
-
-
When you have completed your configuration of the template elements, click Save.
You have now created a template of your own.
You can copy (clone) this template or any other template and use the cloned template as a starting point for configuring still another template. -
To clone a template where only one language is configured, complete the following substeps. To configure a template with more than one language, continue with step 10.
-
Select the template you want to clone from the list under Custom Templates on the End User Notification Pages page.

-
Click the second icon in the line with the selected template. It is the Clone and Edit icon.
-
In the Clone Template window that opens, click Clone.

-
In the name field at the top of the page that appears, enter a name for the cloned template.

For example, enter My Alternative Virus Found Template. -
Click Save.
The cloned template is shown in the list under Custom Templates.

You can configure the elements of this cloned template as needed. After clicking the Edit icon, which is the first icon in the line with the template, the page with the template elements appears.
Configure these elements as described in the substeps of step 7.
-
-
To clone a template where more than one language is configured, complete these substeps.
-
Select the template you want to clone from the list under Custom Templates on the End User Notification Pages page.

-
Click the first icon in the line with the selected template. It is the Clone and Edit icon.
- In the name field of the Clone Template window that opens, enter a name for the cloned template.

For example, enter My English Only Virus Found Template. -
Select the localized templates for the languages you want to keep for the cloned template.
For example, deselect German and keep English.

-
Click Clone.
The cloned template is shown in the list under Custom Templates.

You can configure the elements of this cloned template as needed. After clicking the Edit icon, which is the first icon in the line with the template, the page with the template elements appears.
Configure these elements as described in the substeps of step 7.
If you have kept more than one language, the localized templates for these languages are shown after clicking the arrow at the beginning of the line with the cloned template.
After clicking the Edit icon in the line with a localized template, the page with the template elements appears.
Configure these elements for each localized template as described in the substeps of step 7.
-
After creating a template of your own, you can configure it to be used for an End User Notification Page. When this page is shown in a user's browser, it looks, for example, like this.
.png?revision=1)