Create an On-Demand Scan for Microsoft Dynamics 365
On-Demand Scan Compliance
Create an On-Demand Scan for Microsoft Dynamics 365
To create an On-Demand scan:
- Log in to Skyhigh CASB.
- Go to Policy > On-Demand Scan.
- Click Actions > Create a Scan. The Scan Creation Wizard displays.
- Scan Type. Select Data Loss Prevention (DLP) & Malware.
- Name. Enter the name for the scan.
- Description. Add an optional description for the scan.
- Service Instance. Select the Microsoft Dynamics 365 instance you want to scan.
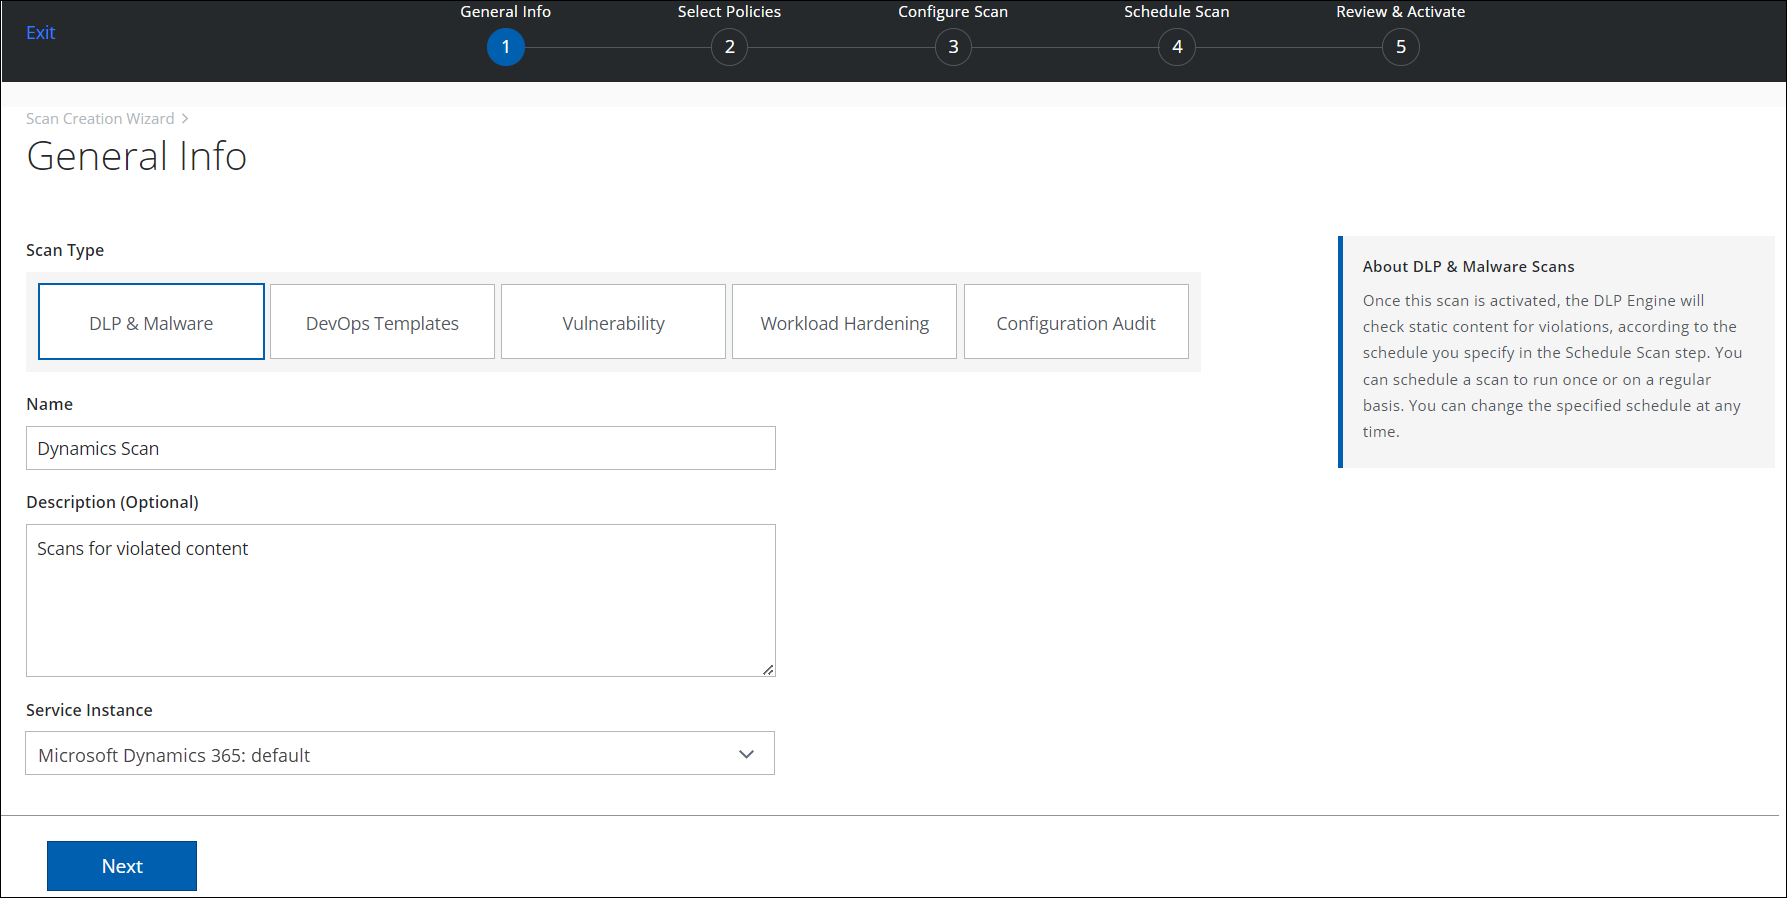
NOTE: The Malware Scan is currently not supported in Dynamics 365.
- Click Next.
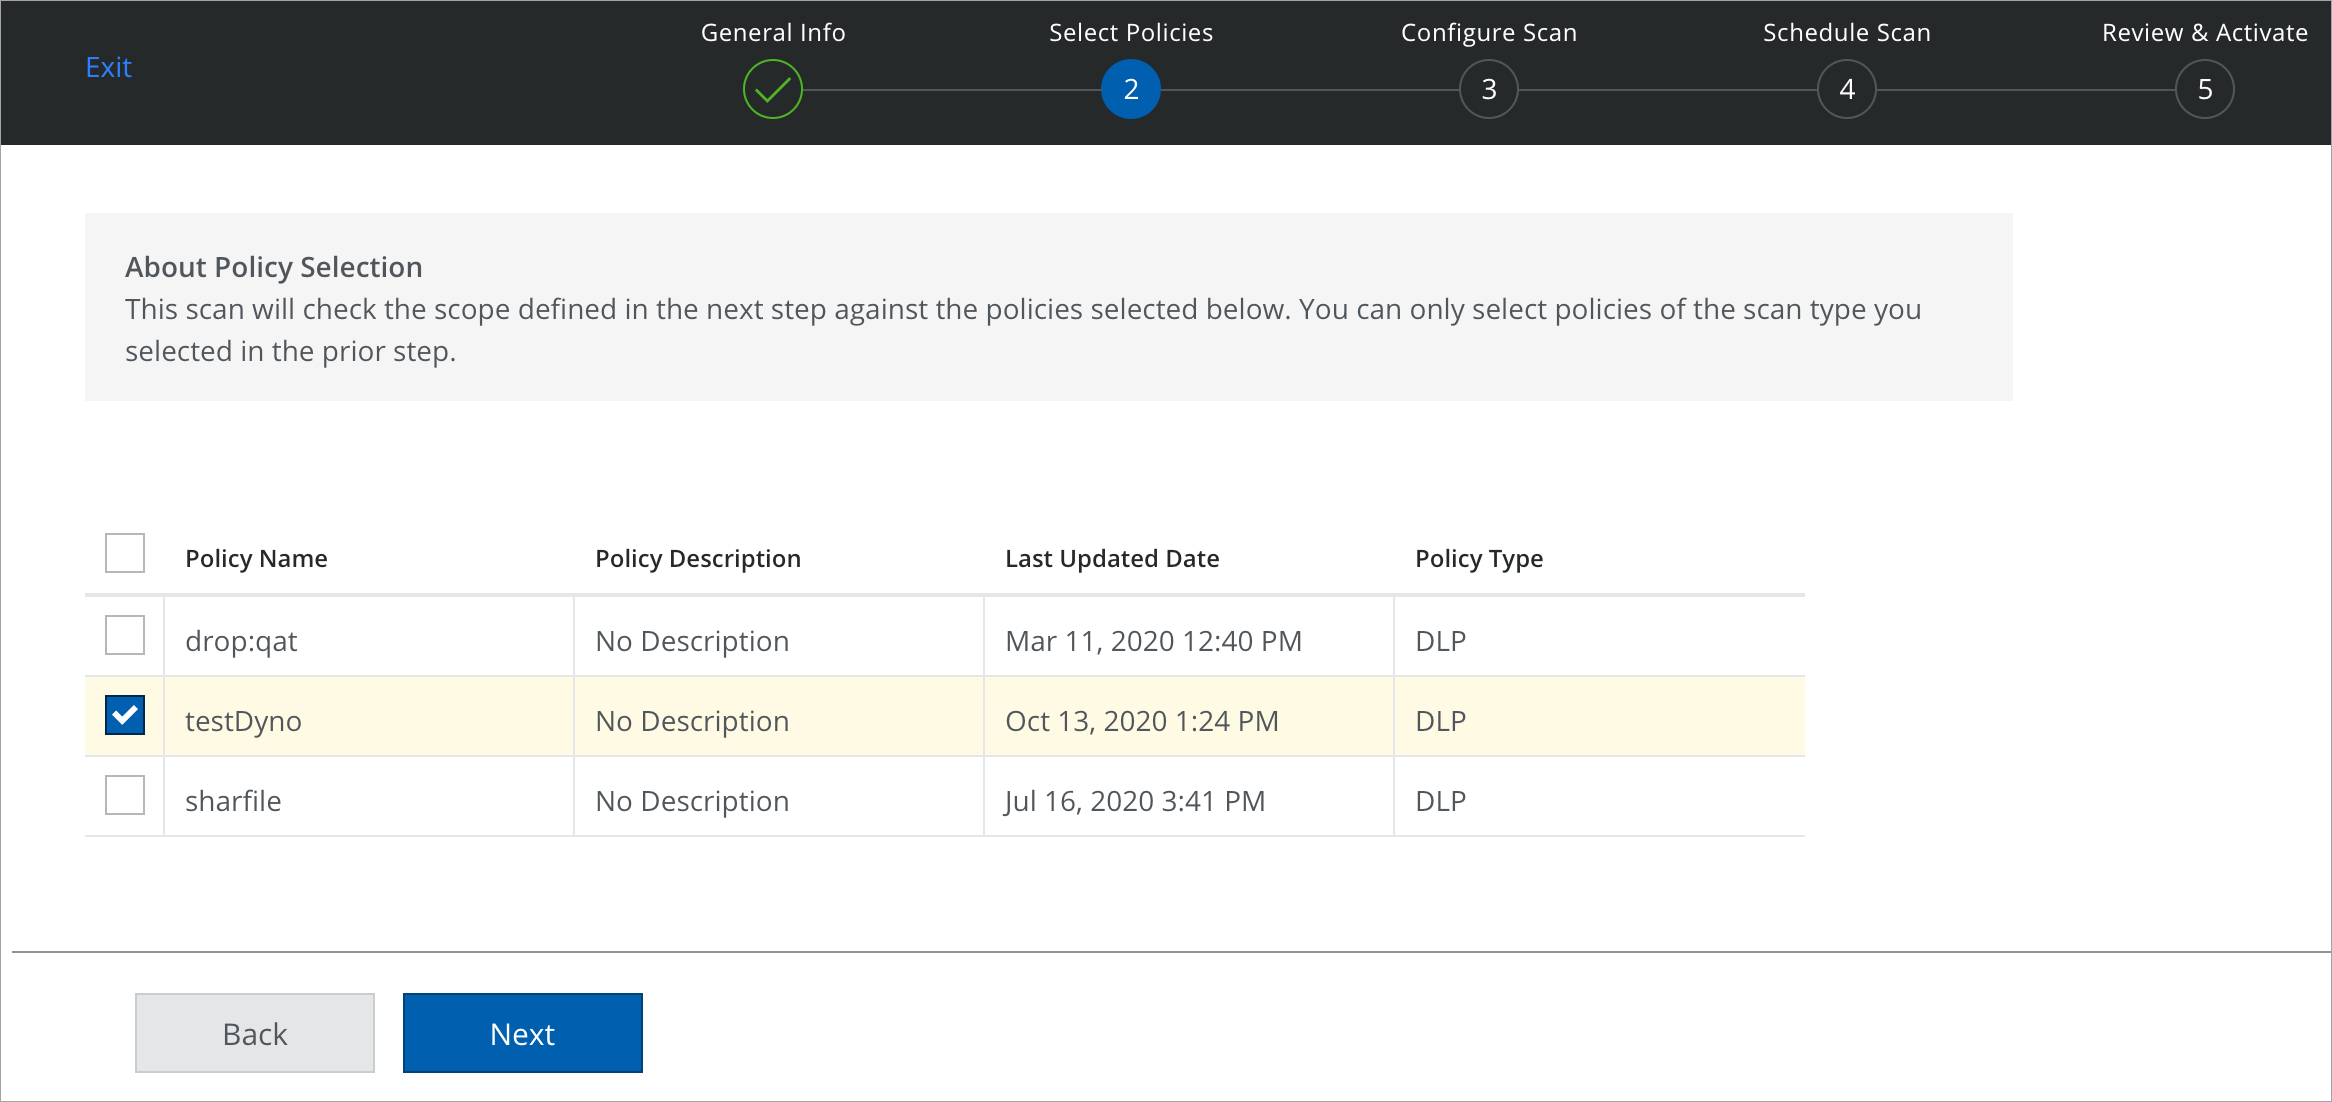
- On the Select Policies page, select the available policies that you want to use for your scan type and click Next.
NOTES:
- Only Active policies are listed here.
- If you don't see any policies on the Select Policies page, then you must create at least one DLP policy before creating a scan.
- To create a new DLP policy, see Create DLP Policy. In the DLP Policy, only the "Send email notification to" response action is supported. This response action helps to send an email to the specified user regarding the policy violation.
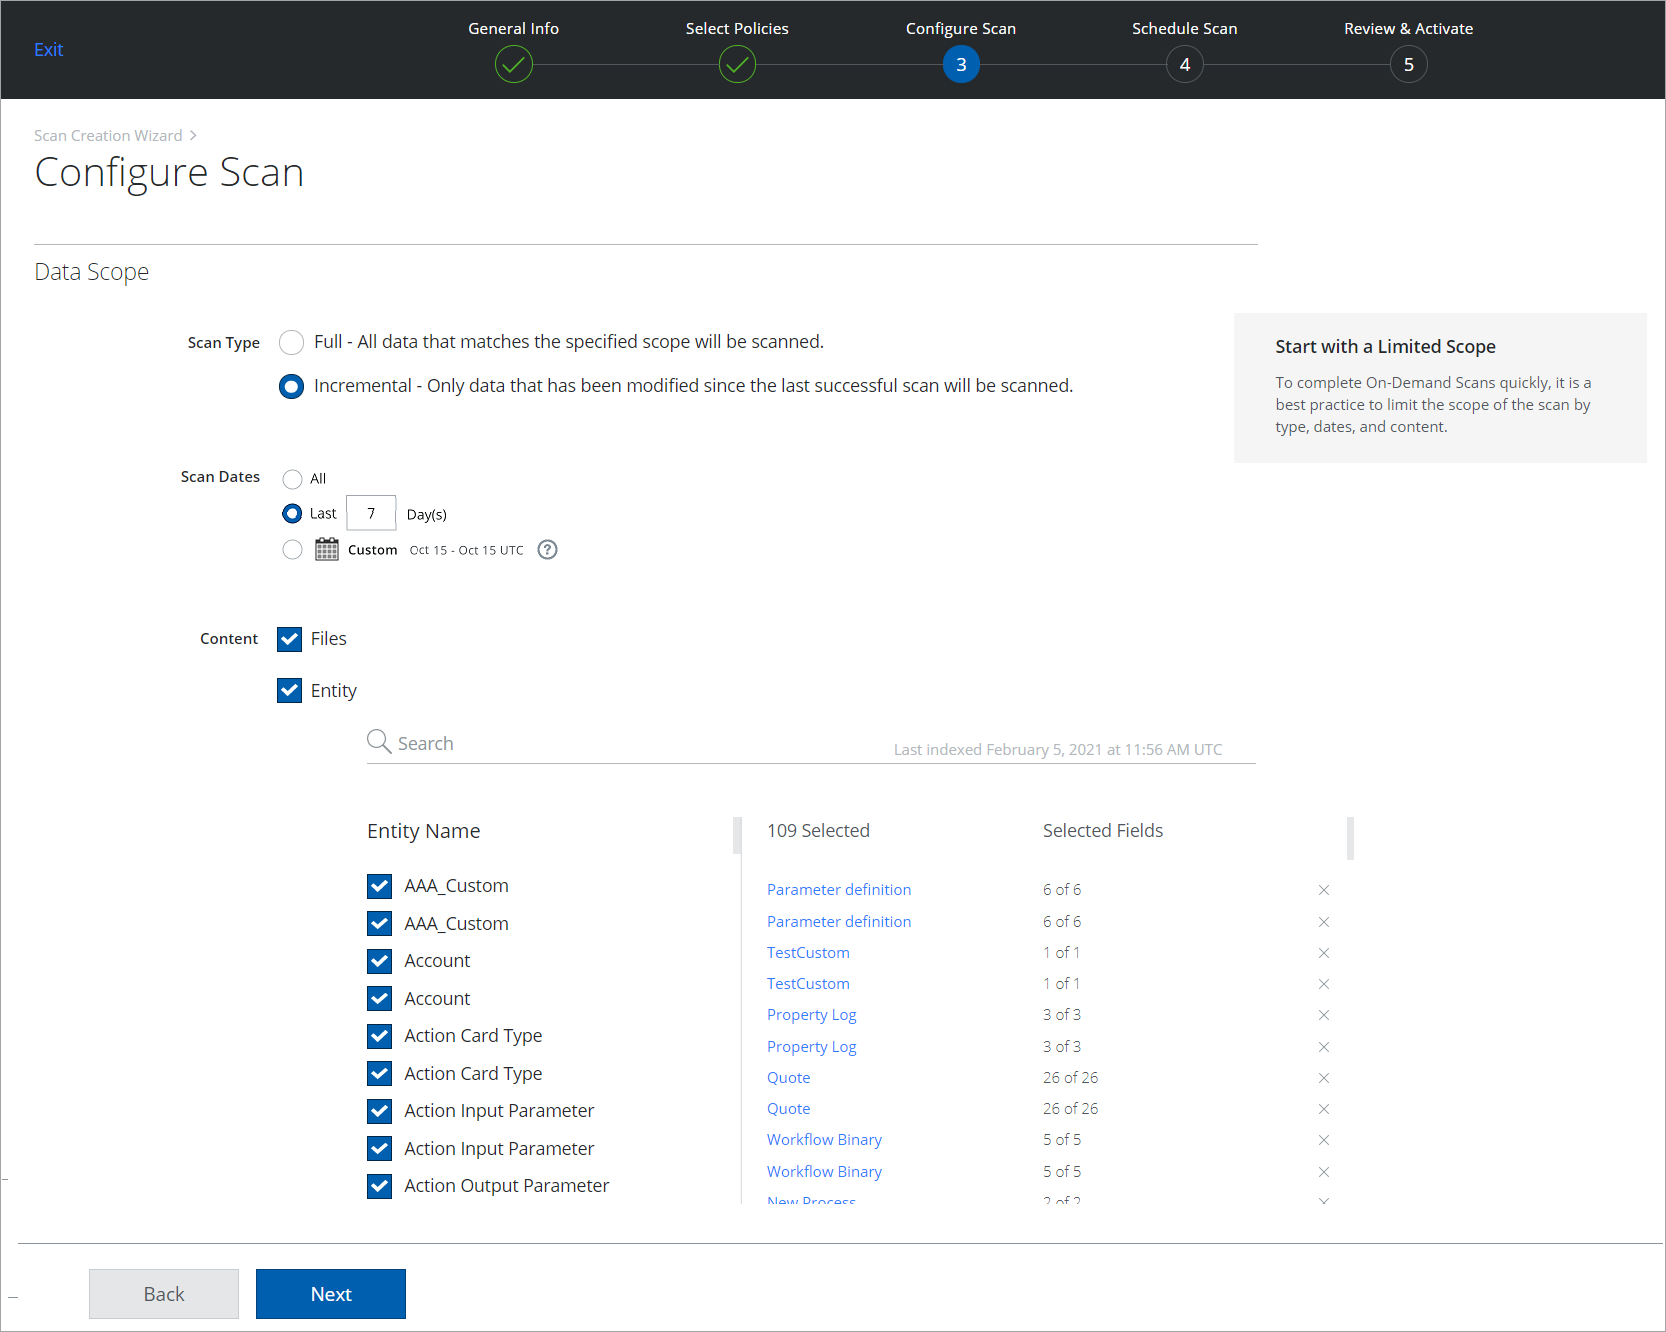
- On the Configure Scan page, configure the scope for your scan.
- Scan Type:
- Full. Scans all content every time the scan is run.
- Incremental. Scan only content that has changed since the last successful scan.
- Scan Dates:
- All. Scans all data. The data scans up to the past 180 days or the past six months of data.
- Last X Day(s). Limit the scan to the specified time period.
- Custom. Choose the calendar to select the customized date range for the scan.
- Content. This section allows you to select the Files and Entity in Dynamics 365. Select the required file and entity to scan the types of data. You can also select the fields associated with the files and entity. Click the entity link in the second column to view the selected fields. You can select or deselect the fields for the scan.
- Scan Type:
- Click Next.
- On the Schedule Scan page, select the frequency for your scan to run:
- None (On-Demand Only). Run the scan once now.
- Daily. Run the scan once a day. Configure the time and time zone.
- Weekly. Run the scan once a week. Configure the day, time, and time zone.
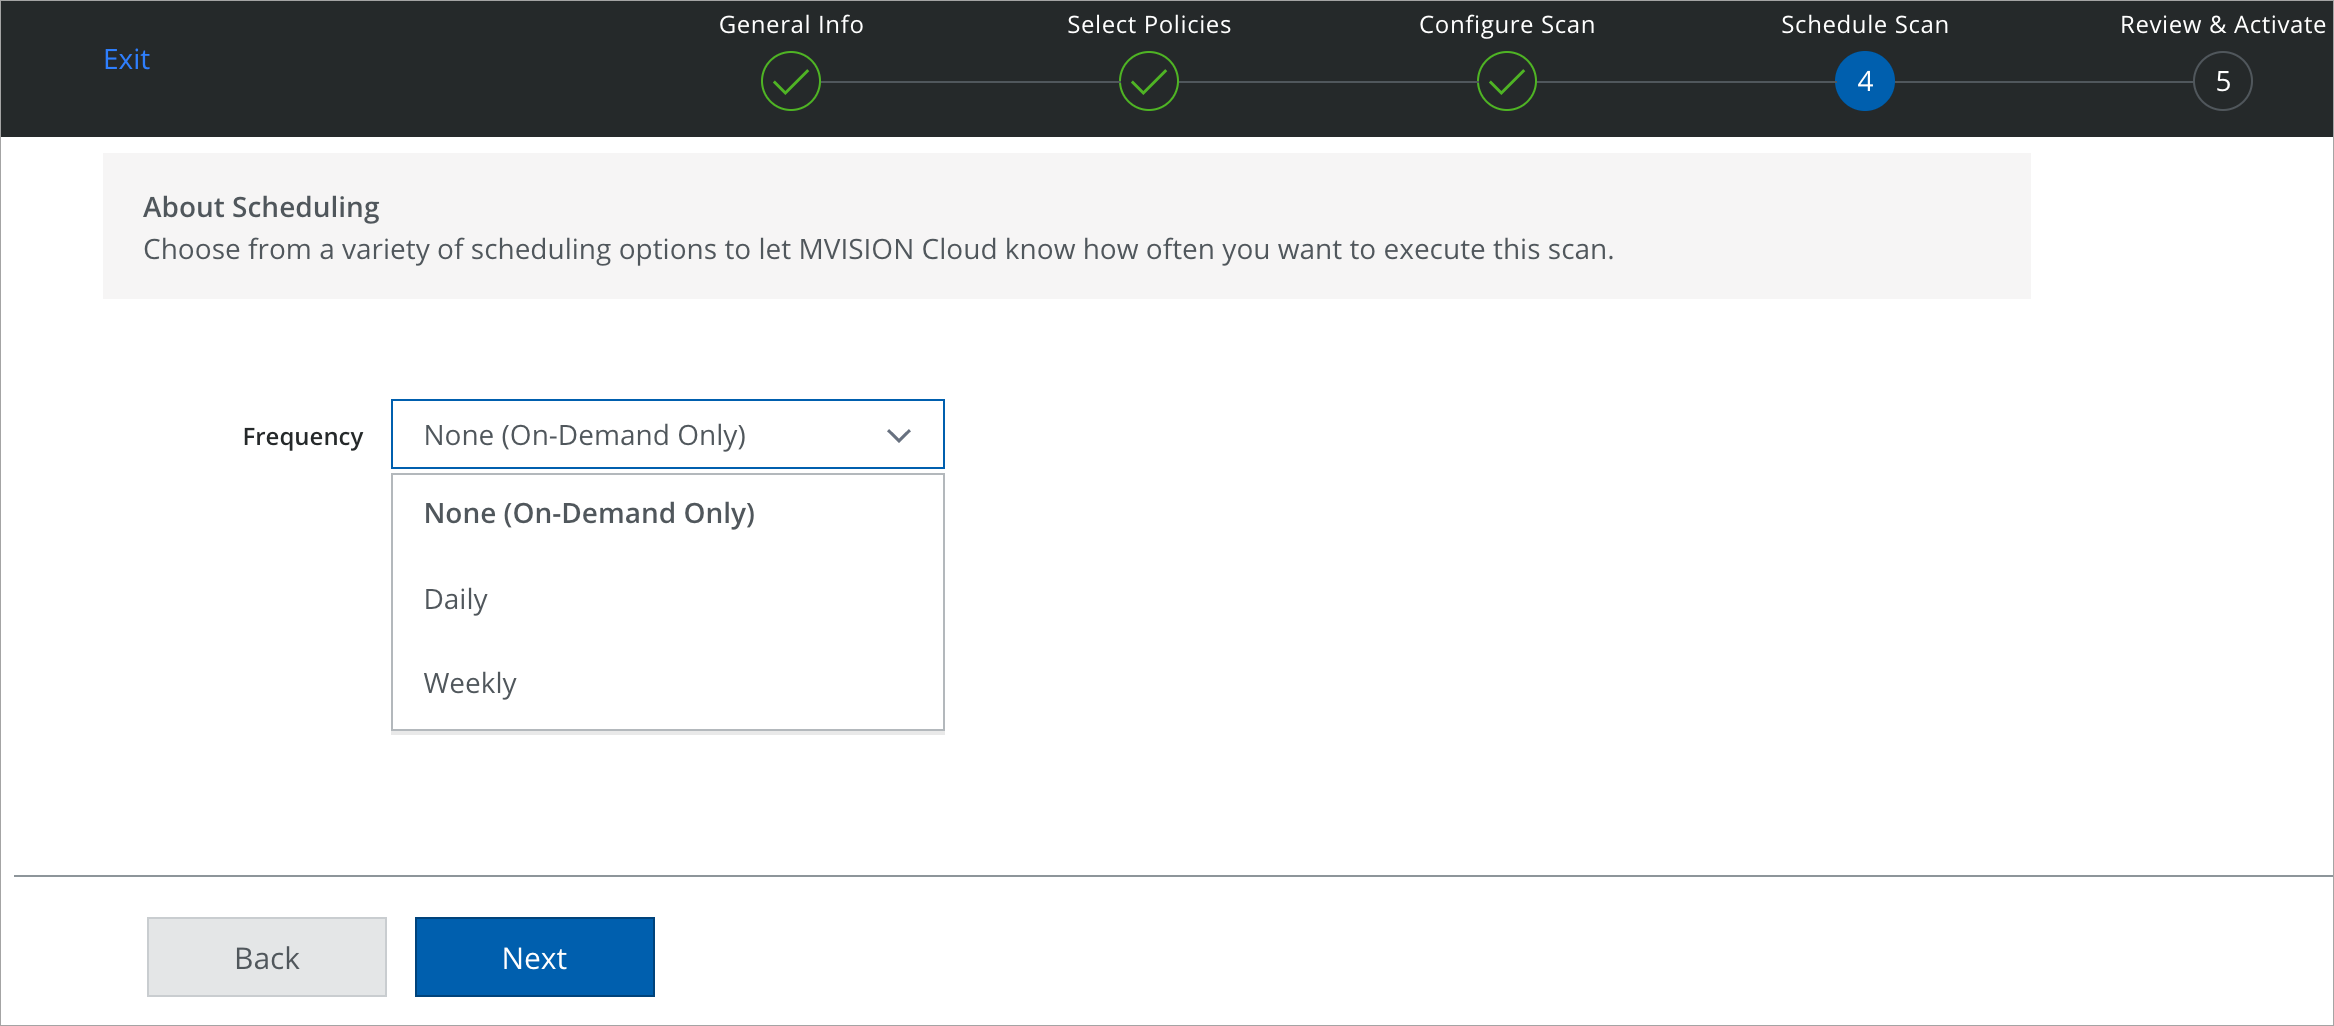
NOTE: Based on the configured time period, the Daily or Weekly scan runs automatically. Once the scan is completed, you can view the results, or rerun the scan anytime on the On-Demand Scan page.
- Click Next.
- On the Review & Activate page, review your settings for the On-Demand Scan, and click Save. Or click Back to make changes.
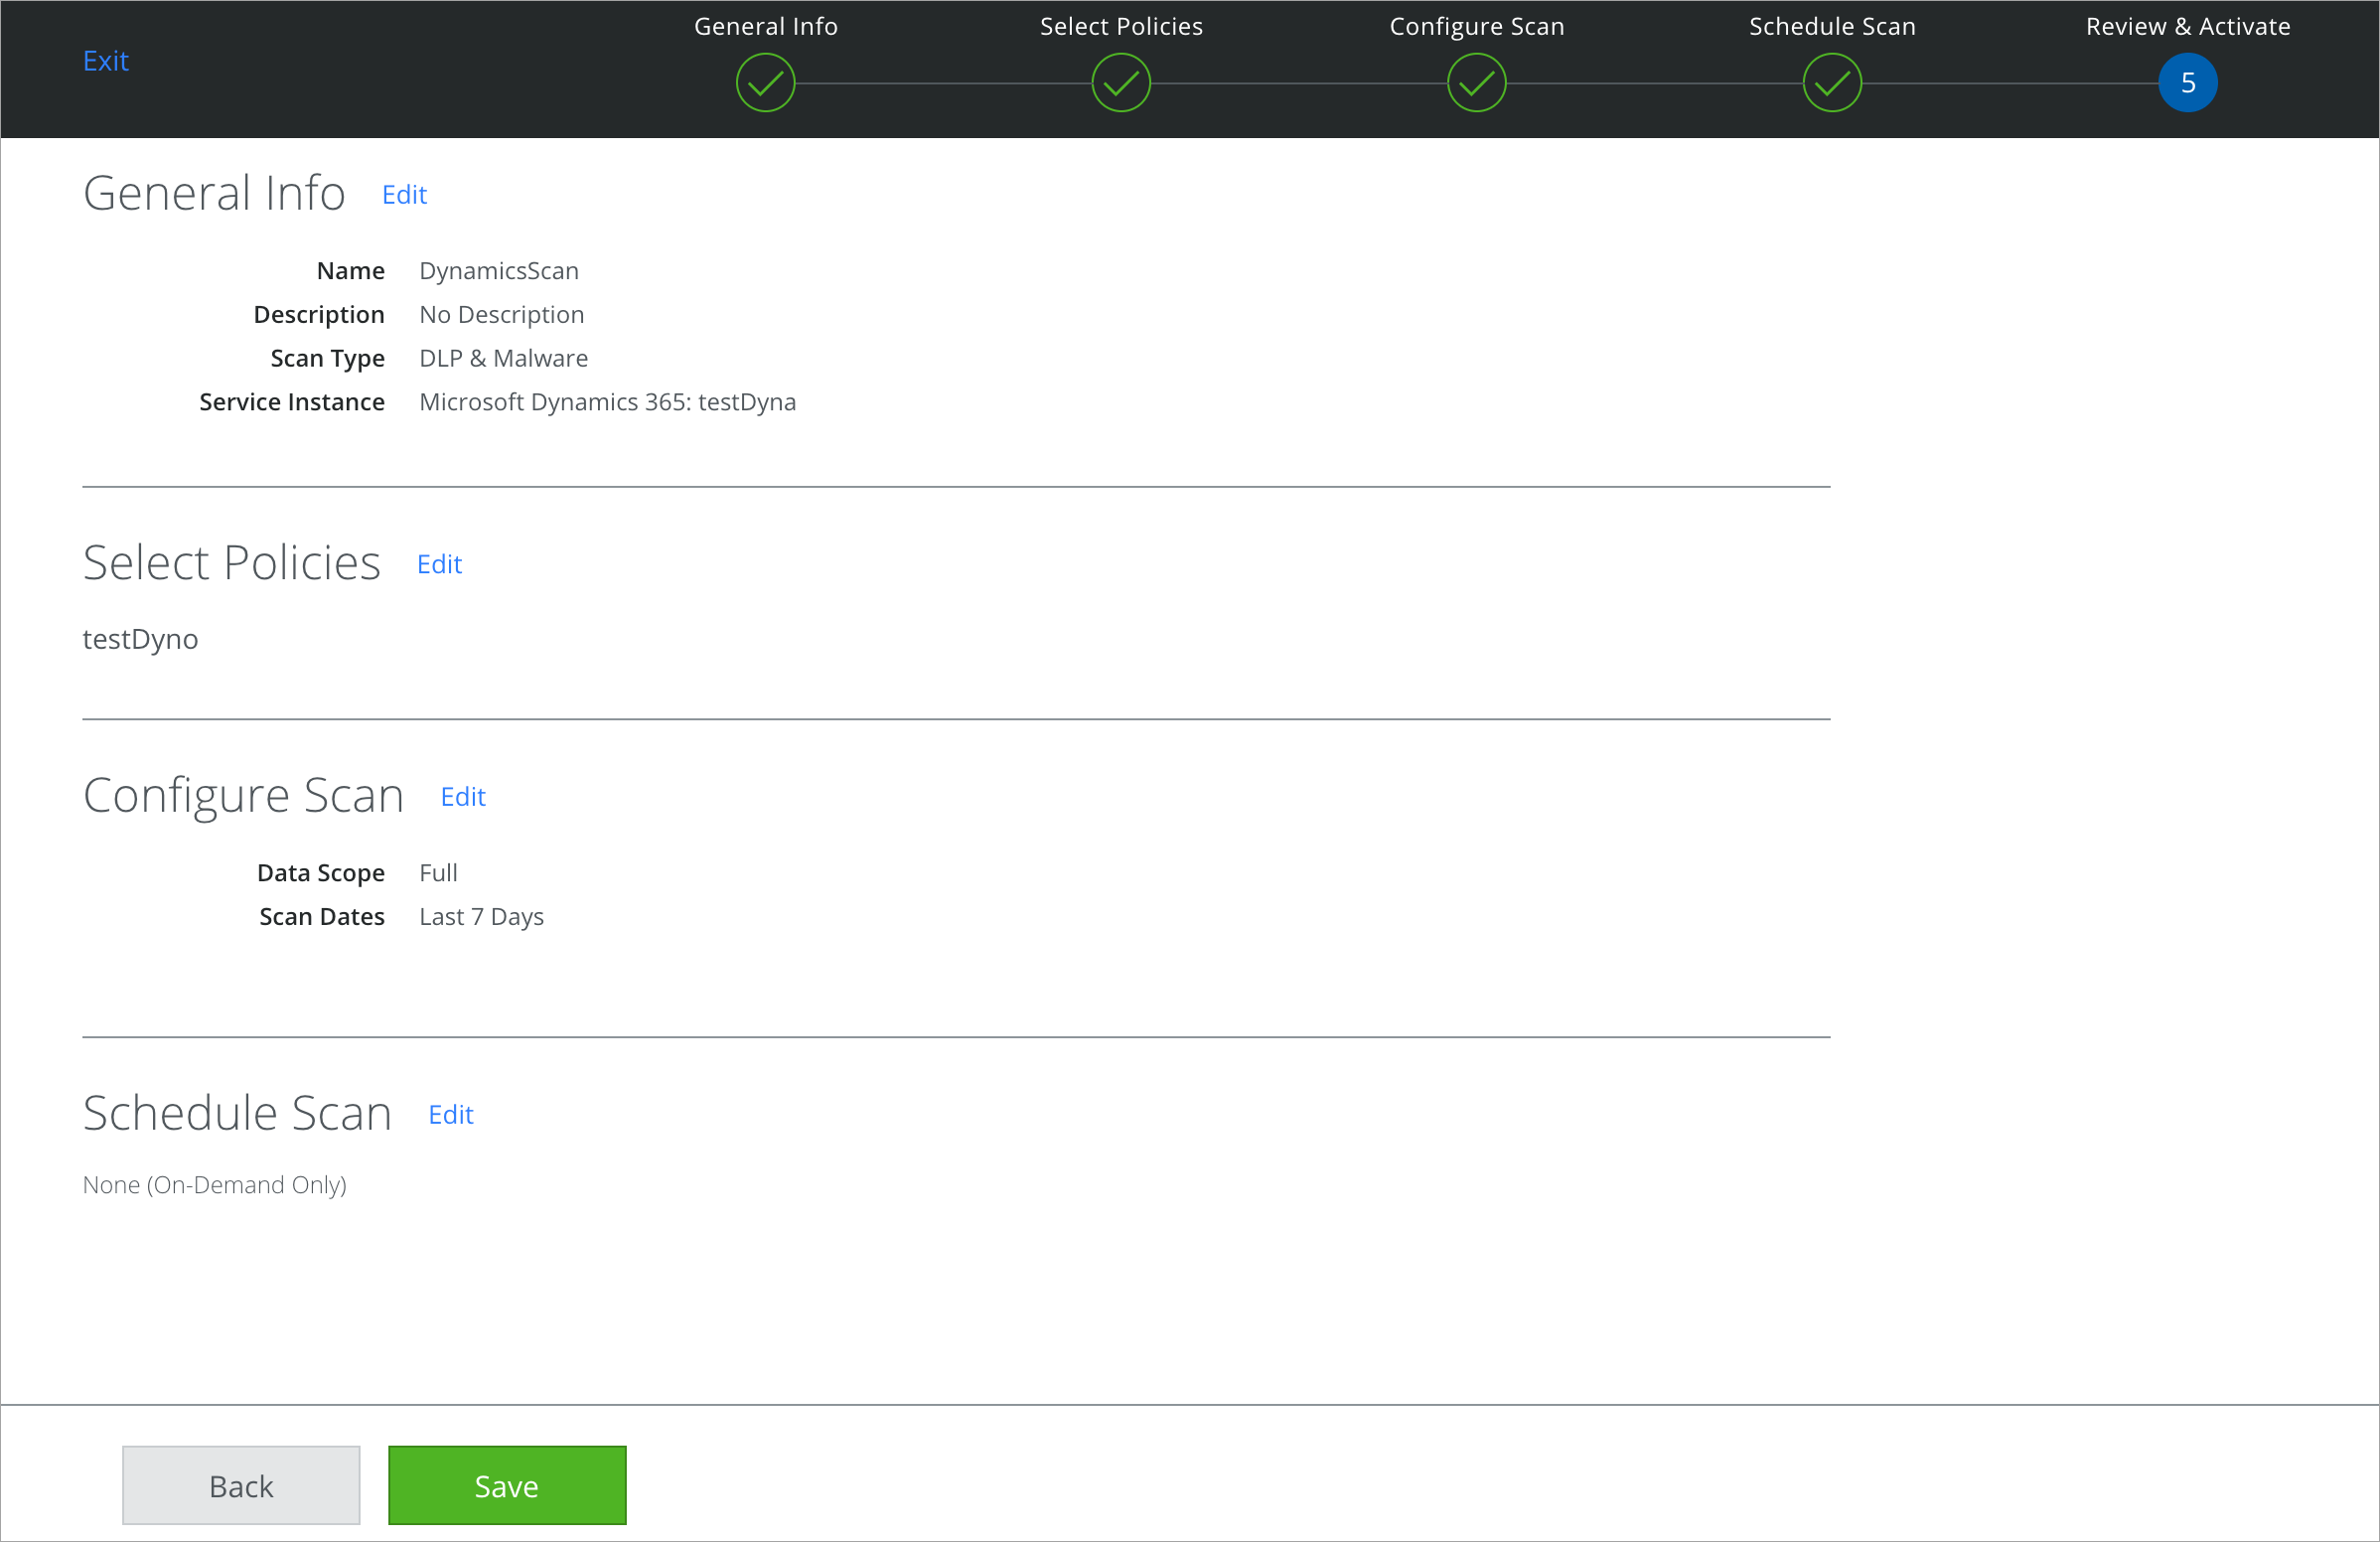
On-Demand Only Scan
For On-Demand Only scan, you need to manually run the scan as described below:
- On the Scan page, click the required Scan Name which you want to run now.

- On the selected scan page, click Run Scan Now.
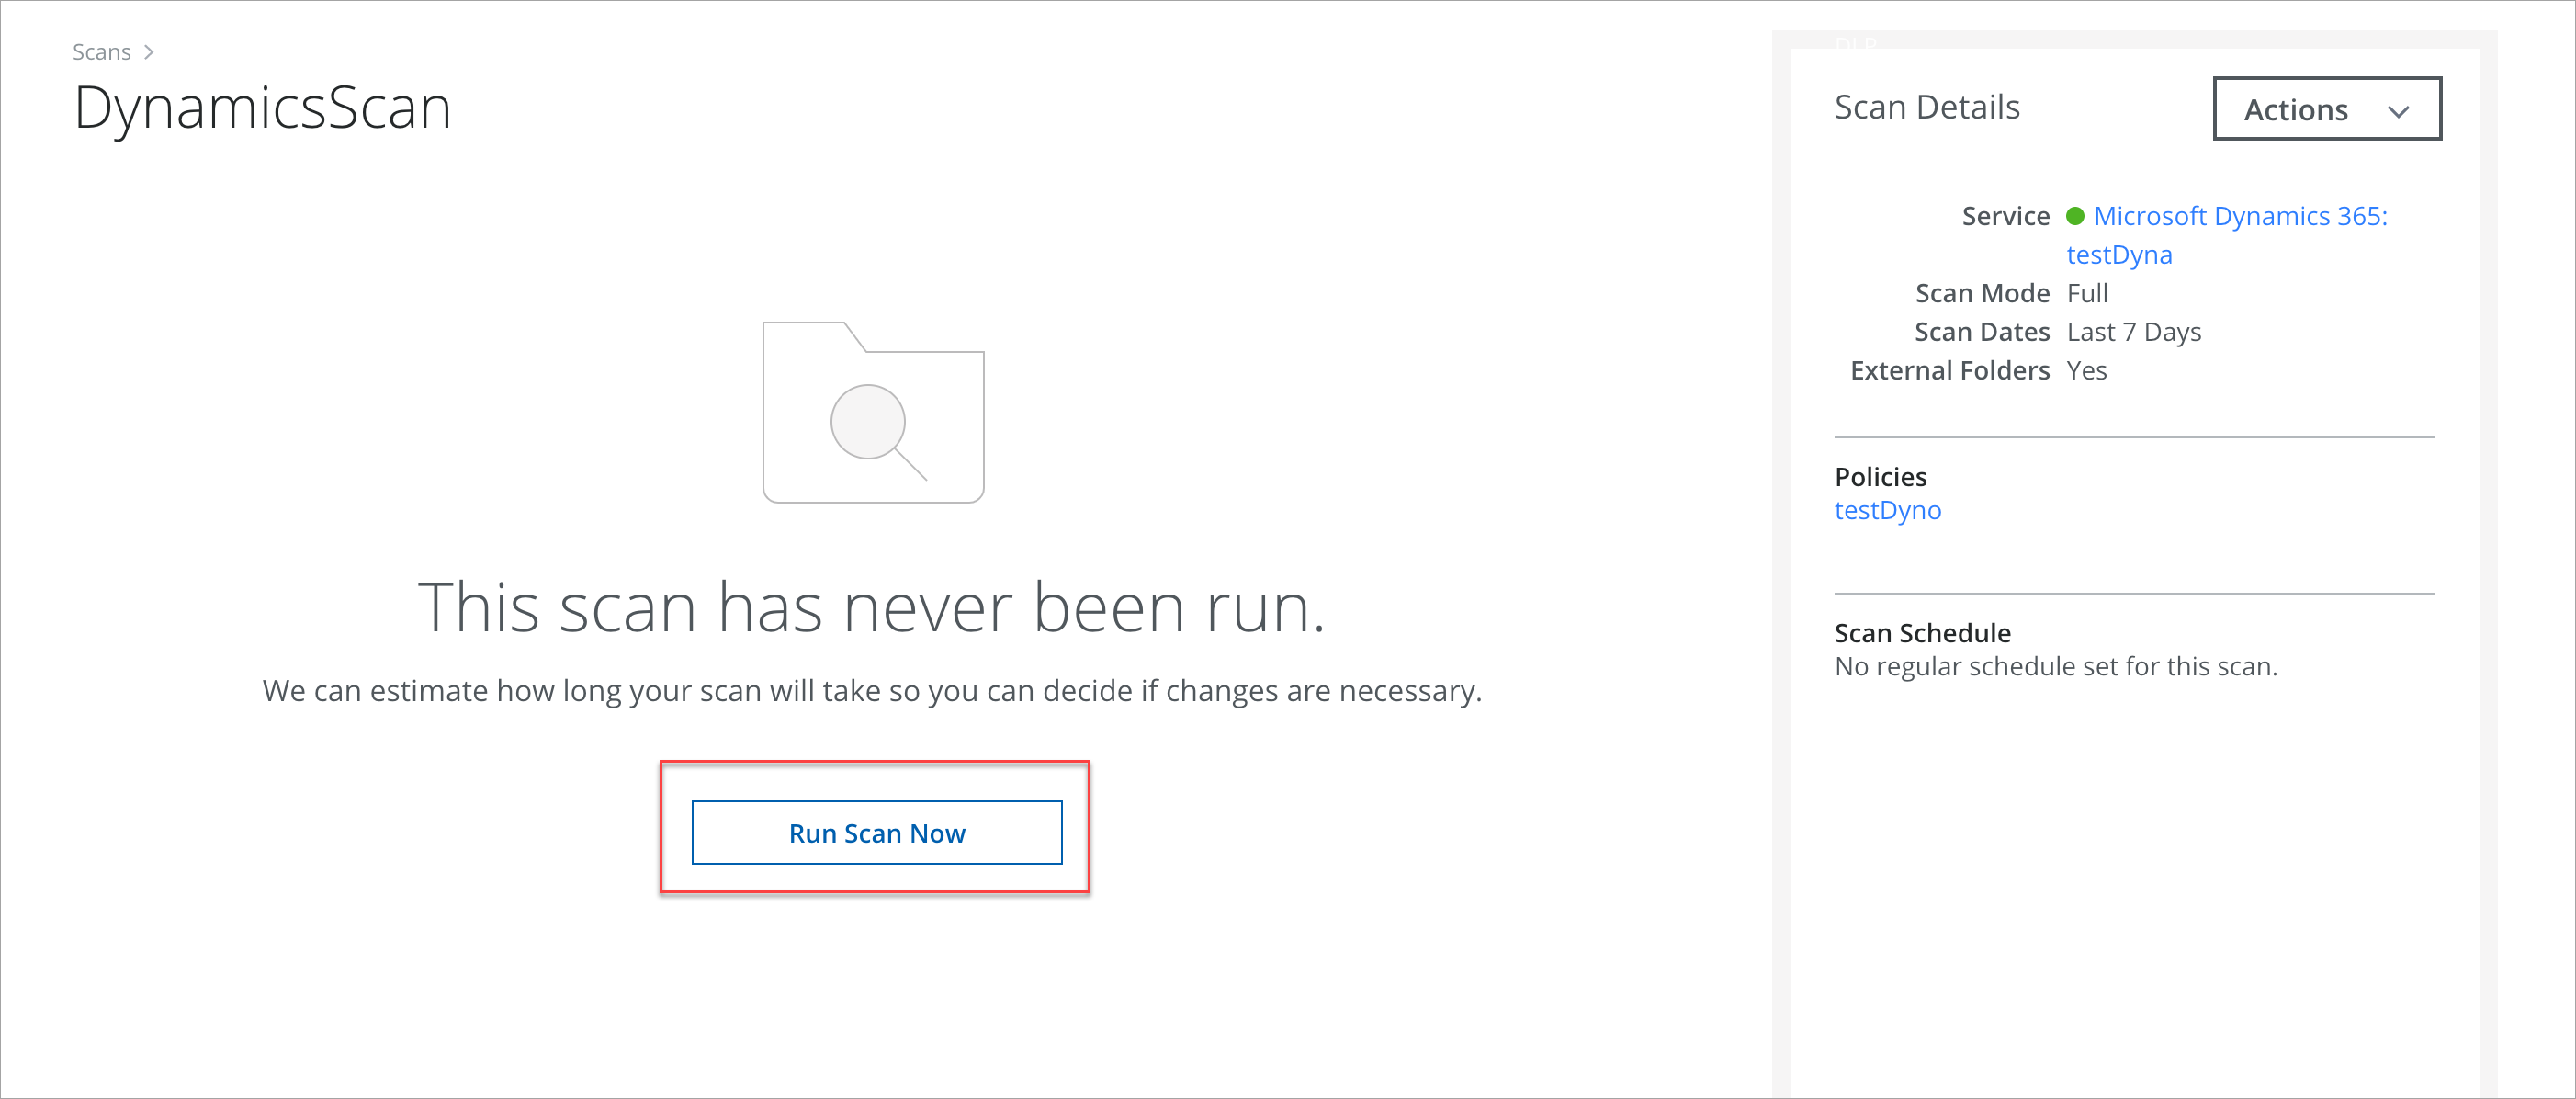
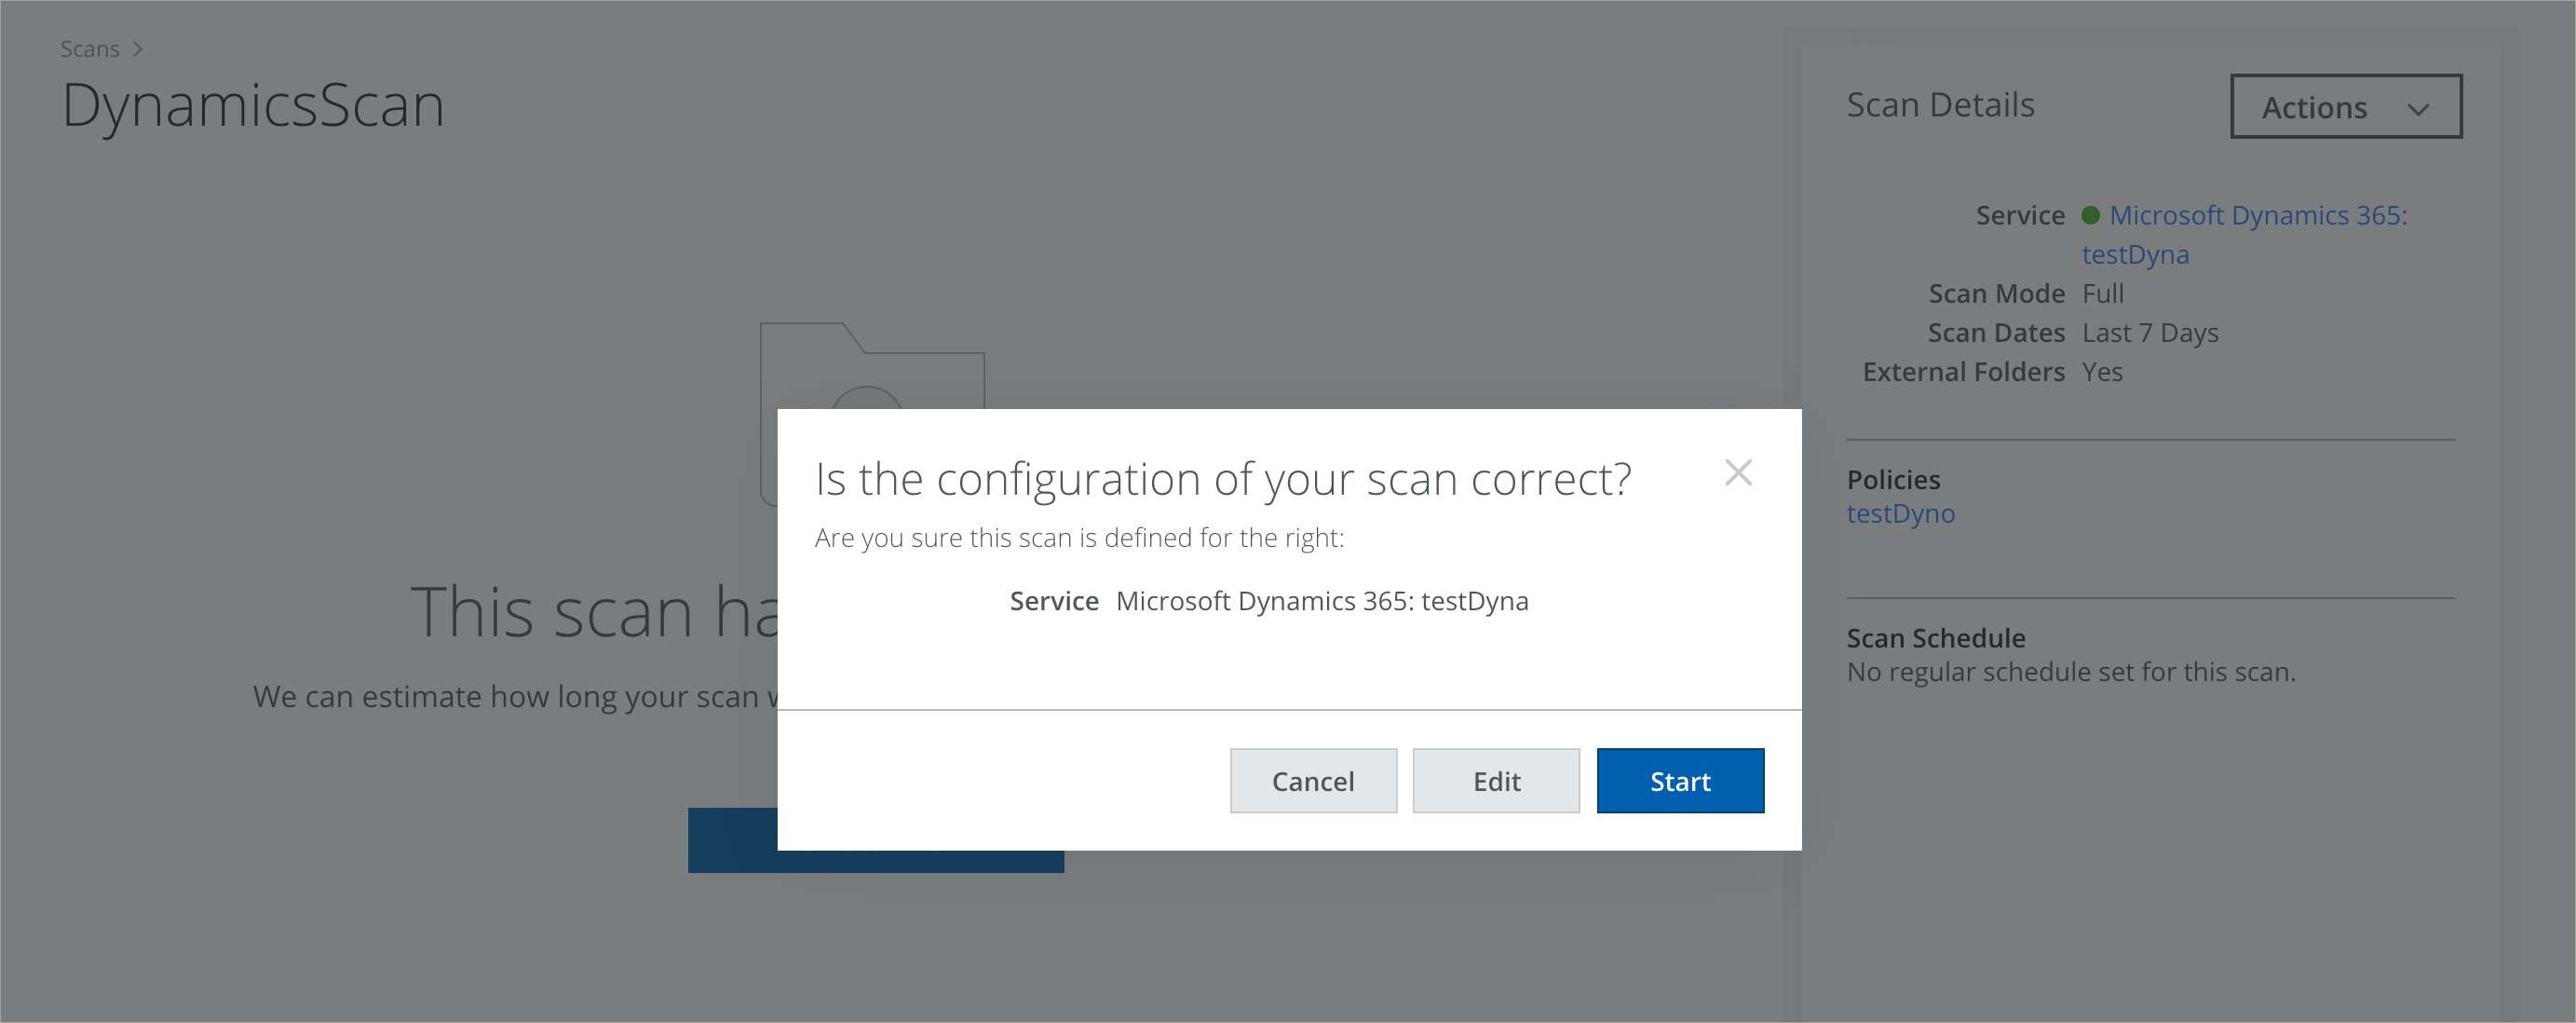
- To begin the scan, click Start. If you want to configure the scan, click Edit.
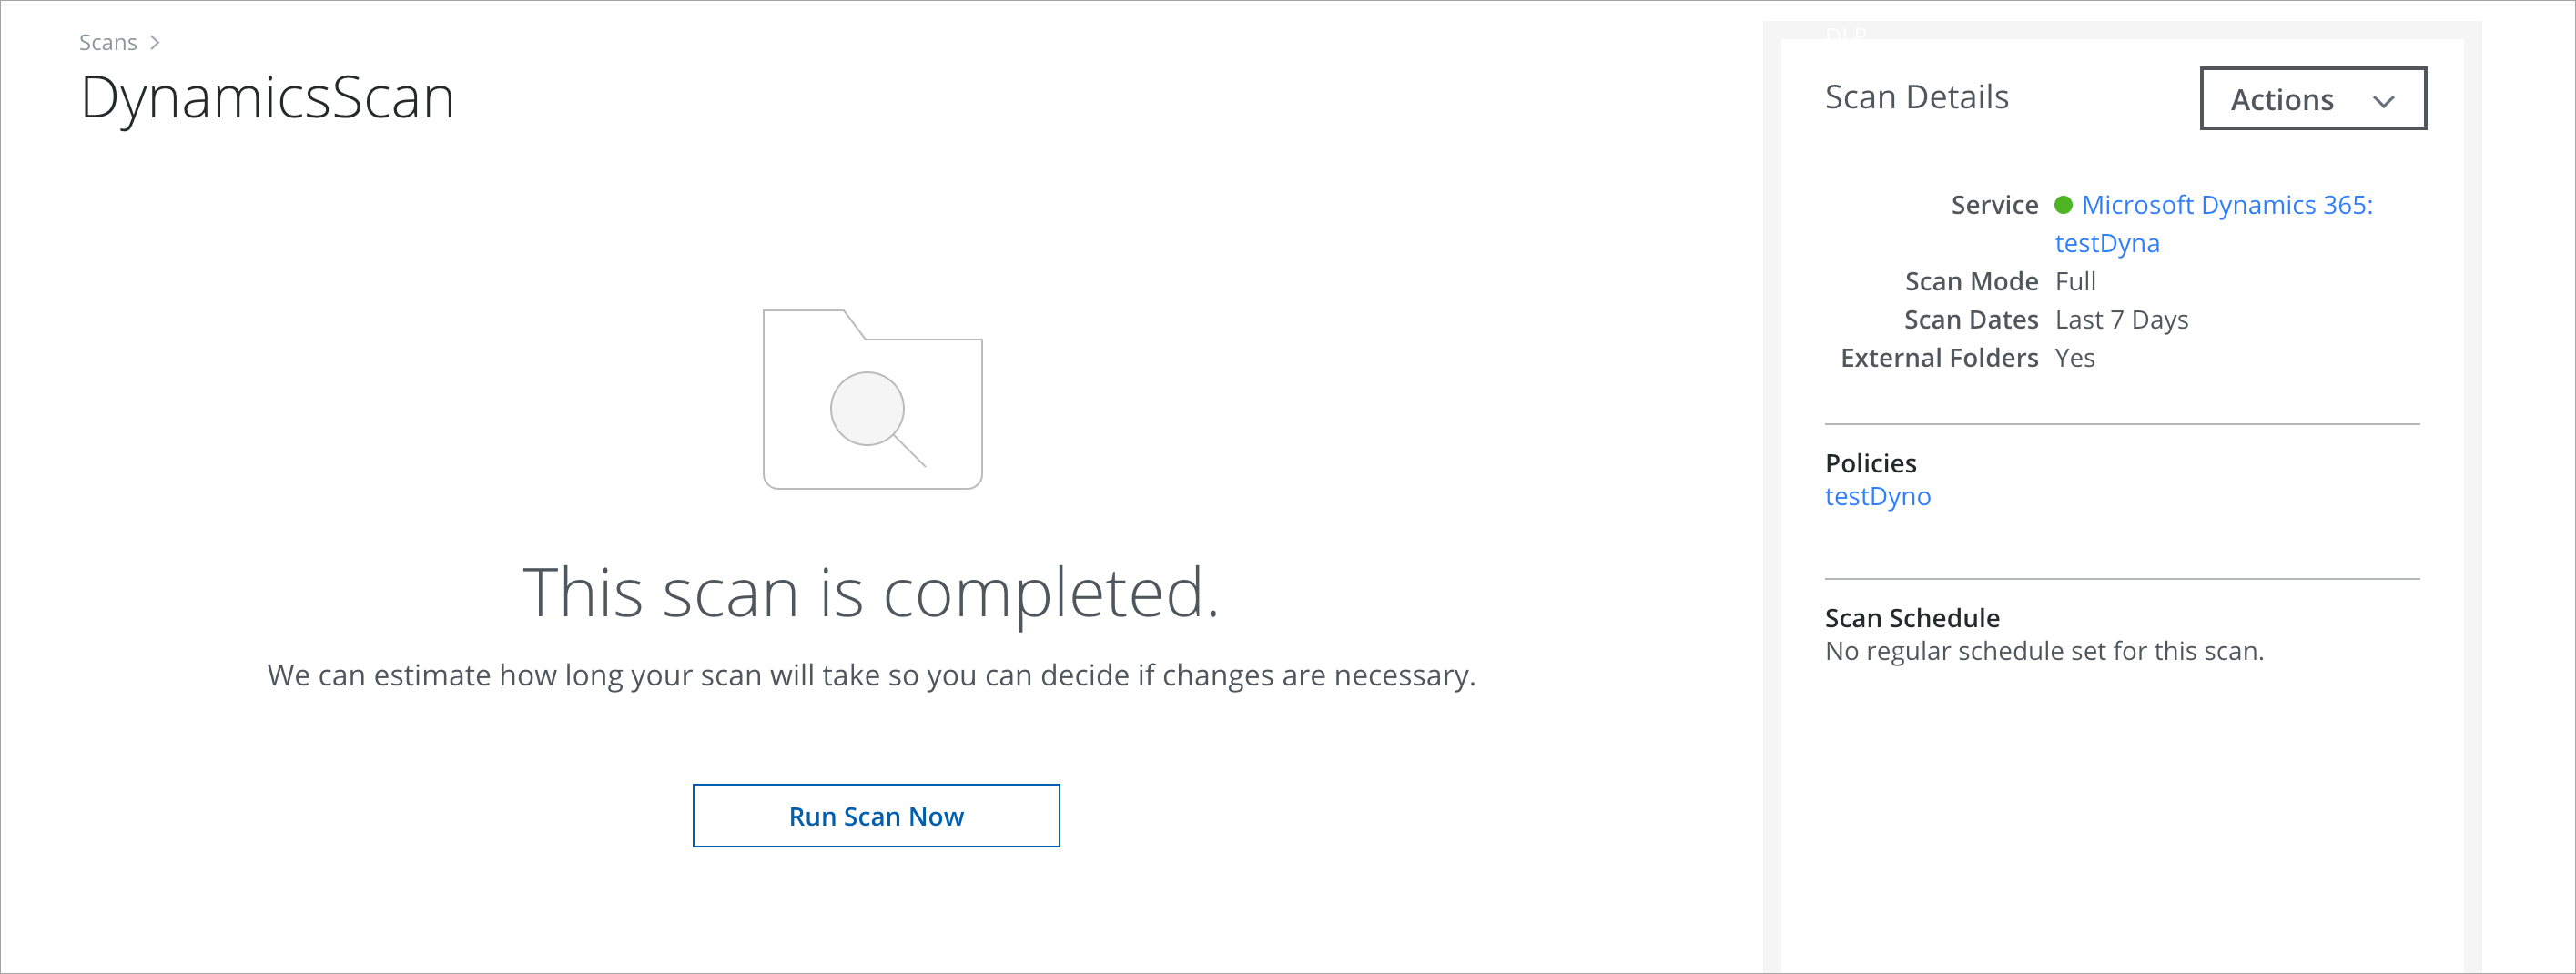
- Once the scan is started, you can see the various status of the scan as Scan pending, Scan initializing, Scan in progress. On the successful completion, the following screen is displayed.
- Go back to the Scan page to check if any incidents are generated after the completion of the last scan.

- Click the Last Scan Incidents number to view the details of the violation. You are redirected to the Policy Incidents page.
- Click any incident in the table to see the Cloud Card with details.
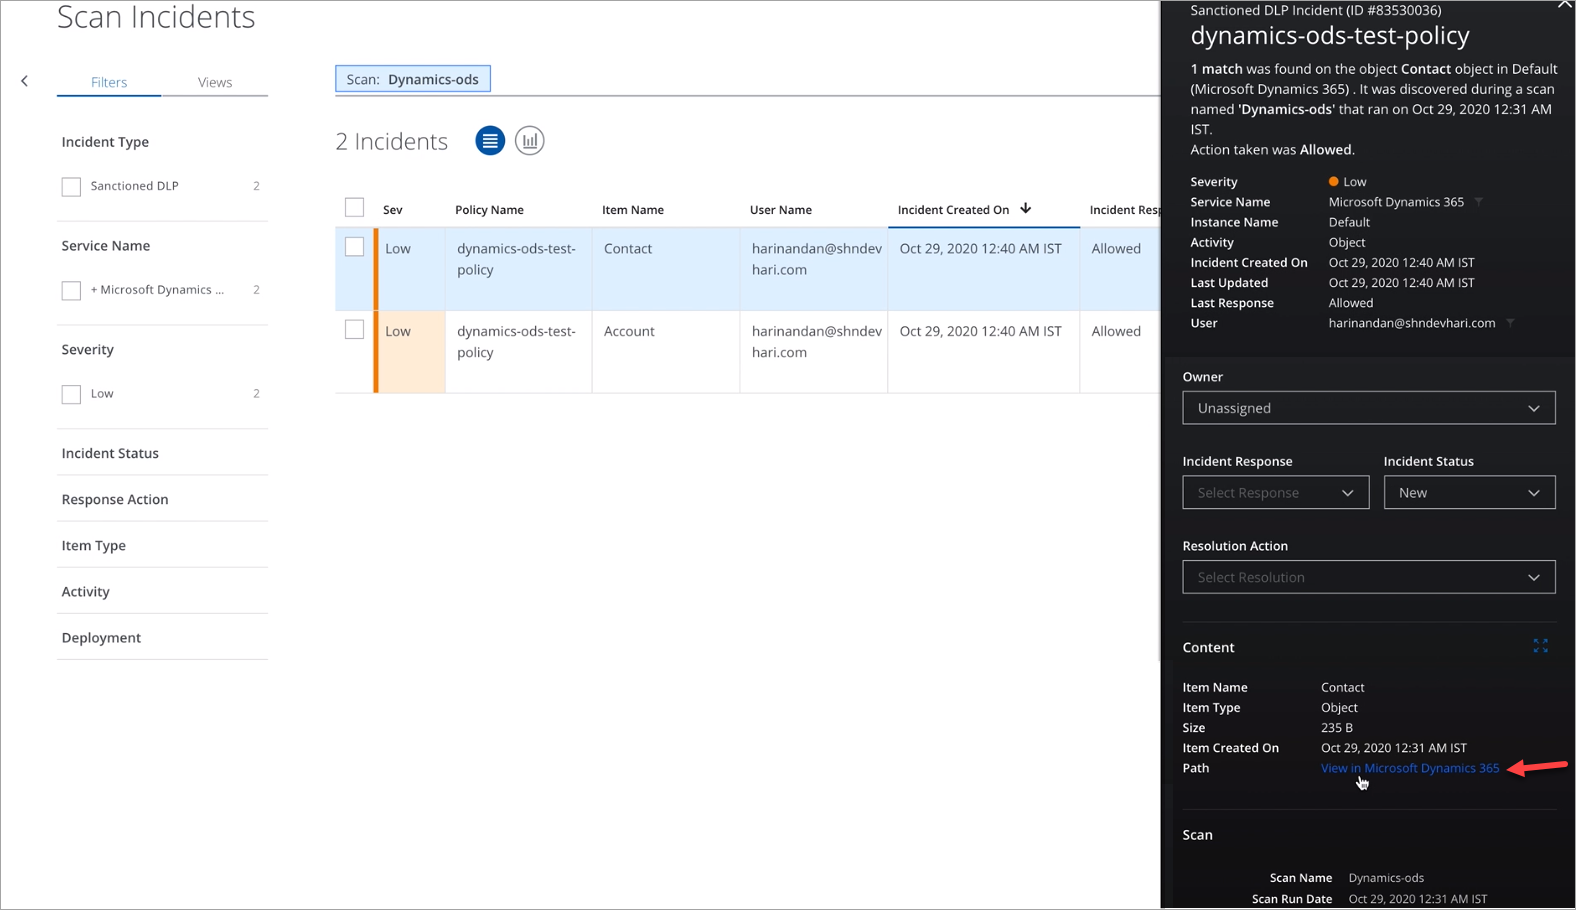
- You can view the details of the violation and click View in Microsoft Dynamics path to view the violation details on Microsoft Dynamics 365 account.
- Based on the configured user's email address in the DLP Policy, the user gets an email regarding the policy violation.
