Reimage an Appliance Using Virtual RMM Media
You can use Remote Management Module (RMM) virtual media to reimage the Web Gateway appliance software on a physical appliance and upgrade it to a new version.
You can connect to the RMM virtual media from a system within your network where Java is installed.
- Download the Web Gateway .iso image file to the system you are using to connect to the RMM virtual media.
- On this system, open a browser and go to the Skyhigh Content & Cloud Security Portal at https://contentsecurity.skyhigh.cloud/.
- Submit your user name and password.
- On the home page, select Software | Web Gateway 7 | Download.
- Click the icon for the .iso file version you want to download.
A download window opens. - Select the option for storing a file and click OK.
The .iso file is downloaded to this system.
- Log on to the Web Gateway appliance.
- On the system for connecting to the RMM virtual media, open a browser and go to:
https://<RMM IP address>
When prompted for credentials, submit the credentials you logged on with to the appliance.
- Select the .iso file and complete these substeps to use the RMM virtual media for the reimaging process.
- On the Remote Control tab, click Launch Console.
- On the Device tab, select Redirect ISO. Then browse to the .iso file and select it.
- On the Remote Control tab, select Server Power Control | Power Cycle Server.
The .iso file is made available for reimaging the appliance. - On the Device tab, deselect Redirect ISO.
IMPORTANT: If you do not deselect Redirect ISO, the reimaging that is performed after the next restart will remove your current configuration and reset the appliance to the default values.
- Restart the appliance, choose an installation mode, and follow the wizard's instructions to complete the installation.
The installation uses the .iso file that has been made available by the RMM virtual media to reimage the appliance.
ISO Installation on F Models
The Mounting/Installation of the SWG ISO is done in two ways:
- Mounting the ISO by navigating Configuration > Virtual Media
- Mounting the ISO via HTML5 interface
Mounting the ISO in Configuration > Virtual Media
- Enter the required details on the Edit VM Connection window, and click Save.

- Launch the console by navigating Remote Control > Launch Console.
- Reboot the appliance and press F11 or DEL to proceed to re-image the appliance.

- Select ATEN Virtual CDROM YSOJ from the boot devices list to install the mounted ISO.


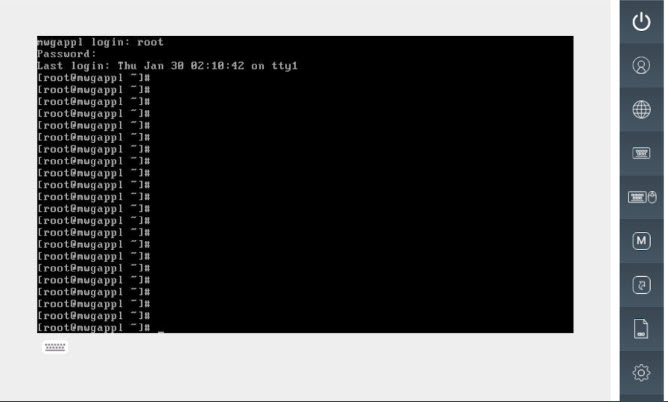
Mounting the ISO via HTML5 Interface
- Select Remote Control > HTML5 > Launch Console.
- The selected console opens in a new window if the Current Interface is selected as HTML5.
NOTE: The ISO can also be installed and mounted using JAVA plug-in.
- Select virtual media, click Select File to browse the required ISO, and click Mount.
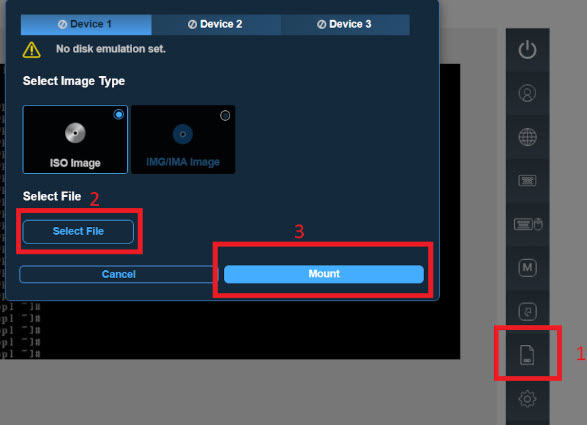
The ISO mounts. - Select Cancel to close the wizard.
-
Reboot the machine, and press F11 or Del to proceed to reimaging the appliance.

-
Select ATEN Virtual CDROM YSOJ from the boot devices list to install the mounted ISO.
-
The installation begins.
