Deploy SWG Instance Using Custom Image
NOTE: Before setting up the SWG instance using a custom image, see Import SWG Raw Disk Image section to import a custom image into GCP, or see Copy Custom Image from Skyhigh GCP Project to copy an image from Skyhigh project. GCP images are deployed with only the single root partition, irrespective of the allocated device space.
To create an instance from a custom image, follow the steps below:
- Log in to the Google Cloud console and select the appropriate project.

- Click Compute Engine.

The Compute Engine page opens.
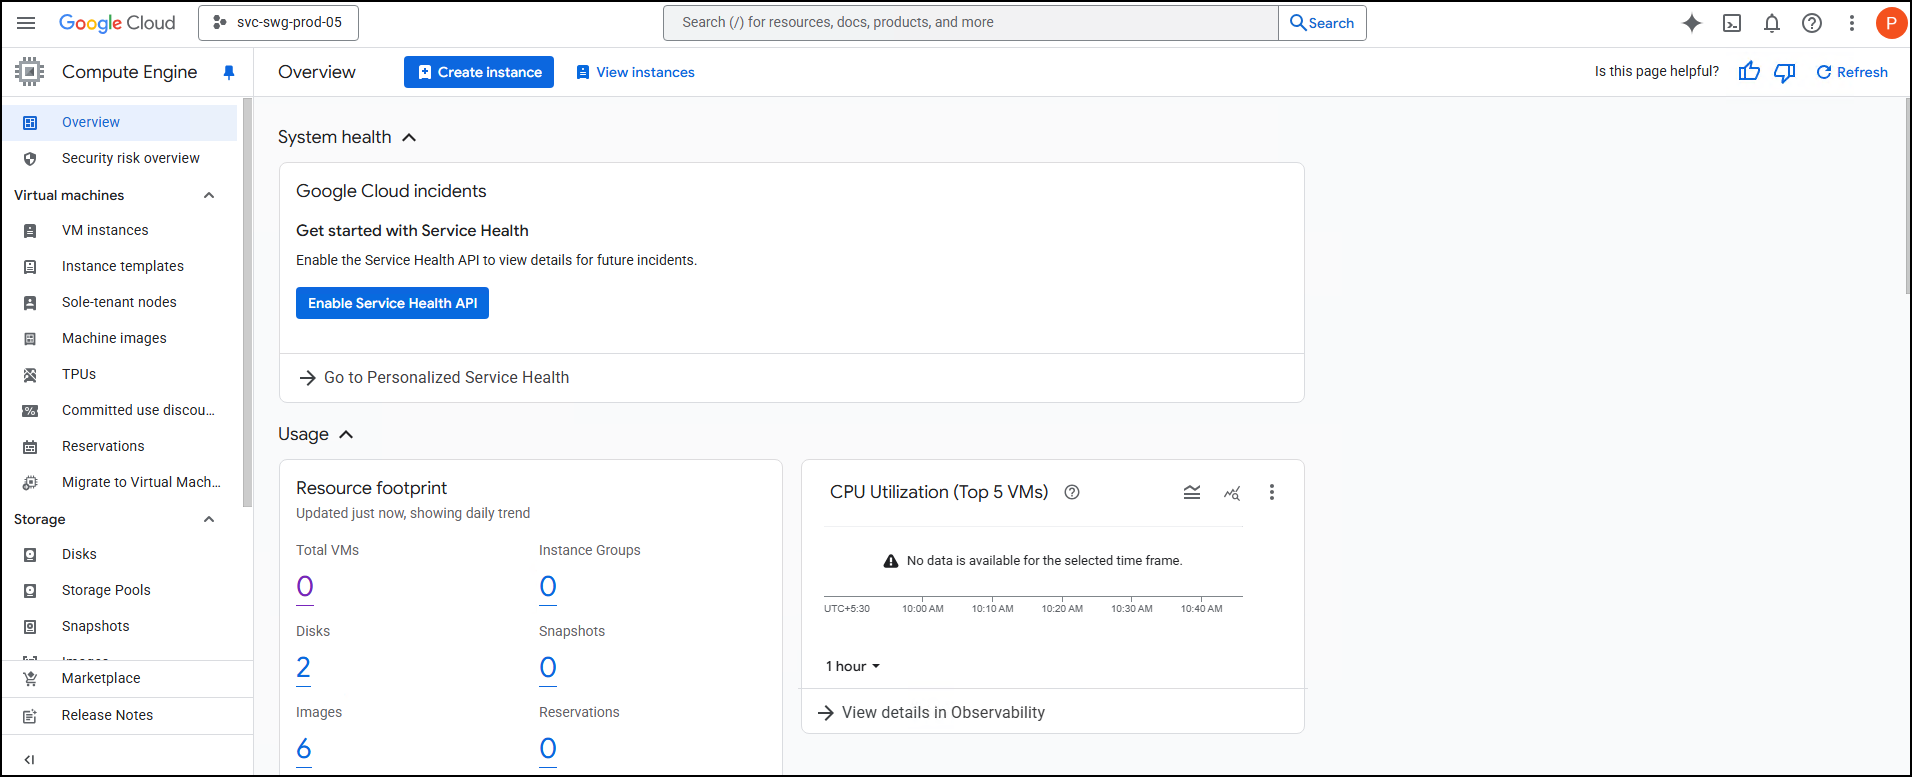
- Click VM instances > Create instance.

The Create an instance page opens.
- Under the Machine configuration tab, enter the Name, and select the Region and Zone from the respective drop-down lists.

- In the Machine type section, from the Preset drop-down list, select the required machine type. For more information on the recommended VM size, see Physical and Virtual Appliance Requirements.

NOTE: The Machine type cannot be modified once the instance is deployed. Auto scaling is not supported.
- Under the OS and storage tab, click Change.
Under the Custom images tab, configure the following:- Source project for images*: svc-swg-prod-05 (Select the project where SWG image was imported)
- Image*: swg-12-2-18-54125 (Select the imported image name)
- Boot disk type*: select the appropriate disk type.
- Size (GB)*: 500
NOTE: When running Secure Web Gateway as an instance in a GCP environment, web caching is disabled; you can choose to reduce the required hard-disk space for the VM. Skyhigh does not support changing the disk size once the instance is deployed.


- Click Select.

- Under the Data protection tab, configure the required settings.

- Under the Networking tab, configure settings such as firewall rules, network, and subnets. Create firewall rules to allow ports 4712 and 9090 for the Secure Web Gateway.

- Under the Security tab, configure the required settings.

- For VM access, go to Manage access > +Add Item, enter the SSH public key, and specify an SSH username (for example, admin) in the SSH Key 1* field for the instance.

- Under the Advanced tab, configure the required settings and enter the startup script if there is any.

- Click Create.

- Wait for the instance to initialize.
NOTE: Secure Web Gateway on GCP currently supports only explicit proxy mode and no HA or transparent modes, including L2 Transparent.
- Navigate to Menu > Compute Engine > VM instances to verify the instance is running.


- Connect to the instance using SSH.
Command format:SSH -i <private_key> <username>@<public_ip>.
Run bash /usr/local/bin/ssh-banner.sh command to get the SSH banner if it's not displaying.