Install Secure Web Gateway in a Nutanix Environment
To install Secure Web Gateway in a Nutanix environment, you download an image from the portal where these images are available and add it to this environment. Then you create a virtual machine as a platform for running Secure Web Gateway.
Complete this procedure as follows.
-
Download a Secure Web Gateway image from the Content & Cloud Security Portal at https://contentsecurity.skyhigh.cloud/ and store it in a location of your own.
-
Log on to the Nutanix virtual user interface that allows you to install Secure Web Gateway. The name of this user interface is Prism Central UI.
-
Add the downloaded Secure Web Gateway image to the Nutanix environment.
-
On the virtual user interface, navigate to Dashboard Menu > Compute & Storage > Images.
-
Click Add Images.
The first page of the wizard for adding images appears. It is titled Select Image. -
Under Image Source, select Image File. Then browse to the location where you stored the downloaded Secure Web Gateway image and add it.
-
Under Type on the virtual interface, select Disk from the drop-down menu, then click Next.
The next page of the wizard appears. It is titled Select Location. -
Under Placement Method, select Place image directly on clusters. Then, under Select Clusters, select a cluster to store the Secure Web Gateway image.
-
Click Save.
-
-
Create a virtual machine for Secure Web Gateway.
How to create a virtual machine is explained in the Nutanix user documentation, see https://portal.nutanix.com/page/documents/details?targetId=Prism-Central-Guide-Prism-v6_0:mul-vm-create-acropolis-pc-t.html.
Be aware that the above link might not work as expected, as Nutanix can modify the path to this user documentation and also replace or remove it at any time.
When creating this virtual machine, make sure you include the following.
-
When it comes to configuring an option under Boot Configuration, select Legacy BIOS Mode.
-
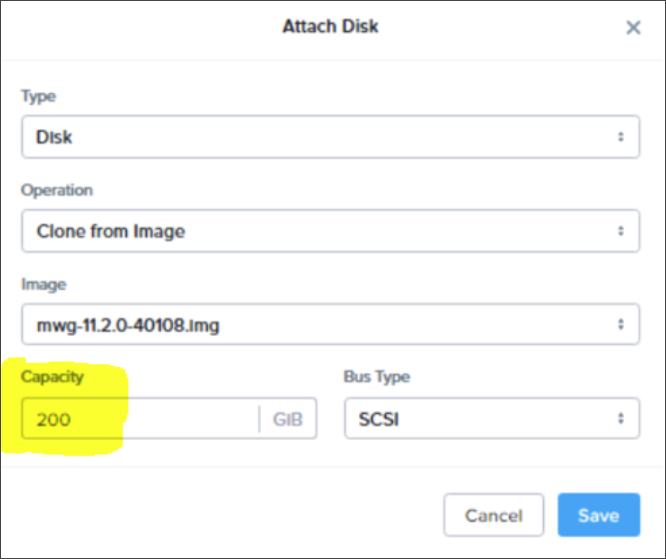
Configure the disk space that is required.
Secure Web Gateway will use the primary disk by default. For this disk, configure the disk space with 200 GB, as shown here below.

After you have created the virtual machine, Secure Web Gateway will run on it.
You can now access Secure Web Gateway on Nutanix to work with it. For more information, see Access Secure Web Gateway in a Nutanix Environment.
