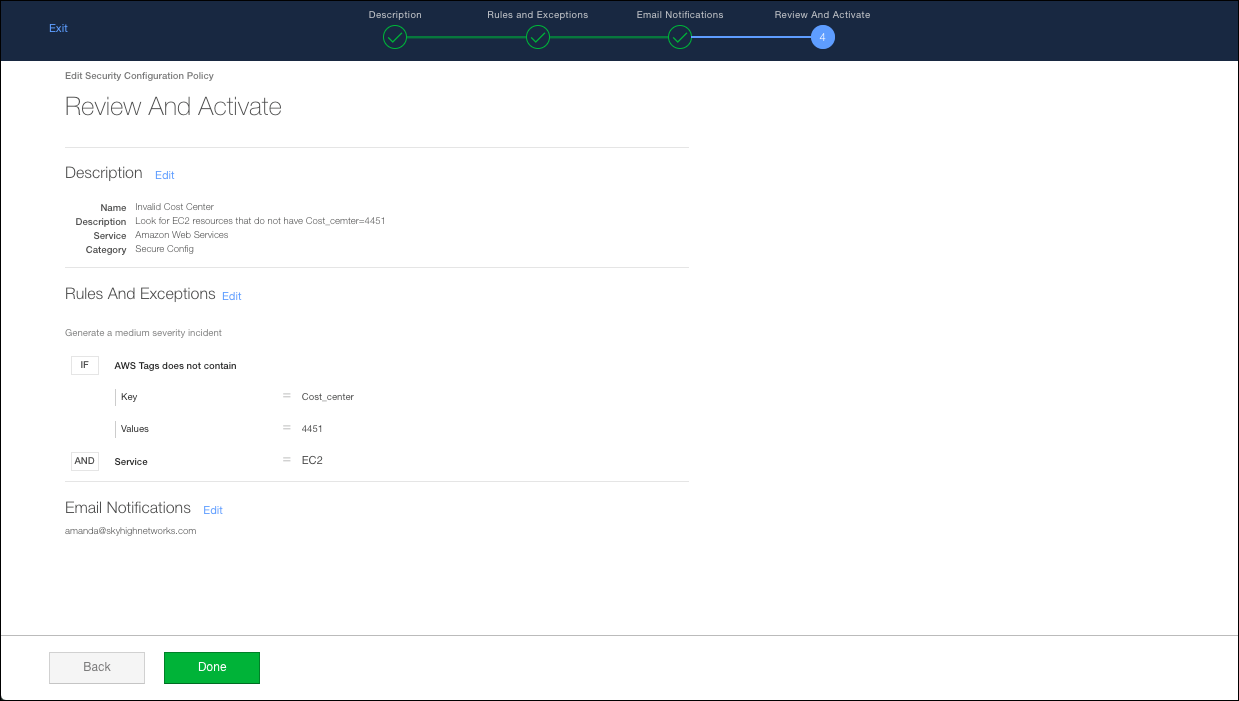
Create a Custom Rule with AWS Tags
The easiest way to create a new Tag policy rule is to use a Policy Template. Once you have the basics from your template, you can customize it.
To create a custom rule:
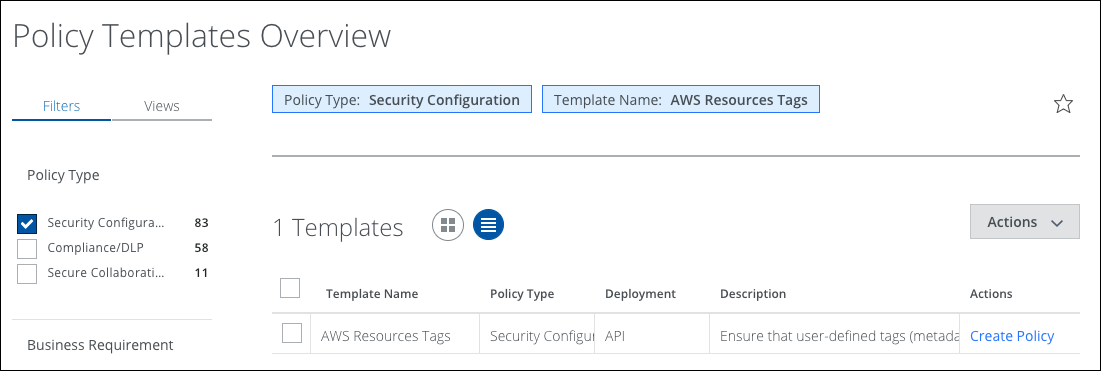
- Go to Policy > Policy Templates.
- Select Security Configuration.
- Find the template named AWS Resources Tags. Click Create Policy.
- In the Description page, enter a Name and Description for the policy. (All other fields are auto-filled.) For our tag-based policy, we'll use the example of a cost center tag. We'll be notified if any Enterprise Connector resources do not have a cost center value of 4451.
- Click Next.
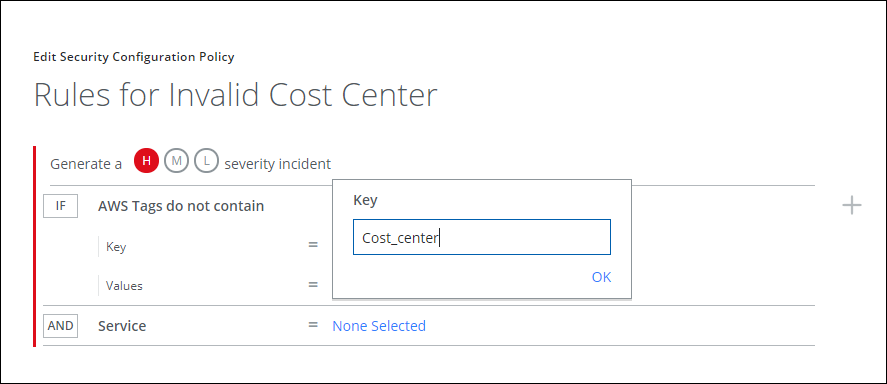
- Now we'll configure rules. Choose the severity for the incidents generated by violating this policy. Click H for high severity, M for medium severity, or L for low severity. In our example, we chose High.
- Click None Selected to the right of Key. Type the Key for the tag you're using. In our case it's Cost_center.
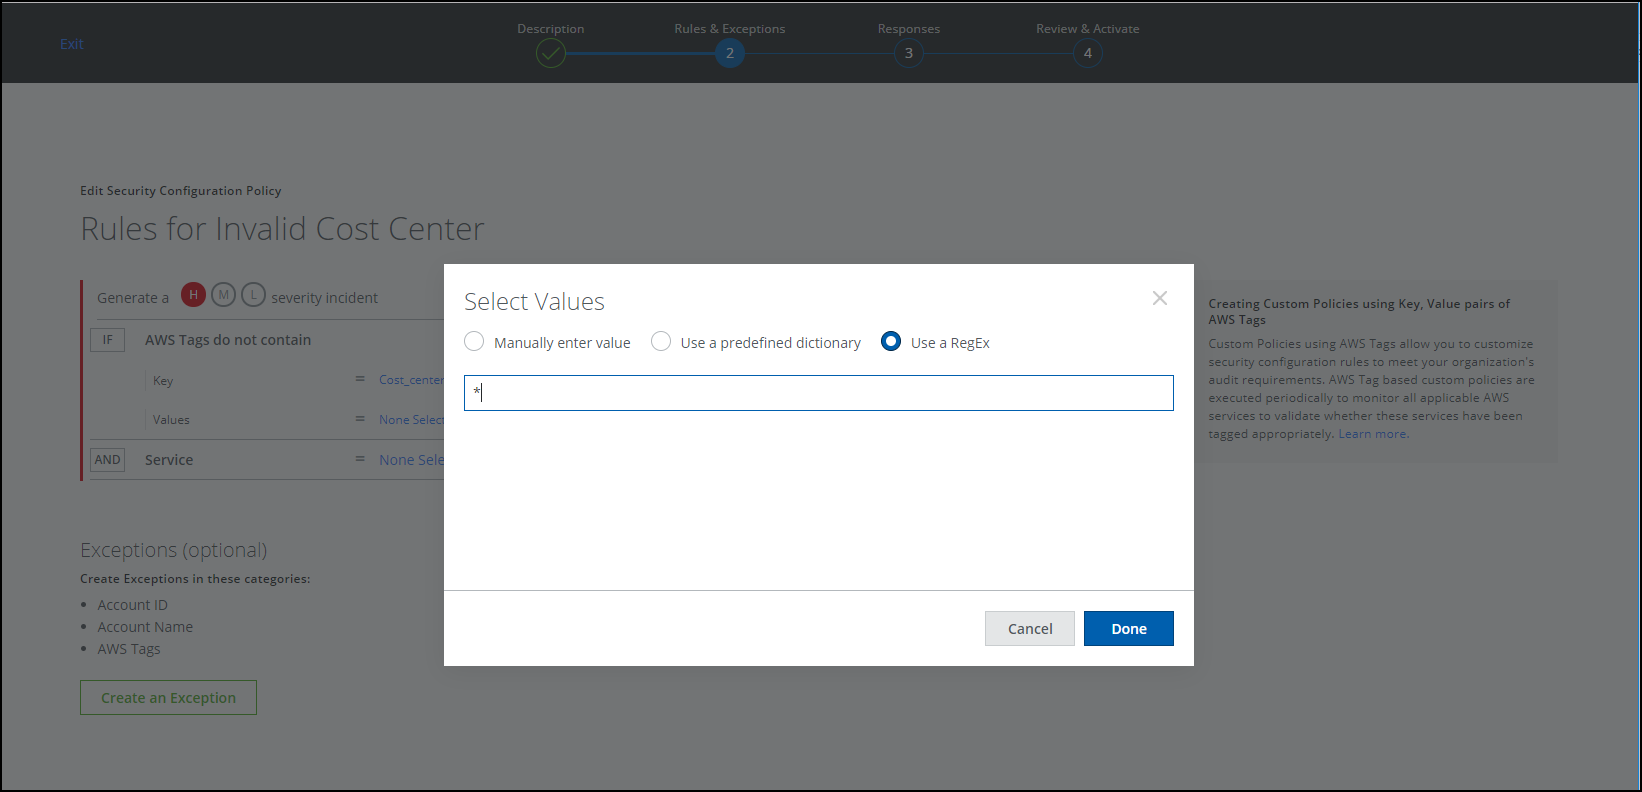
- Click None Selected to the right of Values. Choose one of the following:
- Manually enter value. Type a value
- Use a predefined dictionary. Choose an option from the list.
- Use a RegEx. Specify a wildcard search (*), for example, as shown in the screen below. Additionally, if the resource doesn't have any value defined for certain tags, then an incident will still be reported (even if the resource doesn't have any value defined).
- Click Done.
- Select the service from the Service menu. This is the service associated with the tags you're using. Click Done.
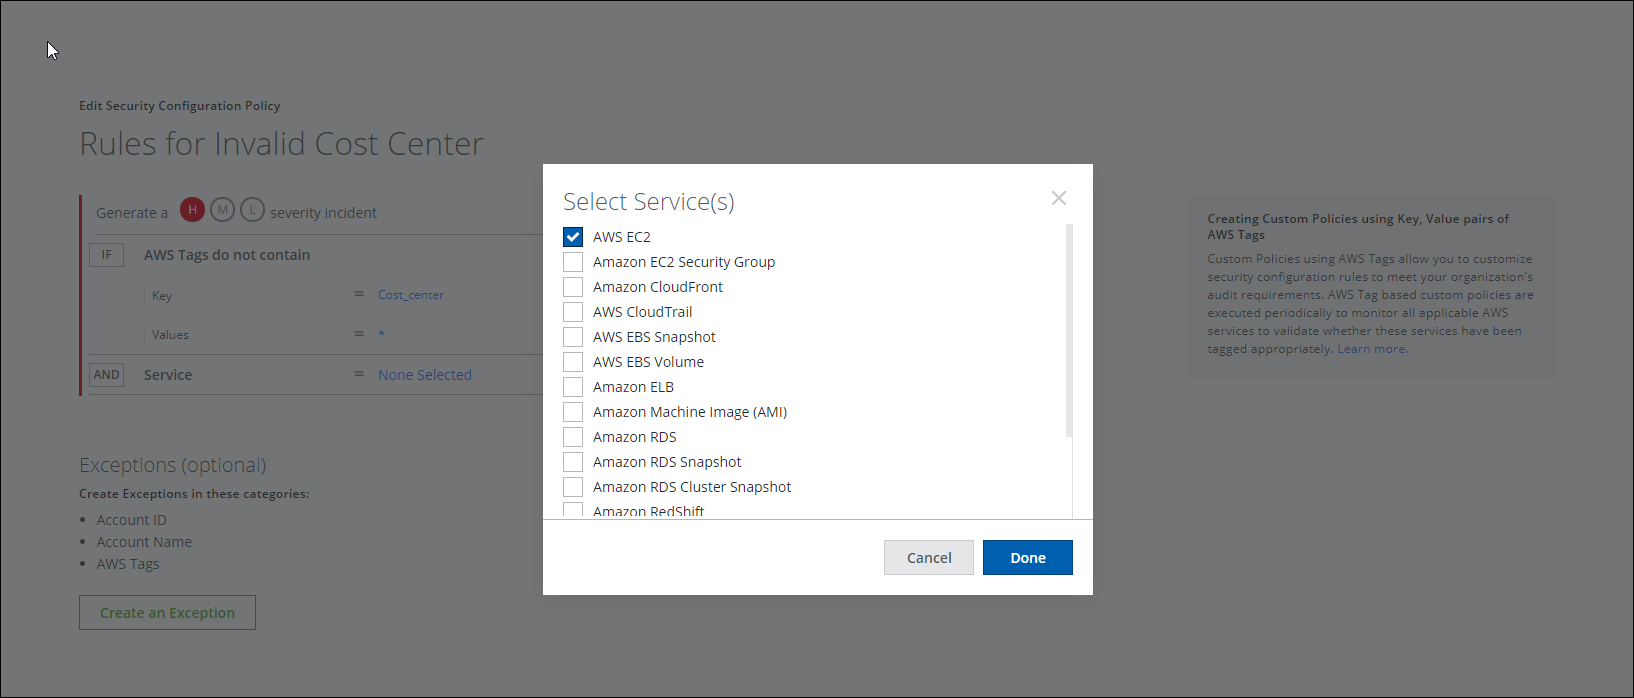
- (Optional) Click Add Exceptions if you'd like to enter one or more Account IDs, Account Names, or AWS Tags that you'd like to exclude. You can type comma-separated values, or choose a Dictionary. You can add more than one Exception. Click Done.
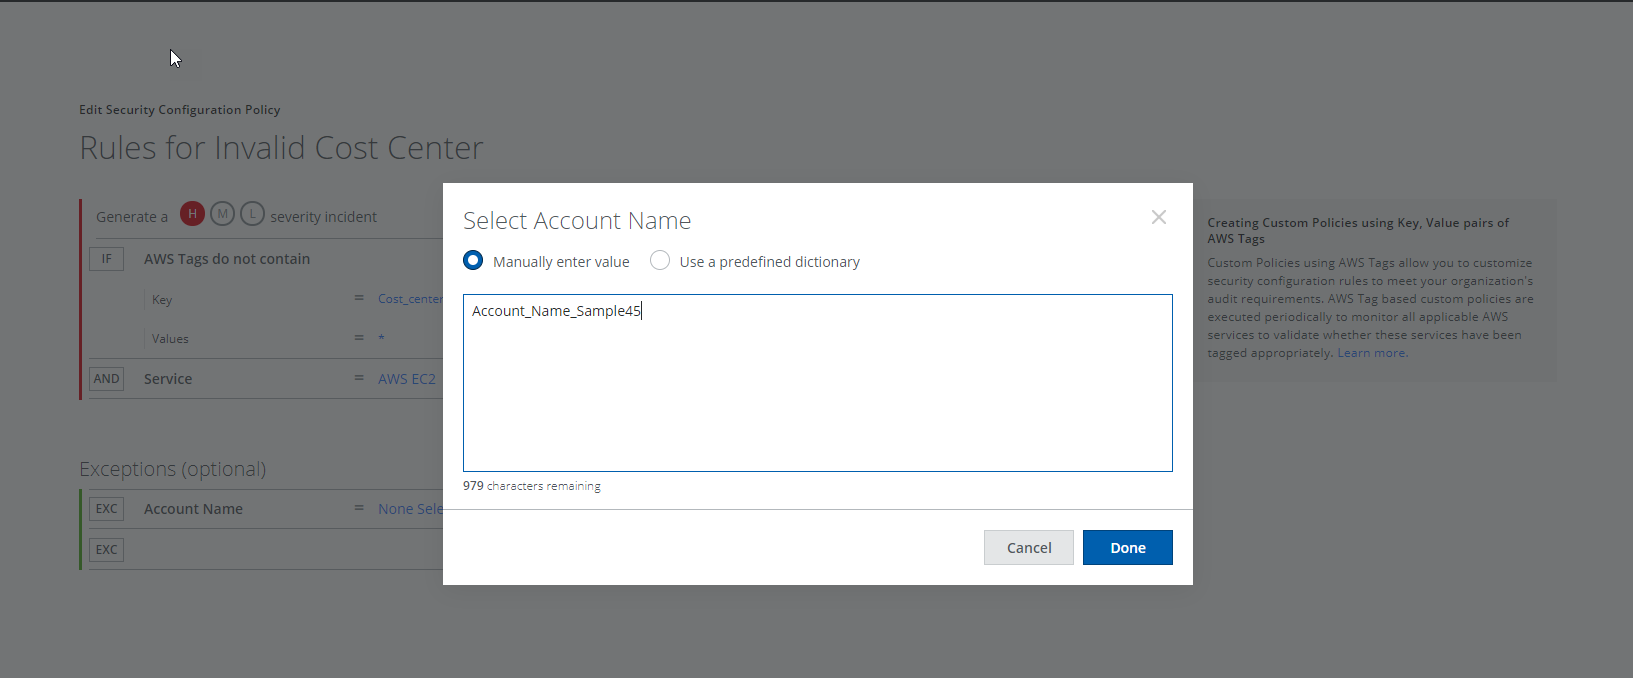
- Click Next when you're happy with the rule.
- In the Responses for Invalid Cost Center screen, choose from three options to be used to notify a security admin of a policy incident:
- Send (Email) Notification(s). Specify the people who should receive email notifications when the policy generates an incident.
- Send to SNS Topic. Specify that Skyhigh CASB sends configuration audit policy incidents to SNS. Simple Notification Service (SNS) is a service provided by AWS that provides a push messaging service. See Simple Notification Service Integration for information on how to set up Skyhigh CASB to work with this service.
- Send to SQS Queue. Specify that when a configuration audit policy is triggered, it is sent to an Simple Queueing Service (SQS) provided to AWS customers. SQS is similar to the SNS pull setup, but uses a pull operation that requires an organization to develop an application to retrieve messages from the queue. For information on how to set up SNS Queue to work with Skyhigh CASB, see Simple Queueing Service Integration.
- Click Next.
- On the Responses for Invalid Cost Center page, to the right of Generate an Incident, if you select Send Notification(s) you will get a page where you can select the people who should receive email notifications when the policy generates an incident.
- On the Email Notifications screen, choose the people who should receive email notifications when the policy generates an incident. Click Next.
- If you select the Send to SNS Topic option on the Responses for Invalid Cost Center page, you are prompted to enter an SNS ARN (Simple Notification Service Amazon Resource Name). This SNS Topic is where Skyhigh CASB configuration audit policy incidents will be sent.
- If you select the Send to SQS Queue option on the Responses for Invalid Cost Center page, you are prompted to enter an SQS ARN (Simple Queue Service Amazon Resource Name). This SQS ARN is where Skyhigh CASB configuration audit policy incidents will be sent.
- Review the policy. If you're happy, click Done.
