Update Native VPN Configuration on an iOS
This topic details how to configure the device certificate on the new iOS device, which is a mandatory step to configure native VPN.
NOTE:
Gmail is one of several available methods to download and install a device certificate on the iOS platform. The topic highlights the configuration update based on the available certificates on Gmail.
Steps to Install the Certificate
-
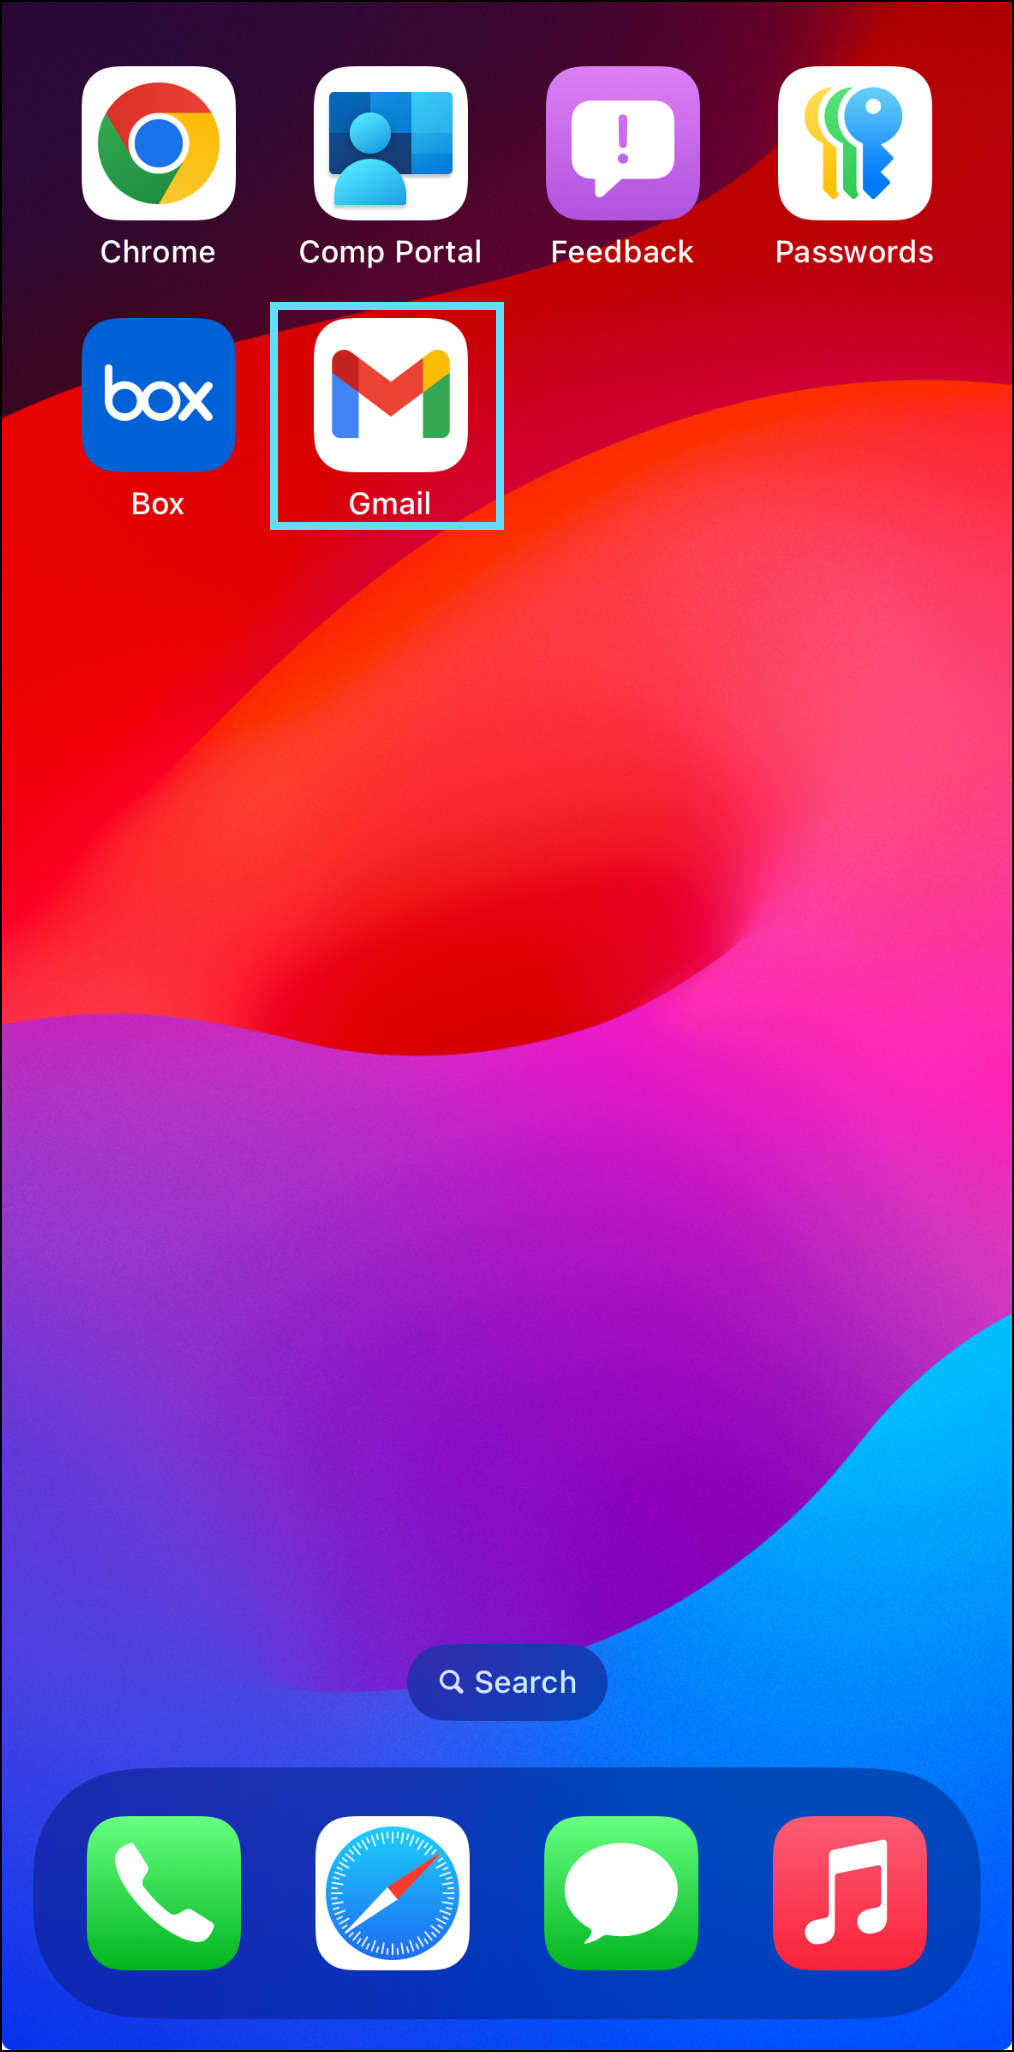
Open the Gmail application on your device and find the email with the .p12 certificate as an attachment.
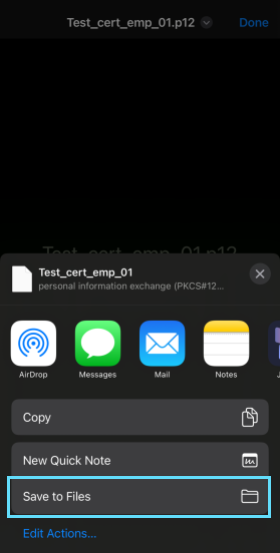
- View the email and tap the certificate attachment.

- When the certificate opens, tap the
 icon at the bottom-left corner.

-
Save the file in Files > Downloads and tap Save.
_1.png?revision=1&size=bestfit&width=190&height=375)
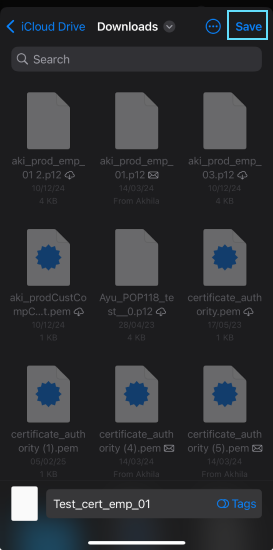
The file is saved. -
Tap the saved certificate file.

The Profile Downloaded pop-up displays. -
Tap Close to close the pop-up.

-
Navigate to Settings and tap Profile Downloaded.

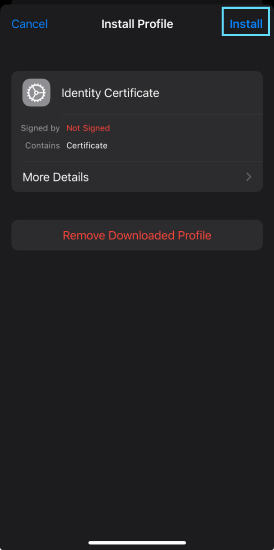
The Install Profile screen opens. -
Tap Install to begin the certificate installation.
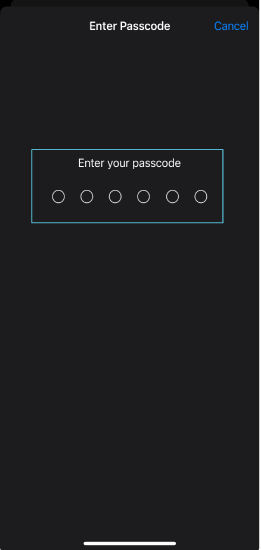
-
On the Enter your passcode prompt, enter your device passcode.
-
Ignore the warning message and tap Install.

-
Enter the certificate password (in this case, it is
pas).

-
After successful verification, the Profile Installed screen opens. Tap Done at the top-right corner.

The Native VPN configuration is successfully updated. - Navigate to Settings > General > VPN & Device Management to view installed certificates.

- Tap VPN to configure VPN settings if required, see Update iOS VPN Profile Configuration.