Deploy Secure App Connector V2 on Azure for TCP and UDP Applications
This deployment topic provides information on prerequisites, how to deploy Secure App Connector as a virtual machine (VM) in Microsoft Azure, and post-deployment configurations.
Prerequisite
- Make sure to allow the following domains and HTTP(S) ports when you are using a firewall. For more details, see Secure App Connector V2 Prerequisites and Firewall settings For Private Applications.
Steps to Deploy
- Log in to the Azure portal using any role with credentials to create/edit VMs, create/edit virtual networks, and create/edit network security groups.
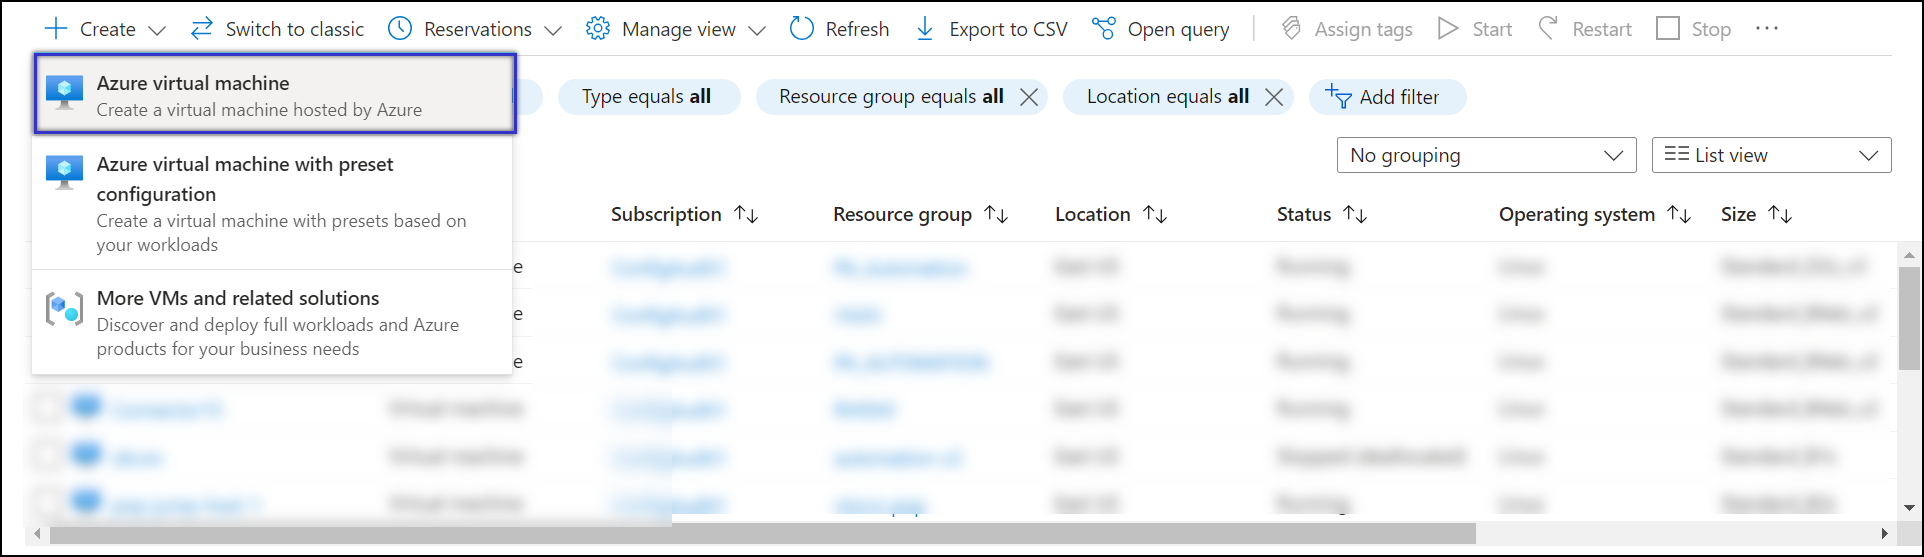
- Click Virtual machines under Azure services.

- Click Create, and select Azure virtual machine from the menu.
- In the Basics panel, enter general information about the VM.
- In the Project Details, click Create new to create a new resource group name or use an existing resource group.

- In the Instance Details, enter the desired Virtual machine name in the field.

- Choose the region.
.png?revision=1)
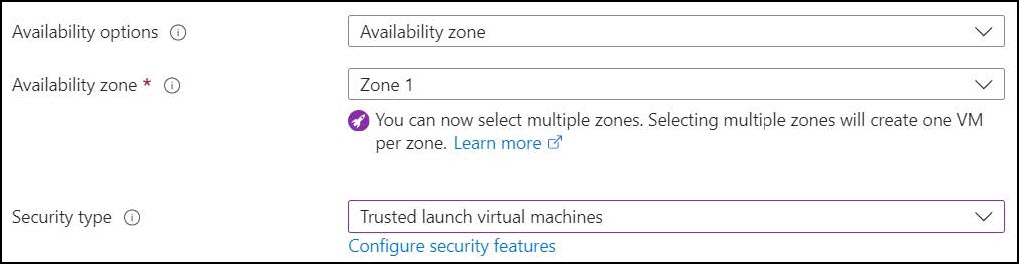
- Select your Availability options, Availability zone, and Security type with default values.
- Click See all images > Community Images on the left panel, search for Skyhigh and select Skyhigh_secure_app_connector image.


- Select size Standard_B4als_v2 (4CPU, 8GM RAM ) for TCP and Standard_F8s_v2 (8CPU, 16GB RAM ) for UDP as a minimum recommendation.


- In the Project Details, click Create new to create a new resource group name or use an existing resource group.
NOTE: We recommend using the CLI option to put the Secure App connector VM into Standby mode instead of hibernating or shutting it down.
- Select authentication type as SSH public key and enter username as azure.

NOTE: Make sure the username is azure; other usernames are not compatible.
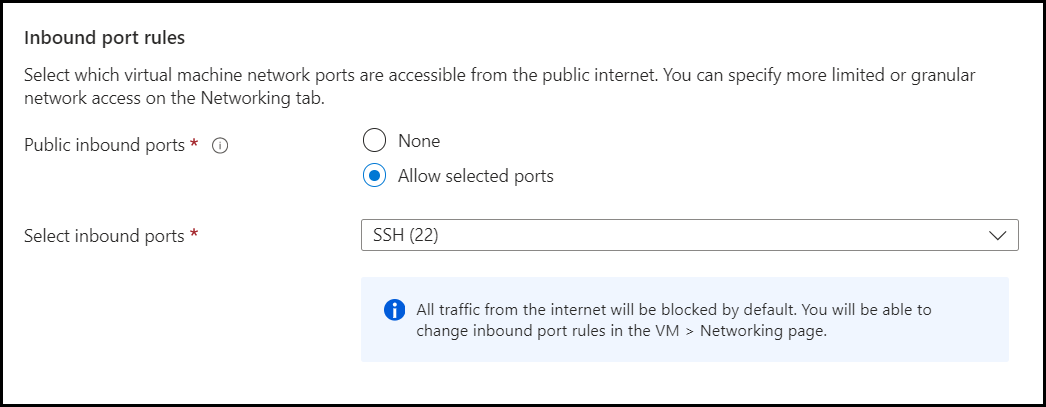
- Configure Inbound port rules.
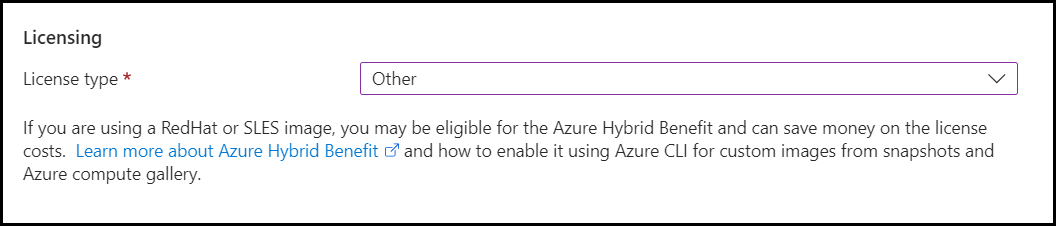
- Select license type as Other.
- In the Disks panel, enable Encryption at host, configure OS disk size as 64Gb for TCP & 128GB (minimum) for UDP.

NOTE: We recommend selecting/enabling the checkbox for Delete with VM.
- In the Networking panel
- Click Create new virtual network or use an existing virtual network.
- Select Advanced for the NIC network security group.
- For Configure network security group, click Create new or use existing security group.
- Click Add an outbound rule and create a rule that allows outbound connections on ports 443 and 8080. In case the firewall is configured, refer to the link: Secure App Connector V2 Prerequisites and Firewall settings For Private Applications


- Click Add an outbound rule and create a rule that allows outbound connections on ports 443 and 8080. In case the firewall is configured, refer to the link: Secure App Connector V2 Prerequisites and Firewall settings For Private Applications
NOTE: By default, the VM allows inbound SSH connections for port 22.
- Select Load balancing as None as other options are not supported.

- Under the Management tab, keep the default values and then click Next: Monitoring.

- Under the Monitoring panel, enable Boot diagnostics and click Next: Advanced.
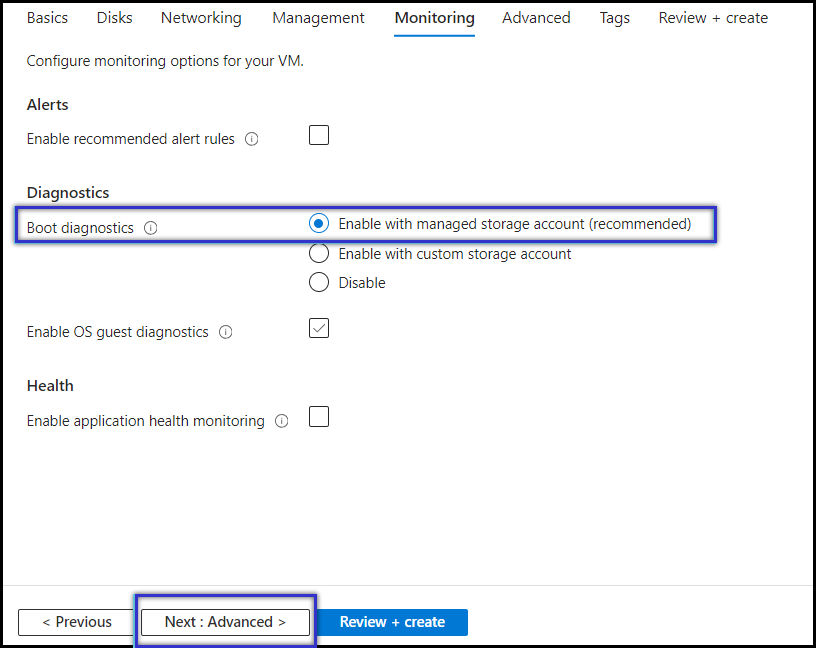
NOTE: Enabling boot diagnostics helps with debugging, in case of installation failures.
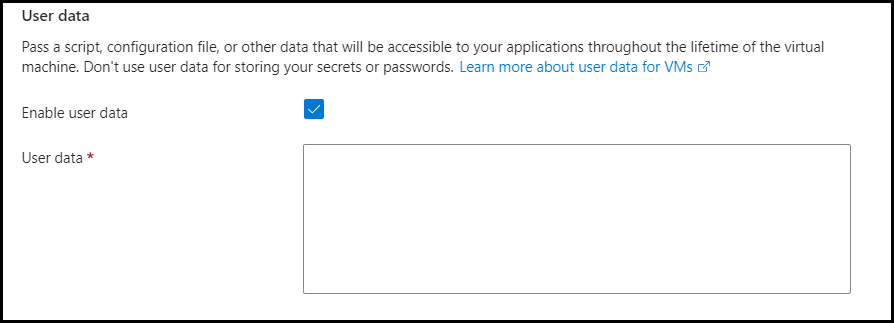
- In the Advanced panel, enable Enable user data checkbox.
- Copy & paste the connector configuration content from SSE using the downloaded configuration file.
NOTE: Ensure that you do not copy & paste the downloaded configuration file to Custom data.
- Copy & paste the connector configuration content from SSE using the downloaded configuration file.
- Click Next: Tags.
- Under the Tags section, to configure either proxy or dns or udp_socks_proxy or bypass_proxy, add the tag in the below format:
- Key - The key must remain fixed and match the one in the screenshot below.
- value - The value can be customized as needed.
NOTE
- Supported proxy format =>
http://proxy.example.com:9090 or http://1.2.3.4:90. - Non Supported proxy format => proxy.example.com:9090 (http:// is missing); http://proxy.example.com (port is missing); http://1.2.3.4:9090, http://2.3.4.5:9090 (Only one Proxy is supported).
- Make sure you have the UDP Socks Proxy in this format i.e. <ip>:<port> or <hostname>:<port>. For example: 172.22.20.41:1080
<PROXY>: Address of the proxy server (optional)<BYPASS>: List of domains that can be added to bypass the proxy (optional). This parameter can be ignored if you don't have any domains that need to bypass the proxy, even when a proxy is used.<UDP_SOCKS>Used to access the internet via SOCKS proxy for UDP traffic (optional).
NOTE: Set the <PROXY>,<BYPASS>, and <UDP_SOCKS> parameters only when your connector uses a proxy server to reach the internet.
.png?revision=1)
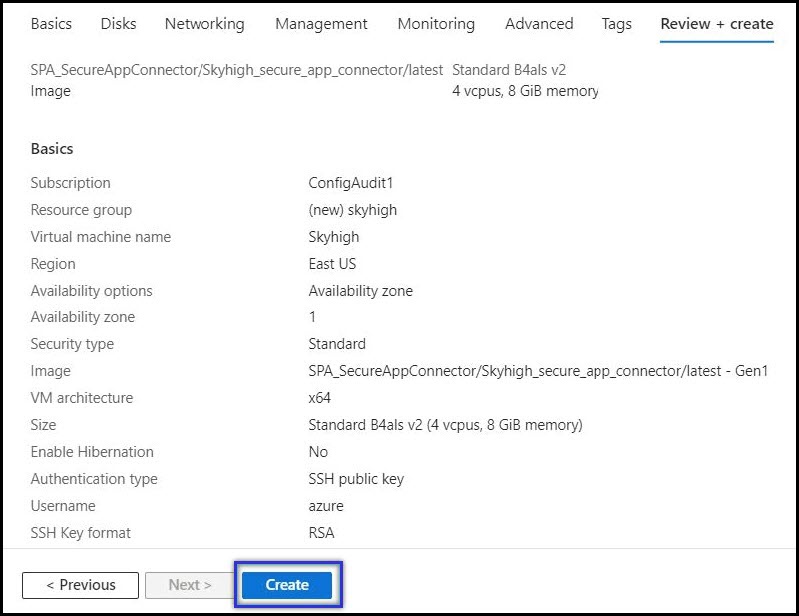
- In the Review + create tab, review your VM configuration, and then click Create.
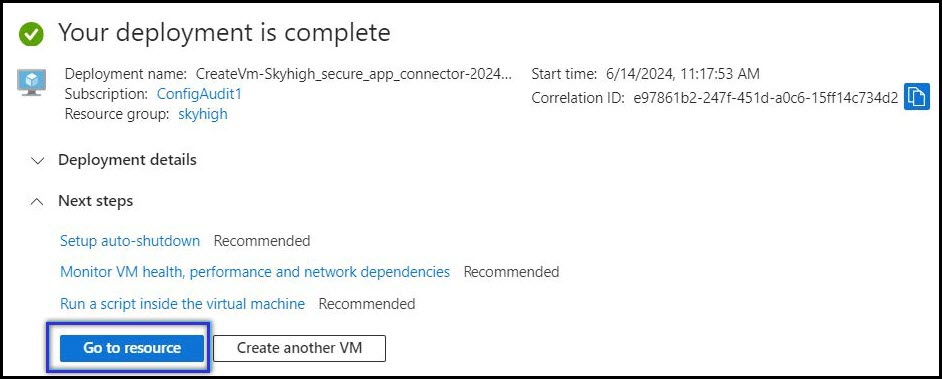
- Once Azure VM creation is done, click Go to resource.
- In the Virtual machines window, take note of the IP Address for the newly configured VM.

- Use a standard SSH Client (like Putty) and enter the following command to log in to Azure VM.
ssh -i <Azure Private Key> azure@<App Connector Hostname or IP Address>
- Connector deployment will take around 15-20 minutes.
- To validate your secure app connector deployment, see Secure App Connector V2 CLI.
NOTE
- The tags created in step 11, ie: proxy, bypass, udp_socks, can be deleted after a successful installation.
- In case of any failure, delete the old stack and redeploy the connector.