Configure Secure App Connector V2
Secure app connector enables end users to securely connect to their organization's private application via Skyhigh SSE. A secure app connector is a part of a group of connectors
- Do not change the hostname to avoid services going to an inconsistent state. If done, revert the hostname change to recover.
Add Secure App Connector
Complete the following steps to configure a connector:
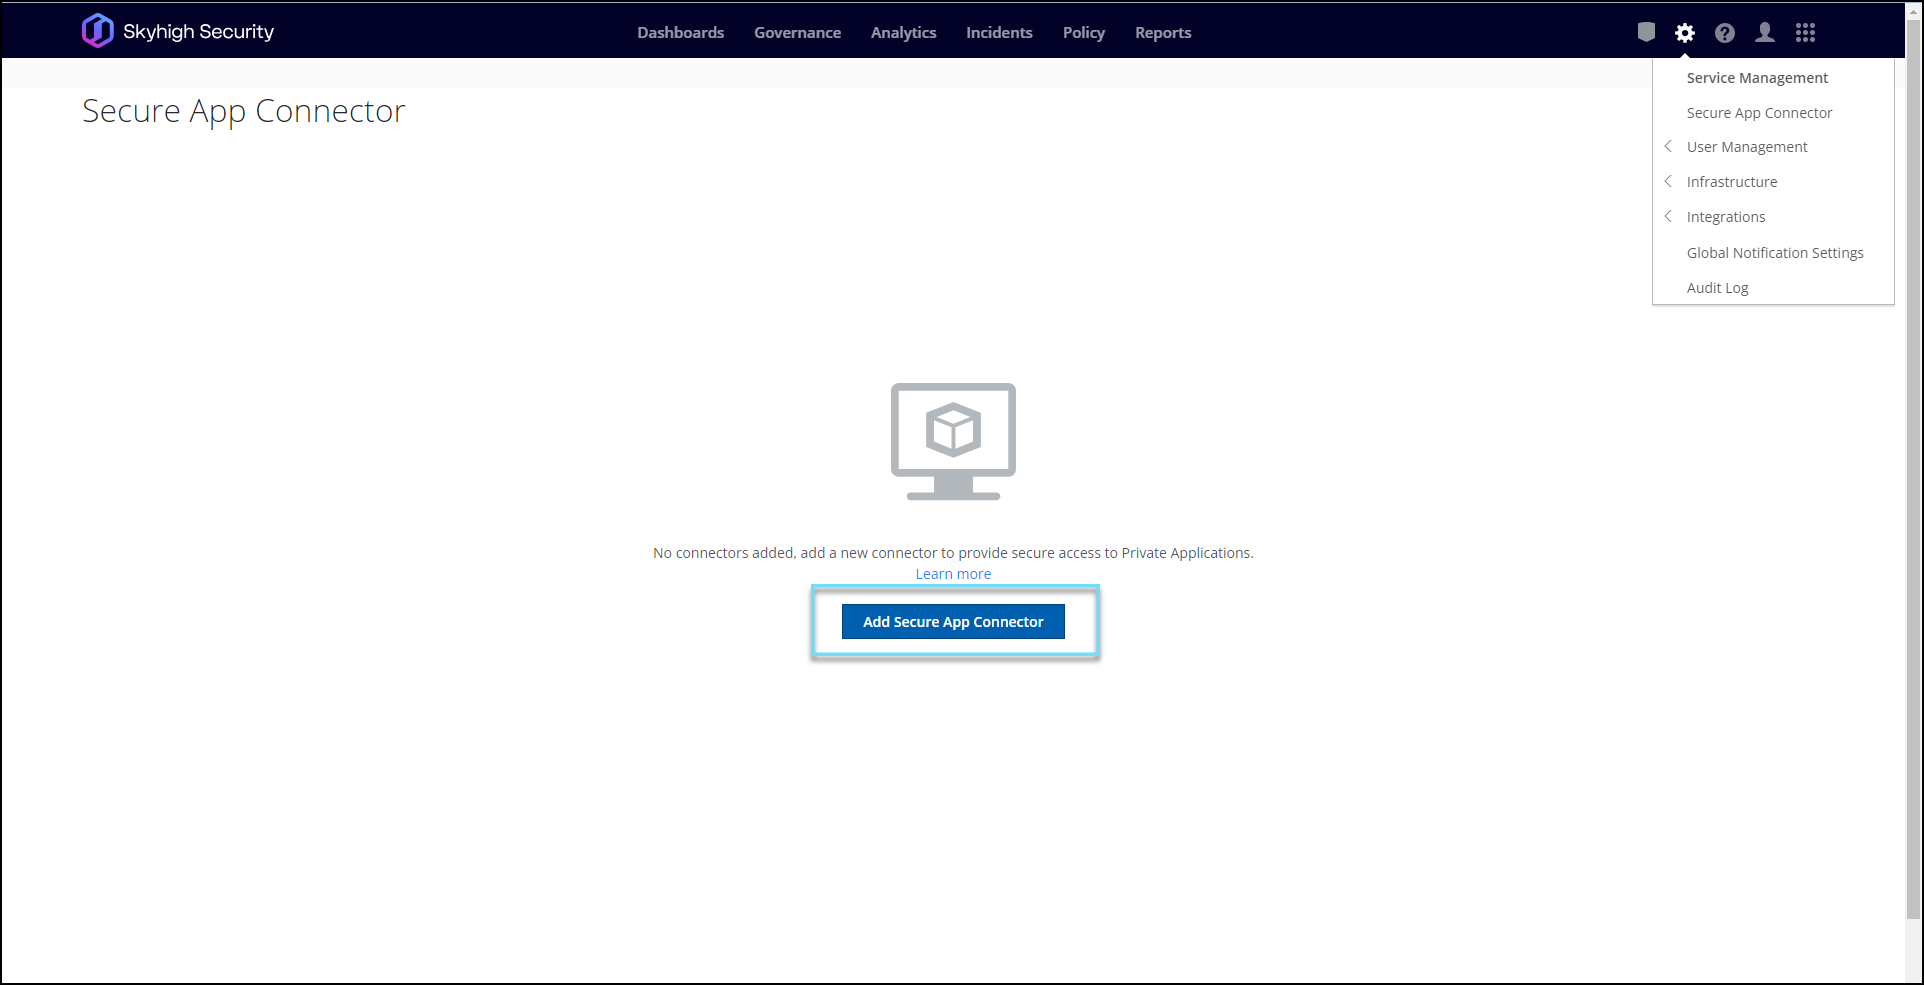
- Go to Settings > Secure App Connector.
.png?revision=1)
- Click Add Secure App Connector.
A new window opens.

- Click Auto-detected during Installation to select the gateway according to the location of the connector installation.

_2.png?revision=1)
NOTE: Skyhigh SSE platform recommends using the Auto-detected during Installation option as it selects the nearest server based on the connector installation location. You can still override the default by selecting a specific gateway.
- Click Select Connector Group and select Connector Group from the list.
NOTE: To create a connector group, refer to Add Connector Groups.

NOTE: Ensure to select a Connector Group to save the settings.
- Select a Protocol.

- Select the Platform Image for the connector deployment:
- When you select the TCP protocol, the available platform image options are AMI, Azure Image, OVA, and Docker.

- When you select the TCP and UDP protocol, the available platform image options are: AMI, Azure Image, and OVA.

- When you select the TCP protocol, the available platform image options are AMI, Azure Image, OVA, and Docker.
- Click Save.

- After adding a connector successfully, the config file automatically generates and gets downloaded to your system.
The Secure App Connector popup screen displays What you can do by referring to these steps for installing the Secure App Connector successfully.
- If the configuration file doesn't download automatically, click the Download config file manually to download it manually.
_final.png?revision=1)
For the Docker-based solutions, scroll down the pop-up window and copy the login command that is displayed.
NOTE: Click copy option next to the box instead of manually selecting and copying the text. If the command is not copied, select the Download > Reinstall option at the end of the row.

- Click Done.
The connector management will have a list of connectors on the dashboard.
_0.png?revision=1)
- Not Installed: This status is shown when a newly added connector is not deployed.
- Expired: This status is shown when a config file associated with a connector has expired. It automatically expires if not used within 7 days. The config file can be regenerated from the regenerate link for each expired connector.
- Critical*: This status is shown when there's a critical error in the connector. Either when the pod/feature is not healthy, or the PA tunnels are down.
- Unreachable*: This status is shown when the cloud hasn't received any heartbeats from the connector for at least the last 10 minutes. This may be due to a network problem, or some critical error in the host.
- Warning:*: This status is shown when a non-mandatory pod/service is unhealthy.
- Normal: This status is shown when everything working as expected.