Deploy Secure App Connector V2 on AWS using CloudFormation Template
Secure App Connectors can be deployed in your Virtual Private Clouds (VPCs) for AWS. Secure App Connectors should be deployed across all availability zones to ensure continuity of service in the event of an incident. It should be in appropriate security groups to enable access to applications in the VPC.
Prerequisites
- Skyhigh Security recommends Secure App Connector have at least 4CPU, 8GB RAM, and 50GB HDD.
- Make sure that you have an Amazon Virtual Private Cloud (VPC) created and have full access to create EC2 instances.
Note: In case of any failure, delete the old stack and redeploy.
Steps to deploy
- Download one of the following templates:
- CloudFormation Template if you wish to use AWS assigned IPs for the connector instance (skip step 17 when you download this template)
- CloudFormation Template if you wish to assign a static IP to the connector instance.
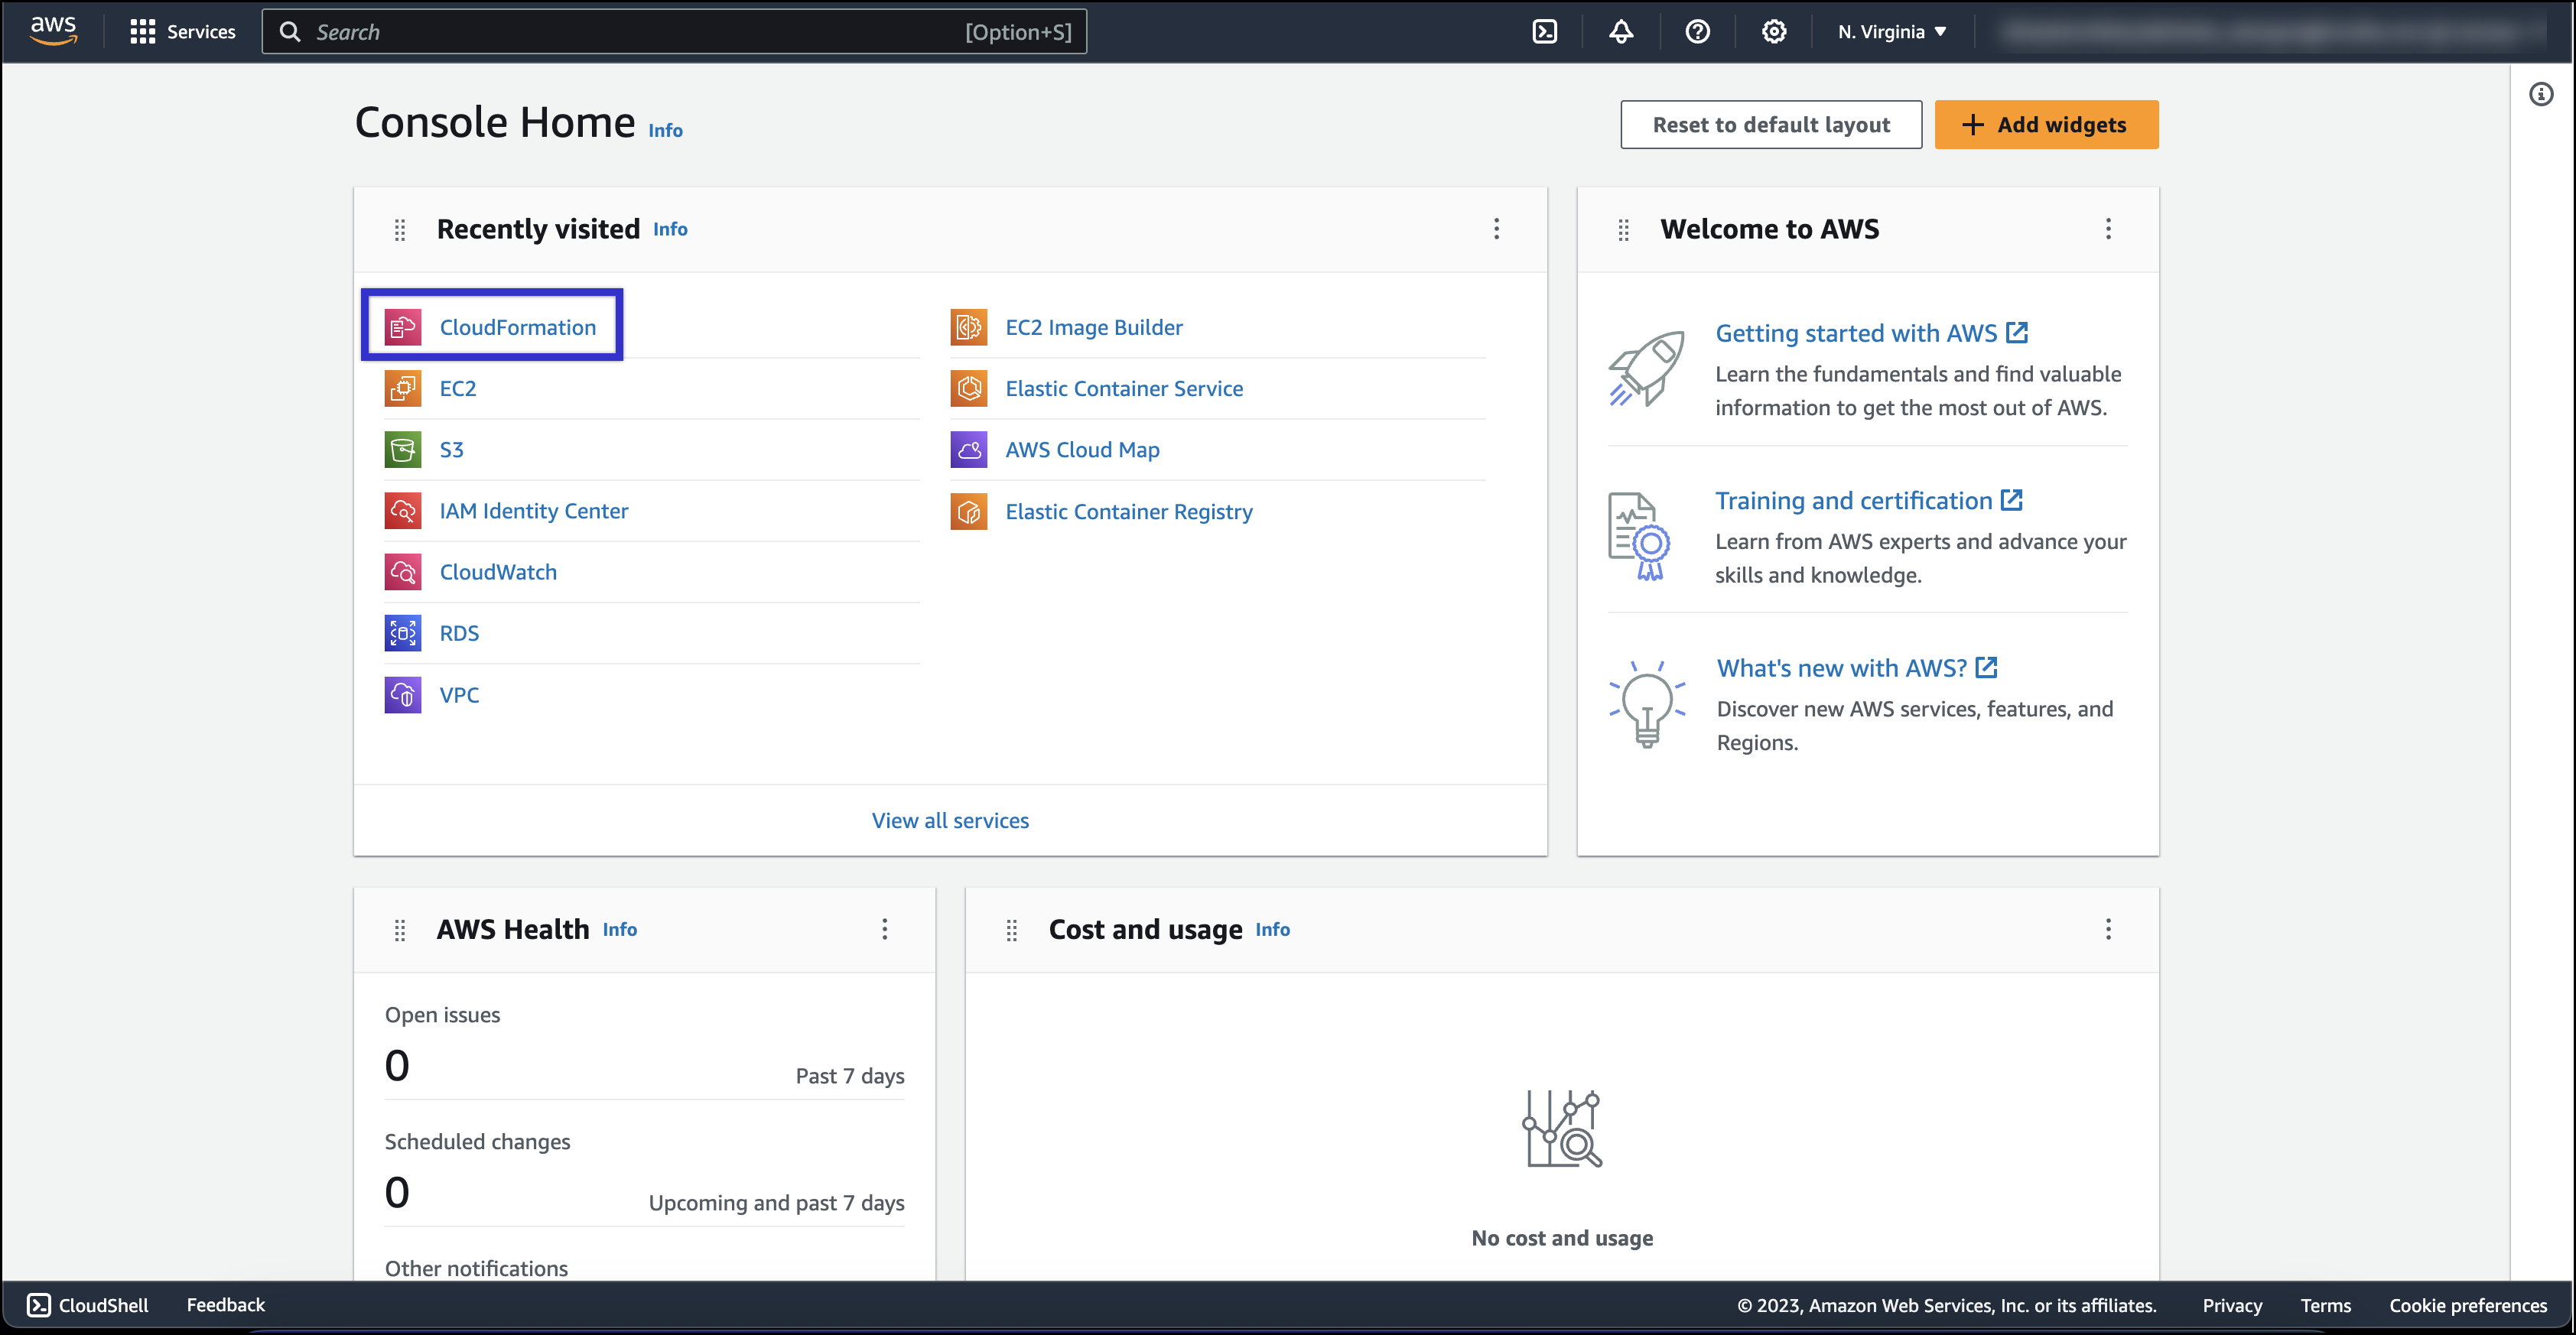
- Log in to the AWS Management Console.
- On the Console Home page, select CloudFormation.
The CloudFormation page appears.
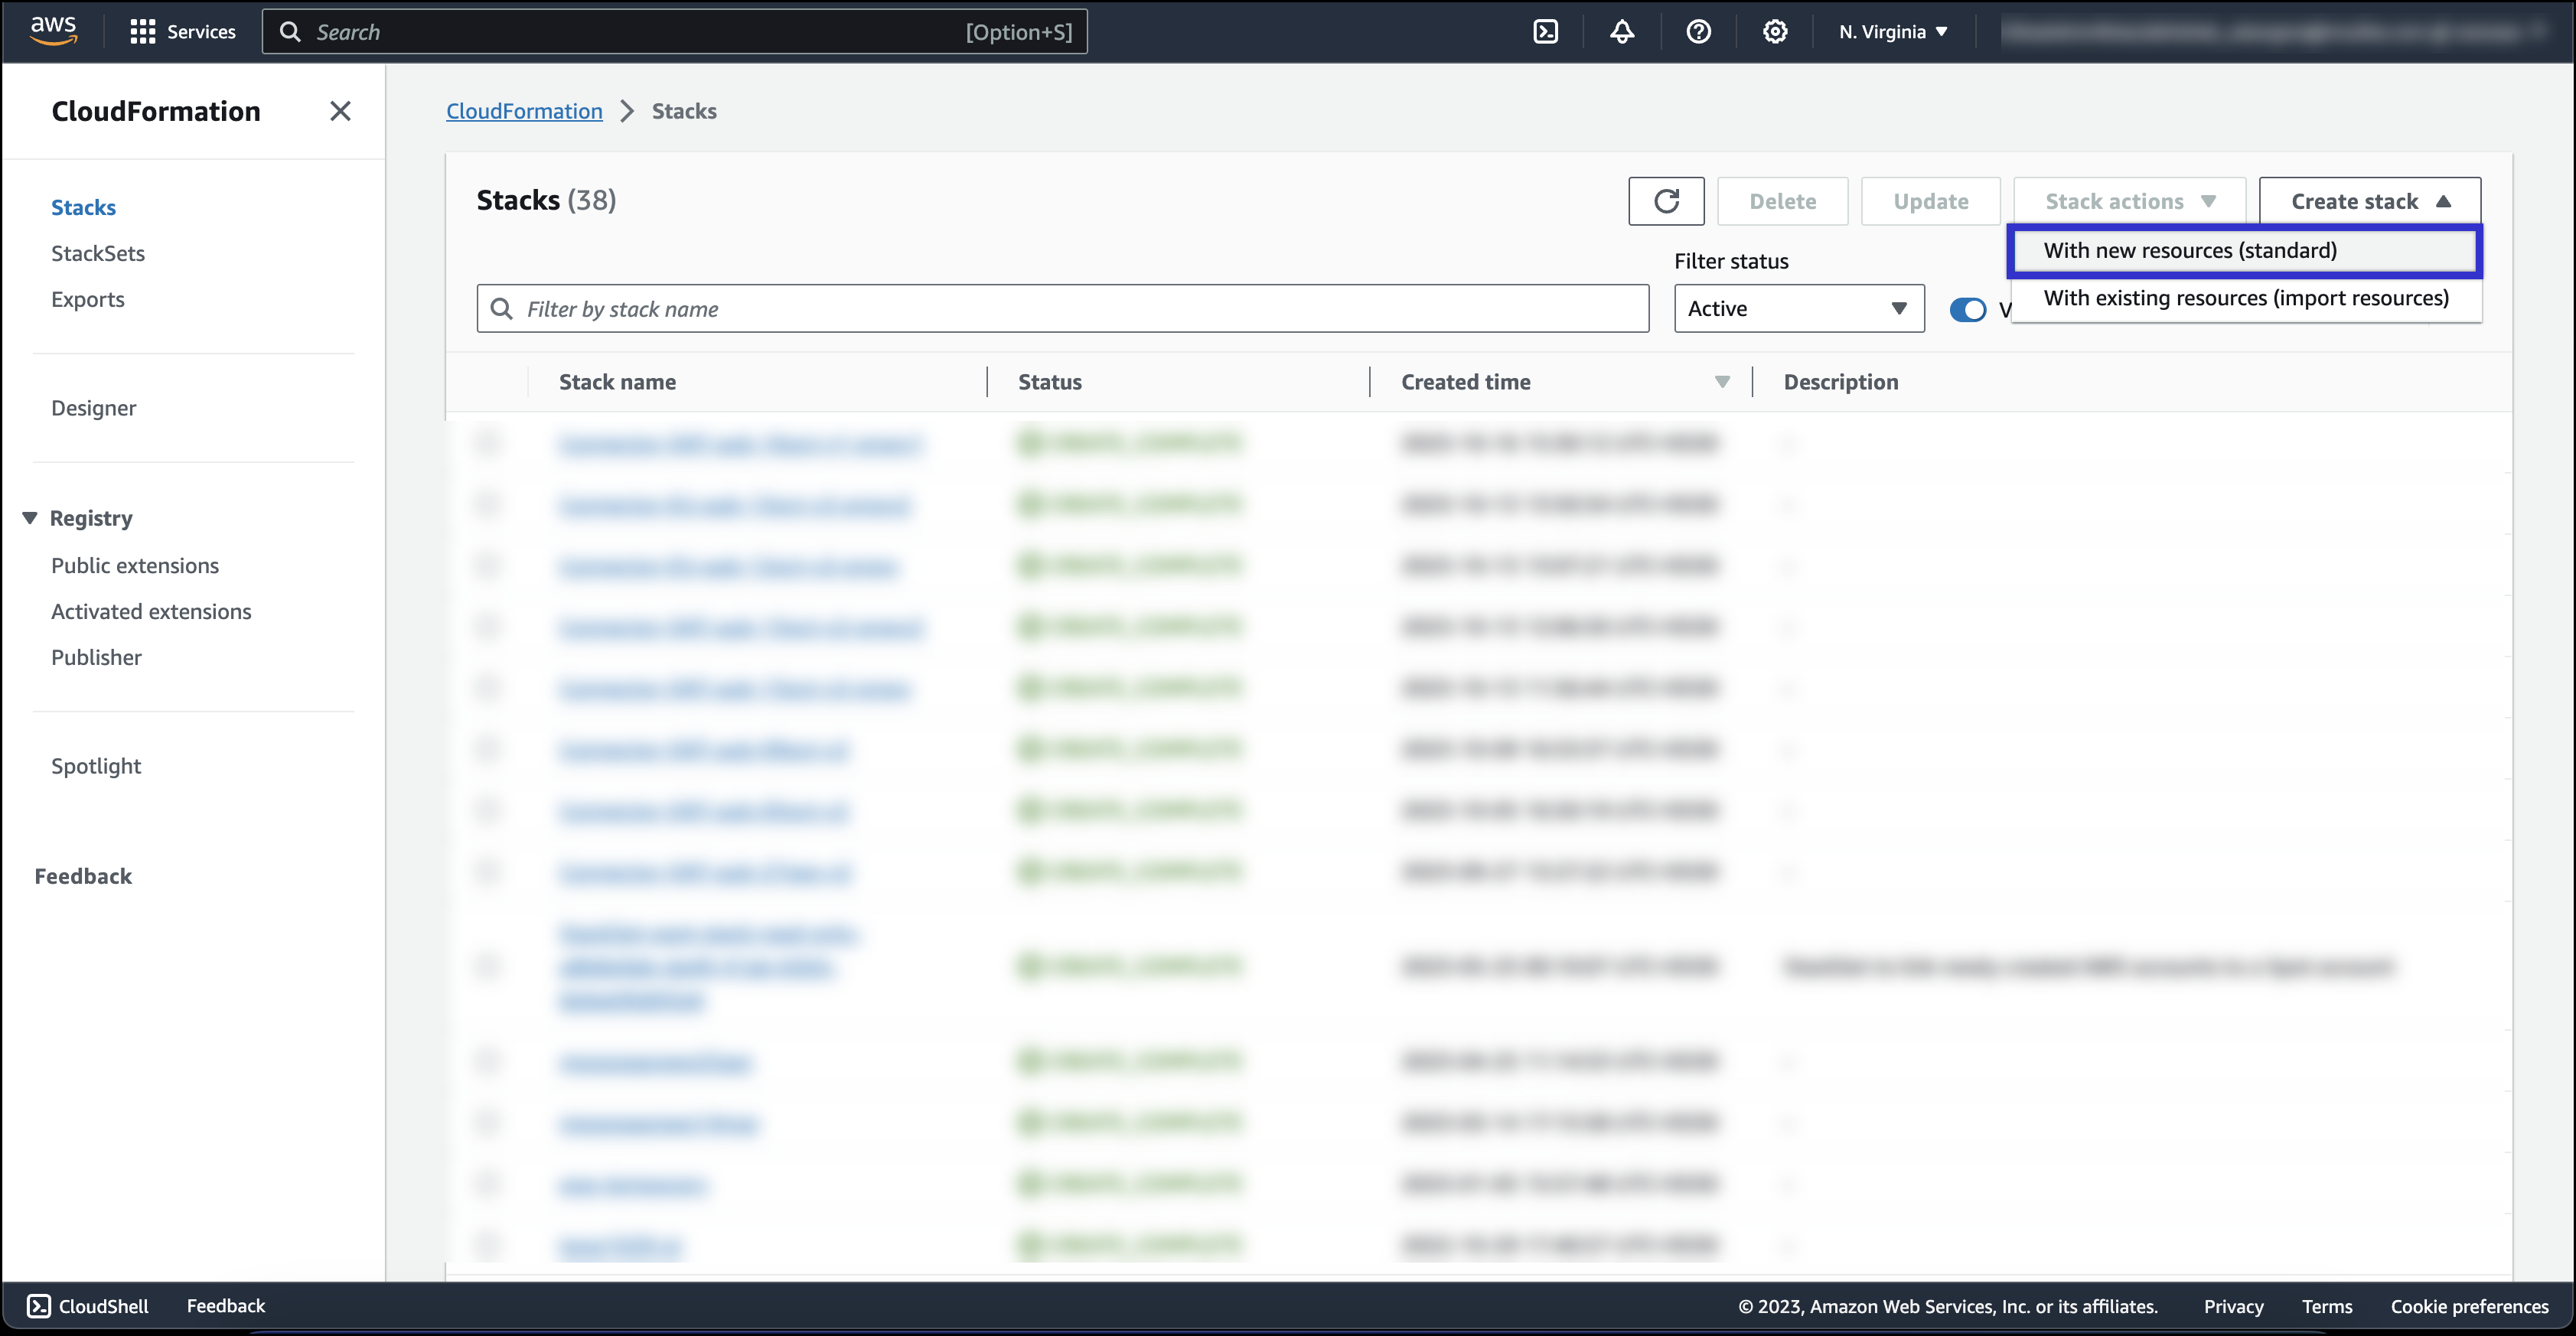
- On the CloudFormation page, click Create stack > With new resources (standard).
- In the Prerequisite - Prepare template section, select Template is ready.
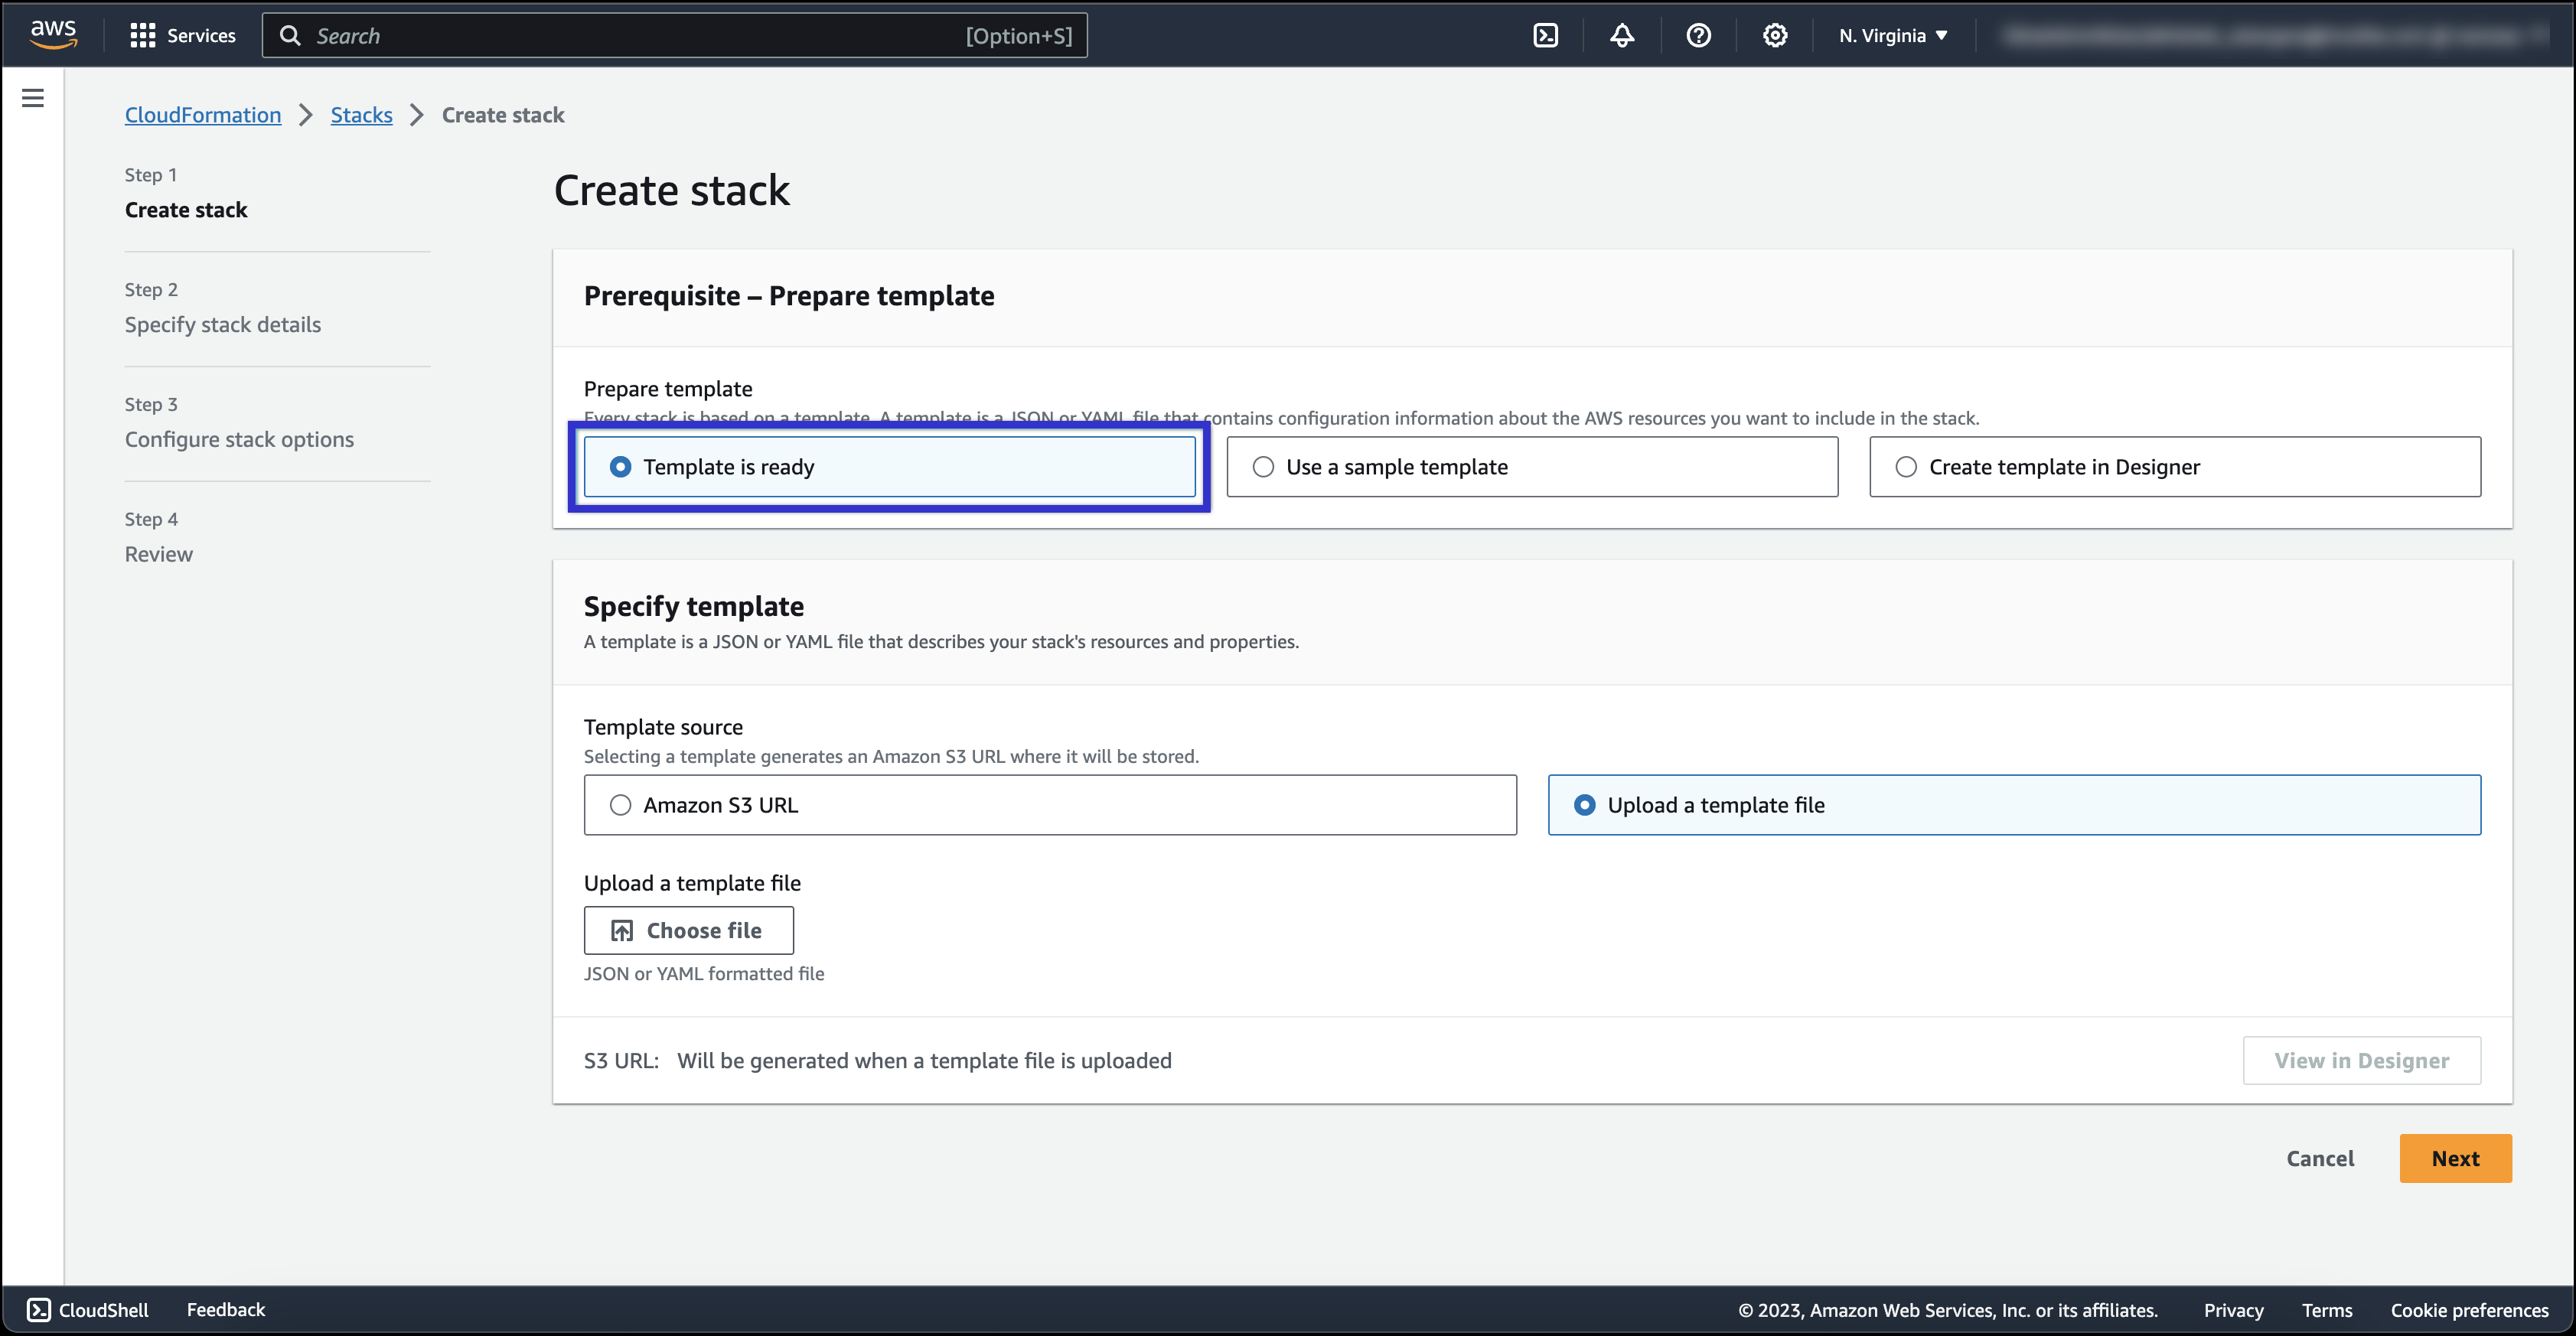
- In the Specify template section, select Upload a template file.
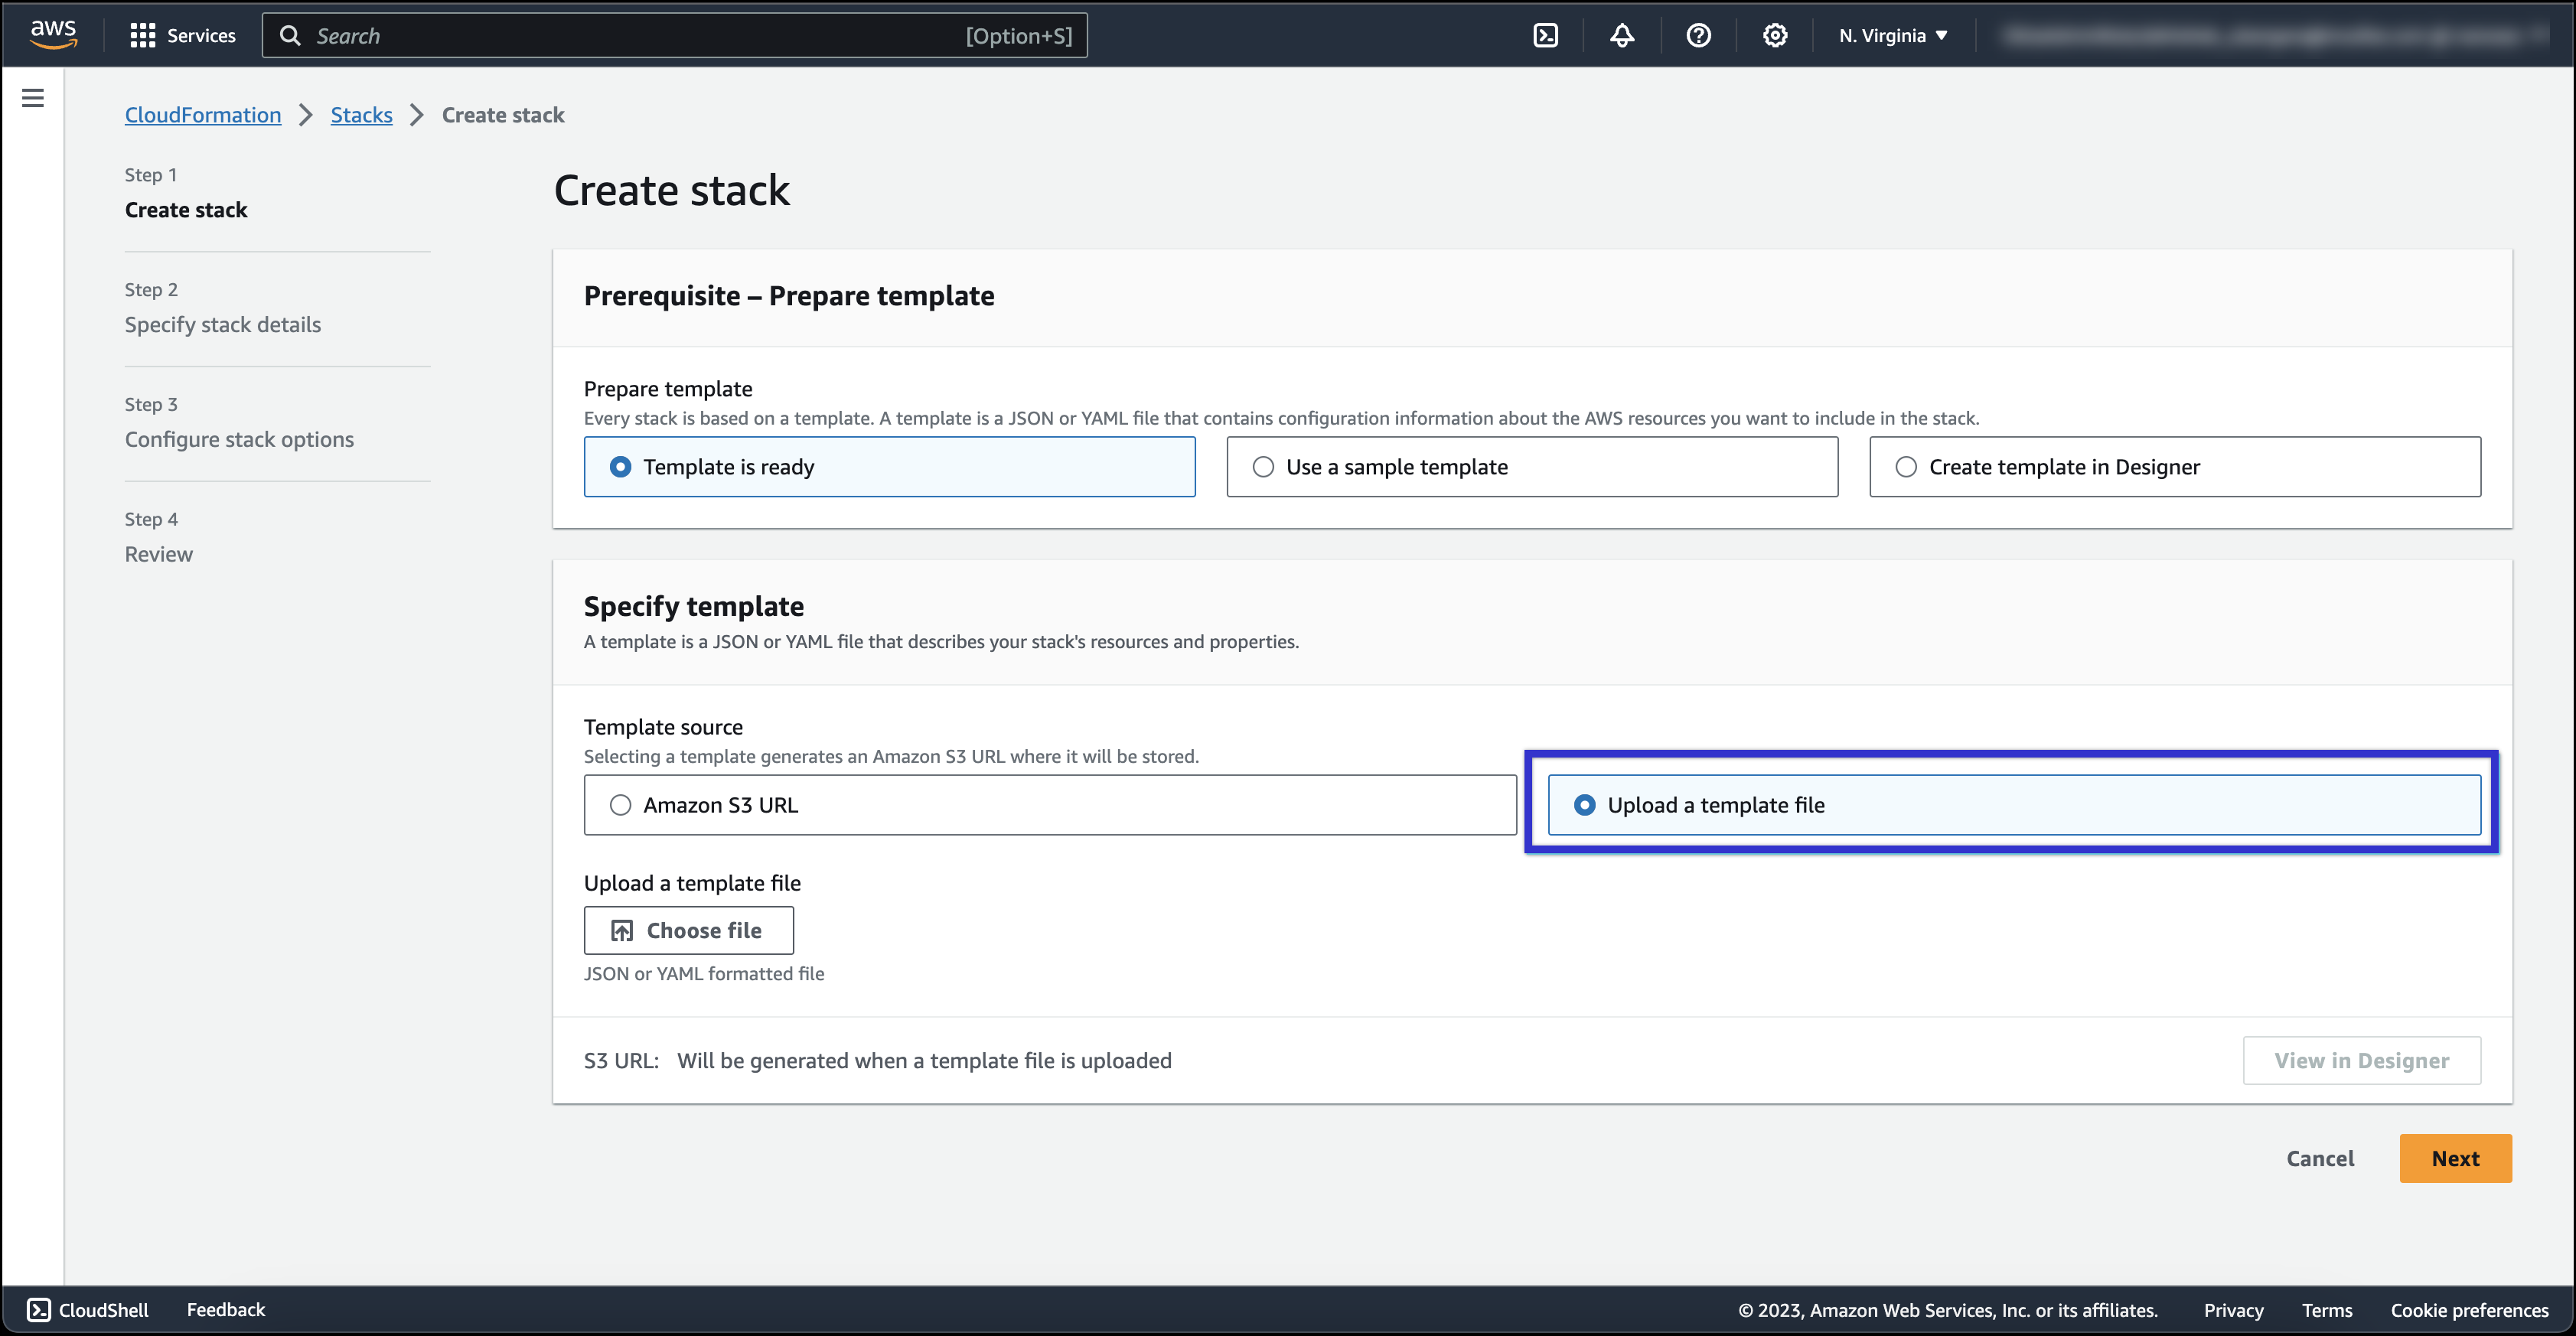
- Click Choose file to upload a template file and make sure you browse to the location of the file.
.png?revision=2)
- Click Next.
.png?revision=1)
- Enter a Stack name.
-1.png?revision=1)
- Select an EC2 InstanceType from the dropdown list.
NOTE: The c5.xlarge is the minimum supported instance size for the Connector V2. However, you can select a larger instance size based on your requirements.
-2.png?revision=1)
- Select AWS Private Key Name from the dropdown list using it to login to the EC2 instance.
Note: AWS Secure App Connectors do not support password-based authentication as a login method.
-3.png?revision=1)
- Enter Volume Size in GB.
.png?revision=1)
- Select the AWS SecurityGroupIds from the dropdown list which allows inbound access on port 22 (i.e. SSH) and outbound access on ports 443 & 8080.
.png?revision=1)
- Configure Proxy settings - BypassProxy and Proxy.
- Set the Proxy parameter only when the connector uses a proxy server to reach the Internet (optional).
- Bypass Proxy is the list of domains that can be added to bypass the proxy (optional). This parameter can be ignored if there are no domains that need to bypass the proxy, even when a proxy is used.
Note: 1st 3 DNS entries will be used, & the rest will be ignored.
.png?revision=1)
- Copy and paste the connector configuration content from SSE from the downloaded configuration file.
.png?revision=1)
- Enter DNS server (optional).
NOTE: Ensure that this DNS can resolve both public internet hosts and internal private applications.
.png?revision=1)
- Enter the private IP details if you have downloaded the CloudFormation for static private IP address template.
Note: Skip this step if you are using CloudFormation for AWS assigned IP template.
.png?revision=1)
- Enter private subnet details.
.png?revision=1)
- Click Next.
.png?revision=1)
- Click Add new tag to define the tag for the resources.
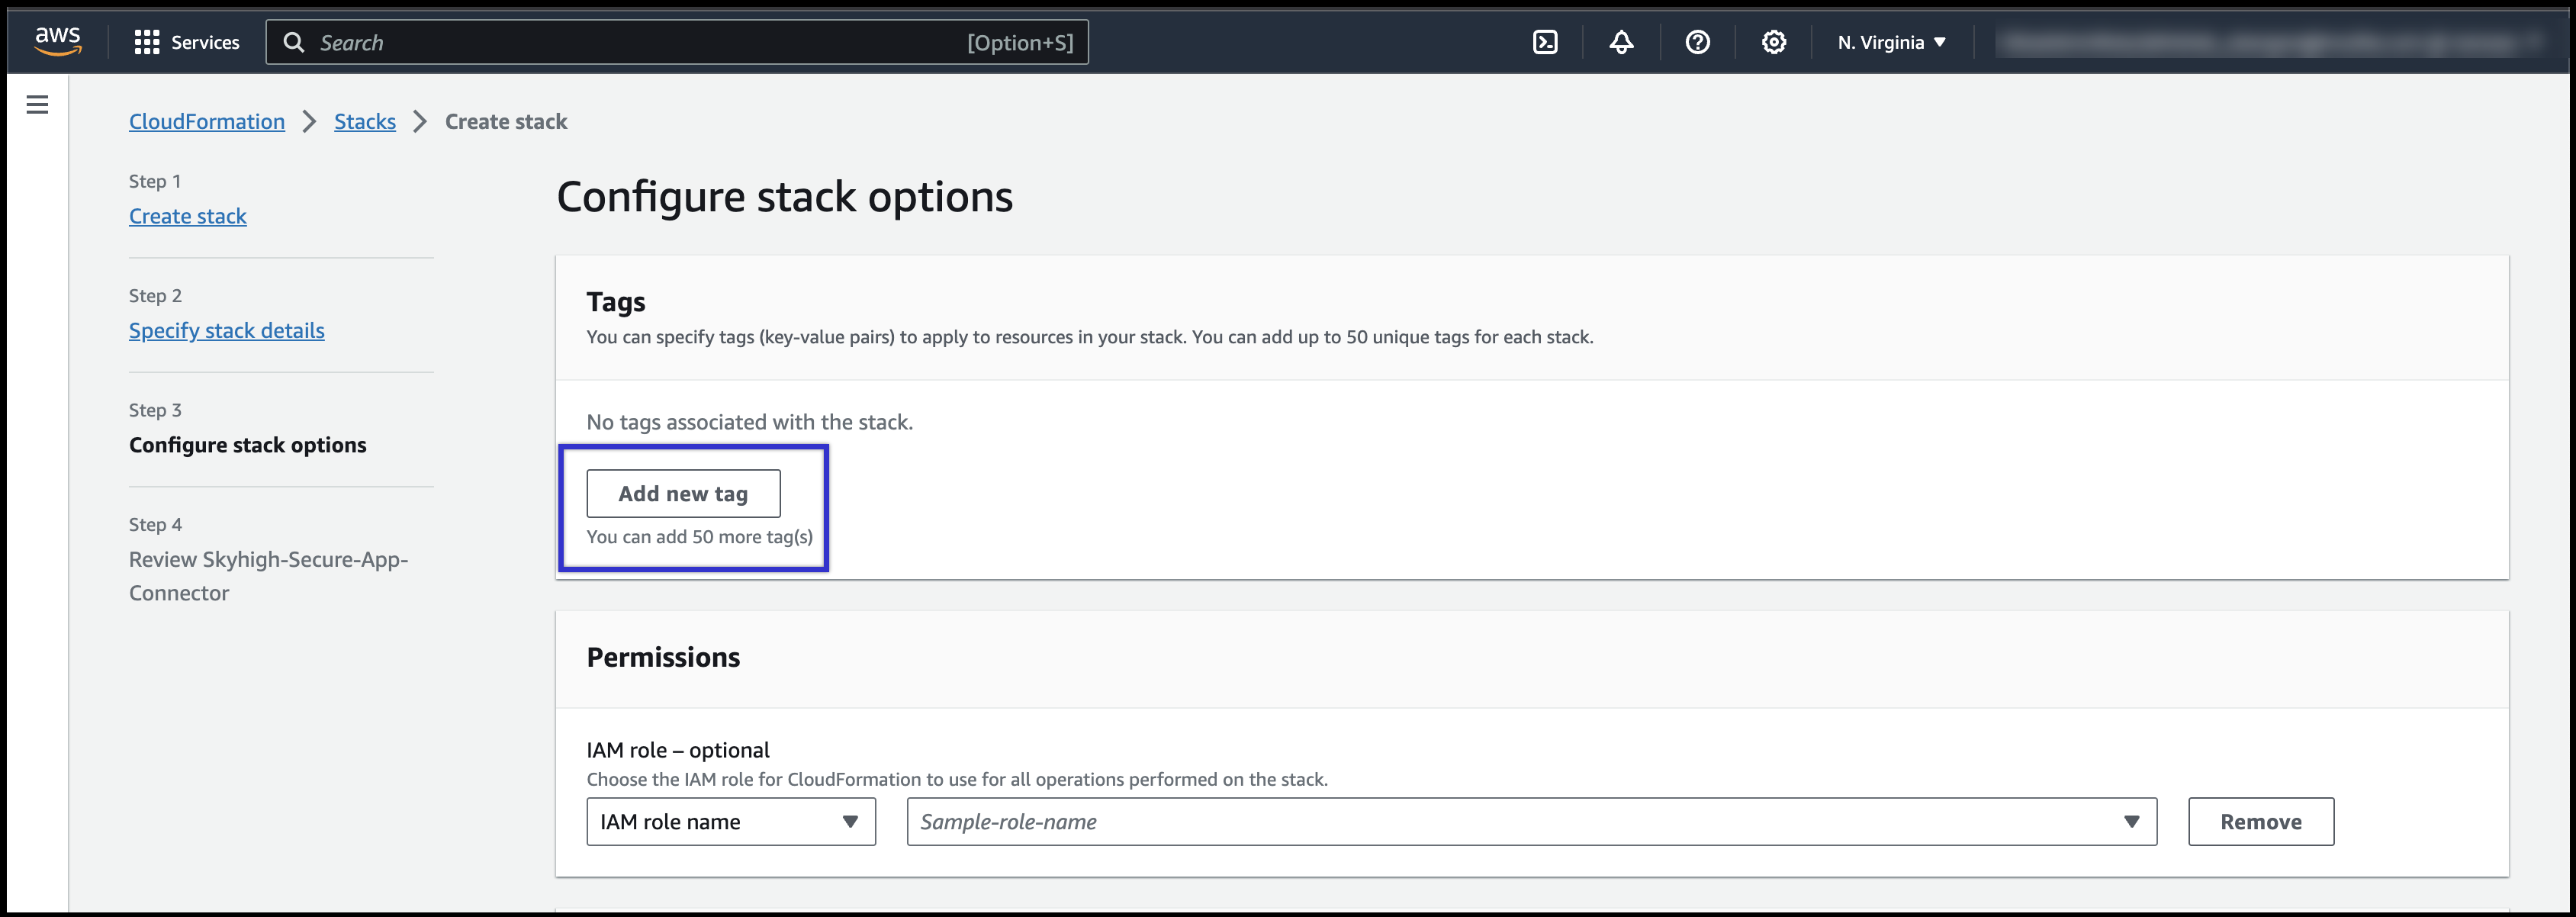
- Enter the key name as Tag and the value (as per user).
.png?revision=1)
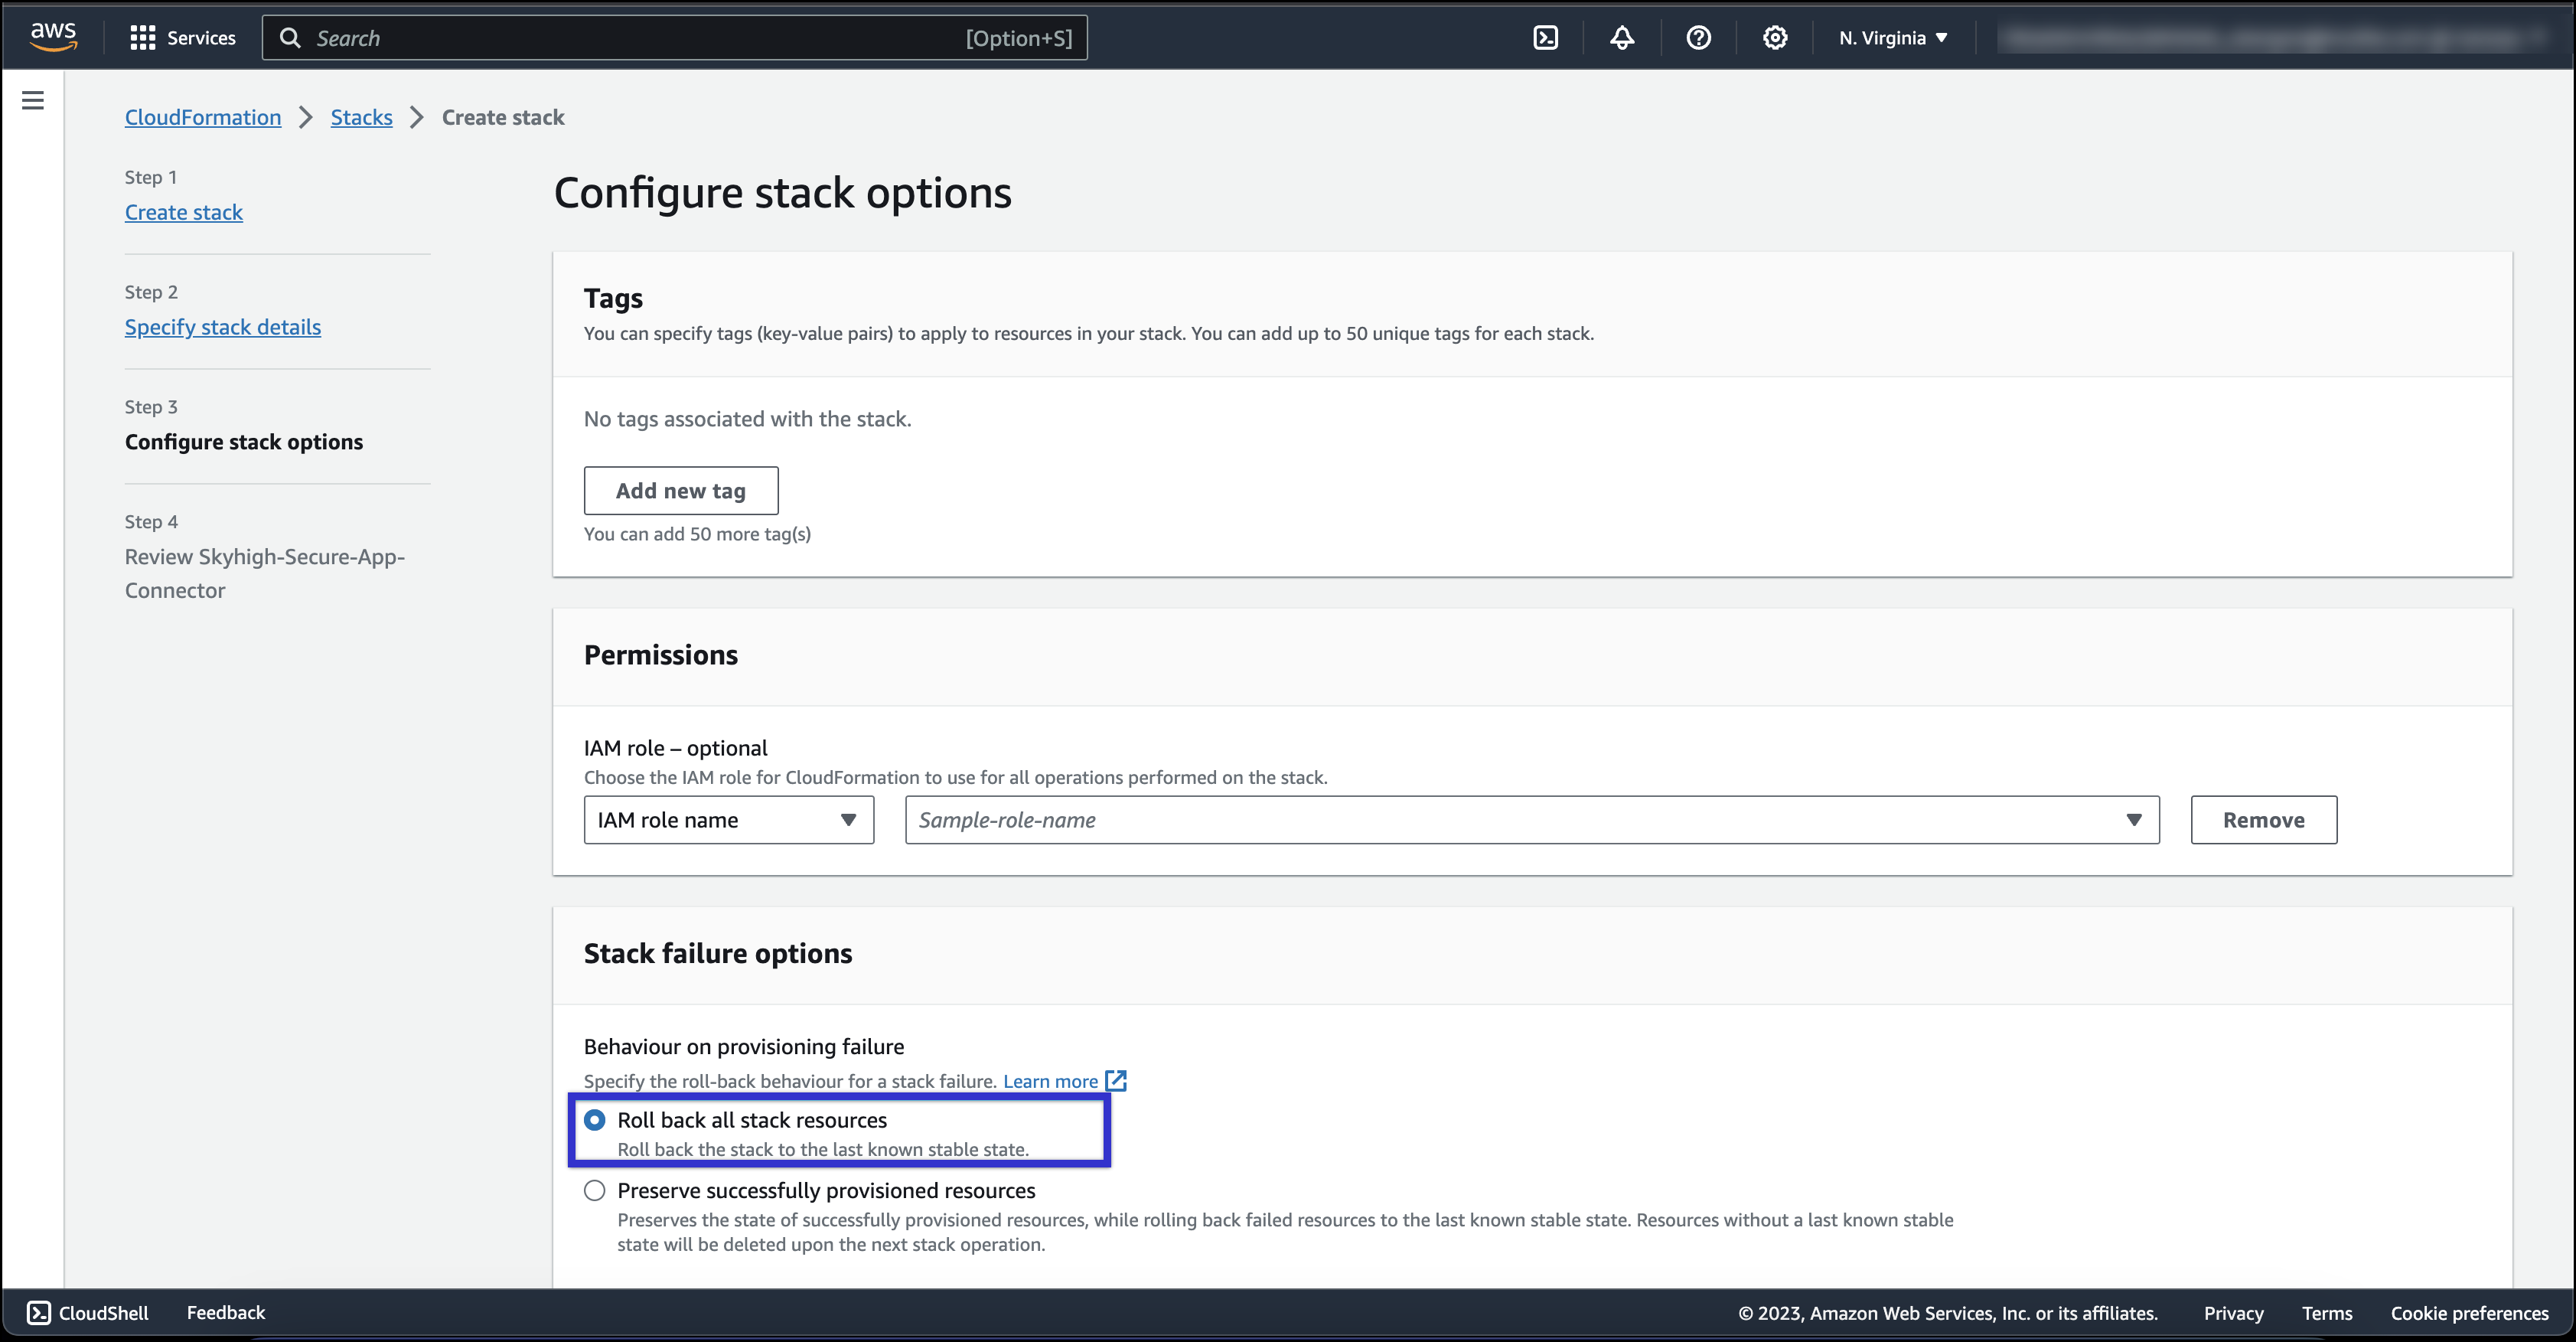
- Select Roll back all stack resources as behavior on the provisioning feature under Stack failure options and then click Next.
- Review all the settings and click Submit.
.png?revision=1)
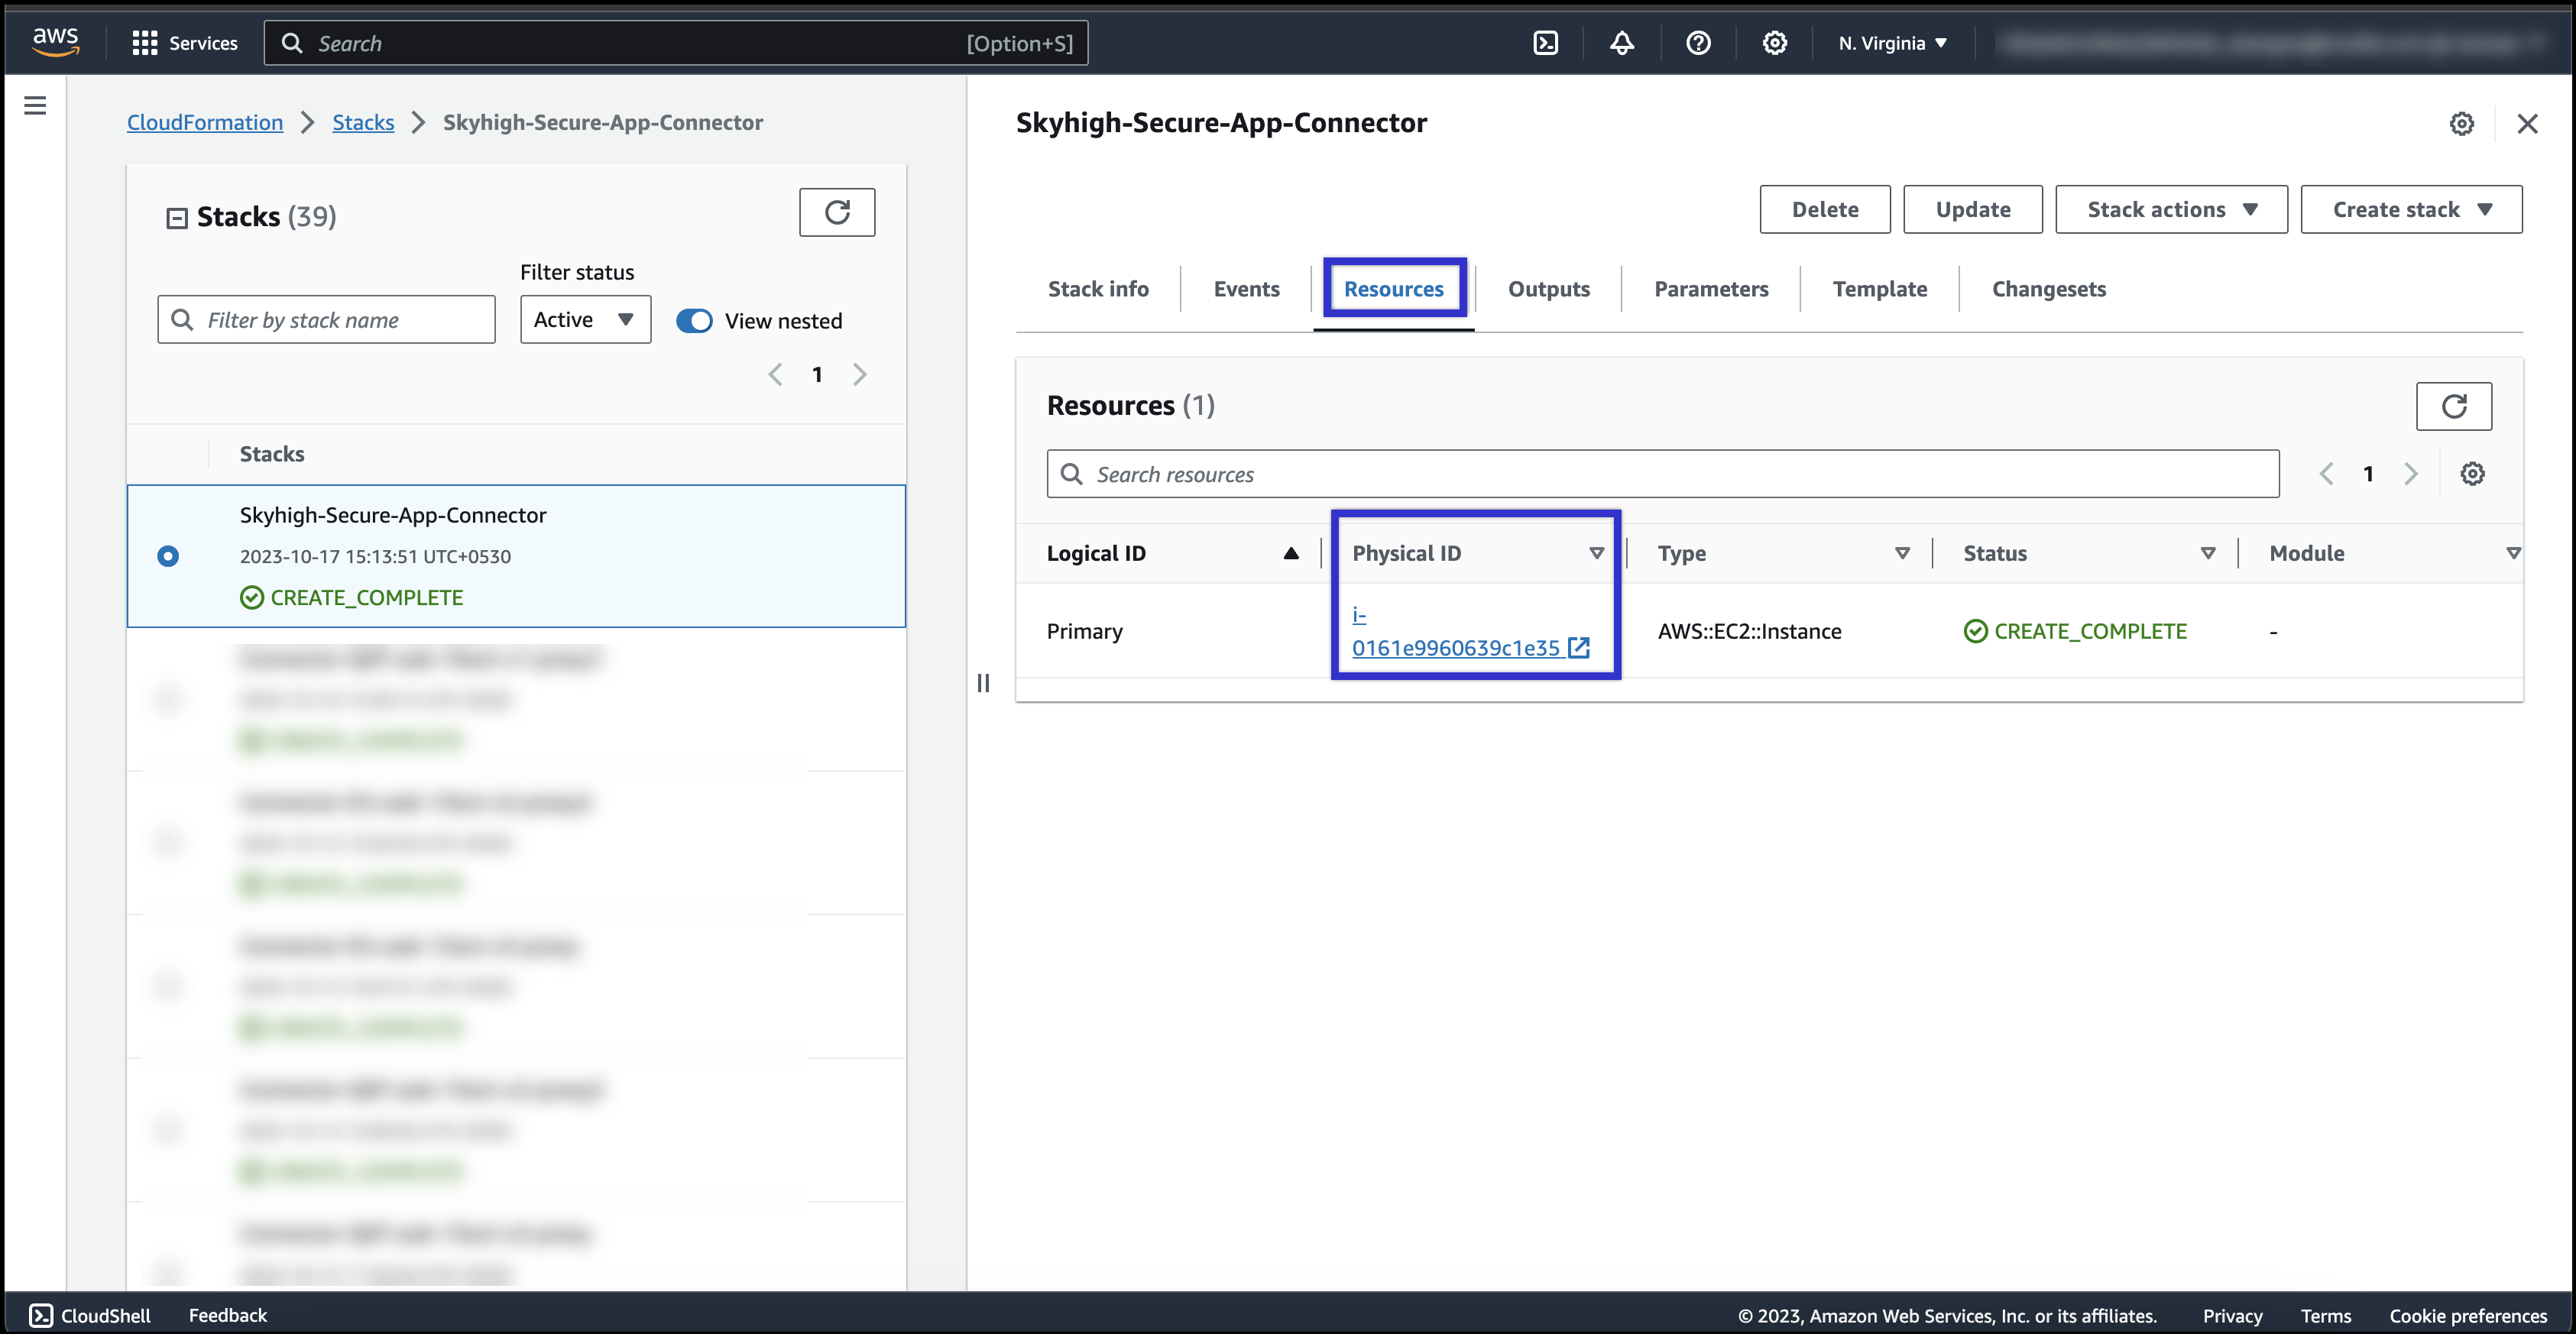
- Check the resources tab to verify if the EC2 instance got created successfully.
- Use a standard SSH Client (like Putty) and enter the following command to log in to EC2 instance:
ssh -i <AWS Private Key> ec2-user@<App Connector Public Hostname or IP Address>
- Connector deployment will take around 15-20 minutes.
- You can validate your connector deployment, For more details, see Secure App Connector V2 CLI.