Configure SCEP Certificate-Based VPN Authentication for iOS Devices
This topic helps you configure certificate-based VPN authentication for iOS devices using SCEP with Skyhigh Security Cloud and Microsoft Intune. It enables devices to automatically enroll for certificates and establish secure IKEv2 VPN connections without manual certificate distribution. This configuration strengthens device identity validation and ensures that only trusted, managed devices access corporate resources.
This configuration includes:
- Creating a Root CA
- Creating an Issuing CA
- Deploying trusted certificates to iOS devices
- Creating an SCEP certificate profile
- Creating a VPN profile using certificate authentication
Prerequisites
Ensure that:
- You have administrator access to the Skyhigh tenant.
- You have administrator access to Microsoft Intune.
- iOS/iPadOS devices are enrolled in Intune.
- Enterprise Microsoft Intune subscription with Cloud PKI add-on licenses enabled (non-trial)
Create a Root Certificate Authority (Root CA)
The Root CA establishes the trust anchor for certificate issuance.
- Log in to the Microsoft Intune admin center.
- Go to Tenant Administration > Cloud PKI.
- Click Create.

Create certification authority window opens.
- Under the Basics tab, enter Name and Description.

- Click Next.
- Under the Configuration settings tab:
- CA type. Select Root CA.
- Validity Period. Select 5 Years.

- Extended Key Usage. Select the required values.


- Configure Subject Attributes as per your organization's standards.
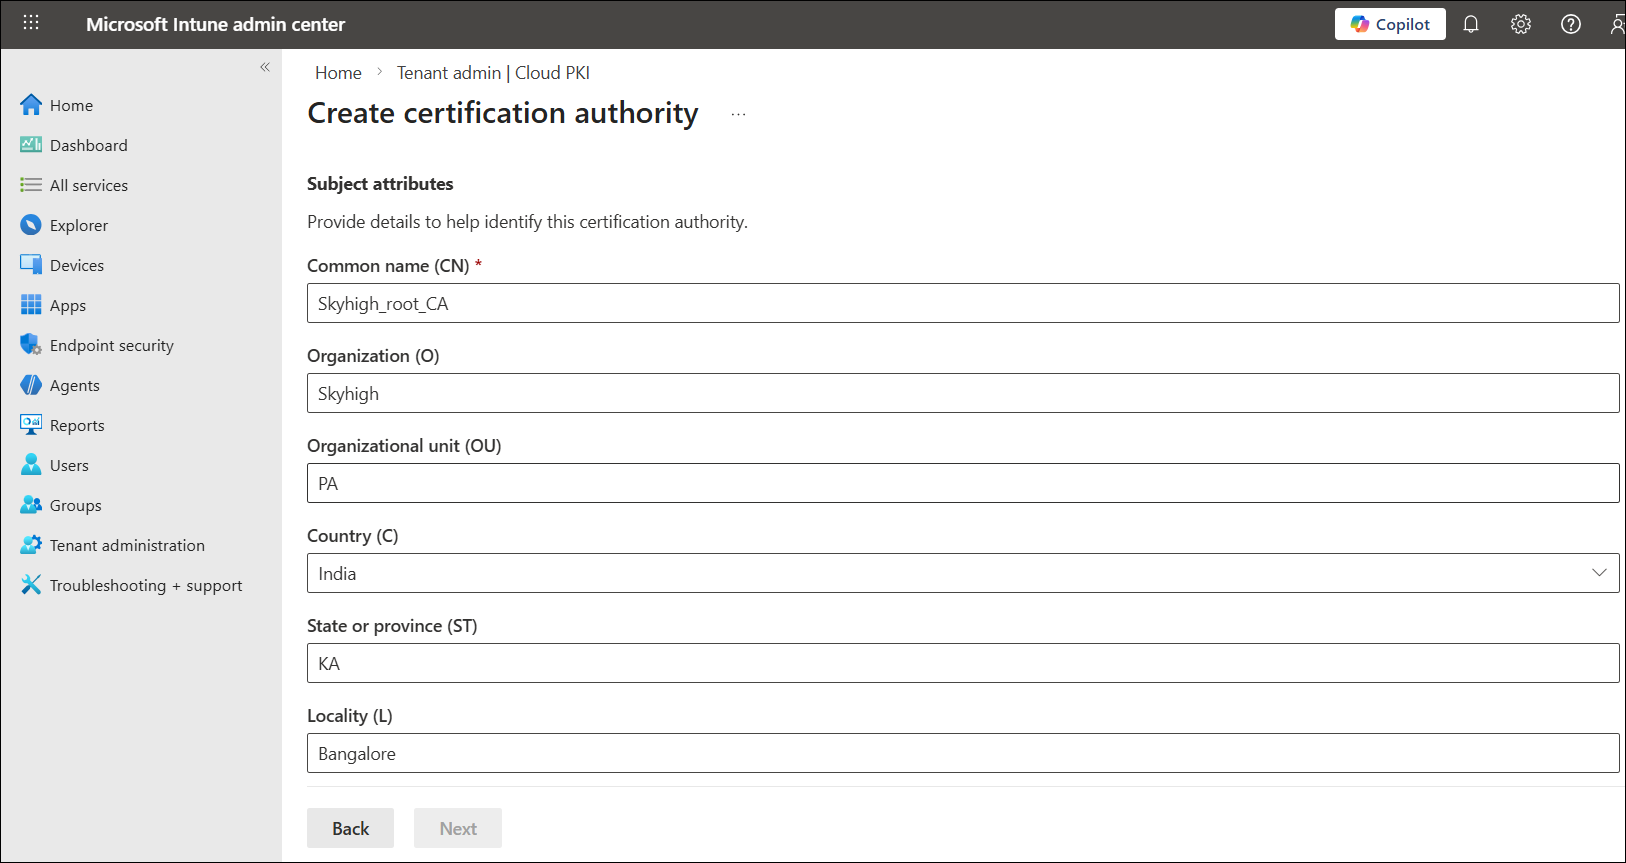
- Under the Encryption section, Set:
- Key Size. RSA 2048
- Algorithm. SHA 256

- Click Next.
- Under the Scope tags tab, keep the scope setting as the default and click Next.
- Under the Review tab, review the configuration and click Create.

- Open the newly created Root CA and click Download.


Upload Root CA to Mobile Cloud Security
- Go to Infrastructure > Web Gateway Setup > Skyhigh Mobile Cloud Security
- Click Configure.
- Under the Upload CA certificates to identify mobile devices section:
- Upload the downloaded Root CA certificate.
- Select the user as CN.
- Click Save.

- Publish the policy.
Create an Issuing Certificate Authority (Issuing CA)
The Issuing CA signs and issues device certificates.
- Log in to the Microsoft Intune admin center.
- Go to Tenant Administration > Cloud PKI.
- Click Create.
Create certification authority window opens.
- Under the Basics tab, enter Name and Description.

- Under the Configuration settings tab:
- CA Type. Issuing CA
- Root CA Source. Intune
- Root CA. Select the Root CA created in the above step.

- Validity Period. Select 2 Years.
- Extended Key Usage. Select Client Auth.

- Configure Subject Attributes as per your organization's standards.

- Review and click Create.

- Open the Issuing CA.
- Click Properties.

- Copy the SCEP URI.
- Download the Issuing CA certificate.

Deploy Root CA as a Trusted Certificate in Intune
This ensures devices trust the Root CA.
- Go to Devices > iOS/iPadOS > Configuration > Create > New Policy

Create a profile window opens.
- Under the Create a profile window:
- Platform. iOS/iPadOS
- Profile Type. Templates
- Template. Trusted Certificate
- Click Create.

Trusted certificate window opens.
- Under the Basics tab, enter Name and Description.

- Under the Configuration settings tab, browse and upload the downloaded Root CA certificate.
- Click Next.

- Under the Scope tags tab, keep the scope setting as the default and click Next.
- Under the Assignments tab, assign the profile to the designated group and click Next.
- Under the Review + create tab, review the certificate configuration settings and click Create.

Deploy Issuing CA as Trusted Certificate in Intune
This ensures devices trust the issuing CA.
- Go to Devices > iOS/iPadOS > Configuration > Create > New Policy

Create a profile window opens.
- Under the Create a profile window:
- Platform. iOS/iPadOS
- Profile Type. Templates
- Template. Trusted Certificate
- Click Create.

Trusted certificate window opens.
- Under the Basics tab, enter Name and Description.

- Under the Configuration settings tab, browse and upload the downloaded Issuing CA certificate.
- Click Next.

- Under the Scope tags tab, keep the scope setting as the default and click Next.
- Under the Assignments tab, assign the profile to the designated group and click Next.
- Under the Review + create tab, review the certificate configuration settings and click Create.

Deploy Customer Tenant CA from Skyhigh as Trusted Certificate in Intune
- Go to Devices > iOS/iPadOS > Configuration > Create > New Policy
Create a profile window opens.
- Under the Create a profile window:
- Platform. iOS/iPadOS
- Profile Type. Templates
- Template. Trusted Certificate
- Click Create.

Trusted certificate window opens.
- Under the Basics tab, enter Name and Description and click Next.

- Under the Configuration settings tab, browse and upload the downloaded Customer CA certificate.
- Click Next.

- Under the Scope tags tab, keep the scope setting as the default and click Next.
- Under the Assignments tab, assign the profile to the designated group and click Next.
- Under the Review + create tab, review the certificate configuration settings and click Create.

Create an SCEP Certificate Profile
This profile enables automatic certificate enrollment on iOS devices.
- Go to Devices > iOS/iPadOS > Configuration > Create > New Policy.

Create a profile window opens.
- Under the Create a profile window:
- Platform. iOS/iPadOS
- Profile Type. Templates
- Template. SCEP Certificate
- Click Create.

SCEP certificate window opens.
- Under the Basics tab, enter Name and Description.

- Under the Configuration settings tab:
- Certificate type. User
- Subject name format.
CN={{UserName}} - Subject alternative name.
DNS = {{UserName}} - Key usage. Digital signature and Key encipherment
- Key Size. Set to 2048

- Upload the Root CA certificate.
- Enter Client Authentication as Extended Key Usage.

- Paste the SCEP URI copied from Create an Issuing Certificate Authority (Issuing CA) section.

- Under the Scope tags tab, keep the scope setting as the default and click Next.
- Under the Assignments tab, assign the profile to the designated group and click Next.
- Under the Review + create tab, review the certificate configuration settings and click Create.

Create an IKEv2 VPN Profile Using Certificate Authentication
This profile establishes secure VPN connectivity using the issued certificate.
- Go to Devices > iOS/iPadOS > Configuration > Create > New Policy.
Create a profile windows opens.
- Under the Create a profile window:
- Platform. iOS/iPadOS
- Profile Type. Templates
- Template. VPN
- Click Create.

VPN window opens.
- Under the Basics tab, enter Name and Description and click Next.

- Under the Configuration settings tab
- Basic VPN section:
- Connection Type. IKEv2
- Connection Name. Enter name
- Server Address.
mobile.skyhigh.cloudorpa-mobile.skyhigh.cloud(forpa-mobile.skyhigh.cloudensure always on VPN is disabled)

- IKEv2 settings:
- Enable Always On VPN.
NOTE: Enable Always-On VPN if required. This setting is optional. Always-On VPN works only on supervised devices.

- Configure Identifiers:
- Remote Identifier: mobile.skyhigh.cloud
- Local Identifier: Subject Common Name

- Configure Authentication:
- Client Authentication Type: User
- Authentication Method: Certificates
- Select the SCEP certificate profile created in the Create an SCEP Certificate Profile section.

- Configure Security Settings:
- TLS Minimum Version: 1.2
- TLS Maximum Version: 1.2

- Diffie-Hellman Group: 14

- Enable Always On VPN.
- Basic VPN section:
- Under the Scope tags tab, keep the scope setting as the default and click Next.
- Under the Assignments tab, assign the profile to the designated group and click Next.
- Under the Review + create tab, review the certificate configuration settings and click Create.

After you deploy the policies, devices automatically enroll for certificates using SCEP and receive the trusted root and issuing CA certificates. The VPN profile authenticates users with certificate-based authentication and establishes secure connectivity to mobile.skyhigh.cloud. This configuration ensures that only trusted and enrolled devices establish VPN tunnels and access corporate resources.