Appliances Configured in ProxyHA with Central Management
Before upgrading appliances configured in ProxyHA with Central Management, complete all prerequisites. For more details, see Prerequisites to Upgrade Web Gateway Appliance.
Upgrade to Major or Minor Versions
This section outlines the process for upgrading three appliances configured in a ProxyHA cluster. Assume a scenario where you have 3 SWG nodes configured in a proxyHA setup with a central management cluster.
- SWG1 | Directory priority: 90 | Active director
- SWG2 | Directory priority: 80 | Redundant director
- SWG3 | Directory priority: 70 | Redundant director
Upgrade SWG3 Appliance
- Log in to the web UI of SWG1.
- Take a configuration back up. For more details, see Prerequisites to Upgrade Web Gateway Appliance.
- Remove the SWG3 appliance from the cluster.
- Go to Configuration.
- From the Appliances tree, select SWG3.
- Click Delete.

-
Stop traffic distribution to the SWG3 node:
- Access the web UI of the standalone SWG3 appliance.
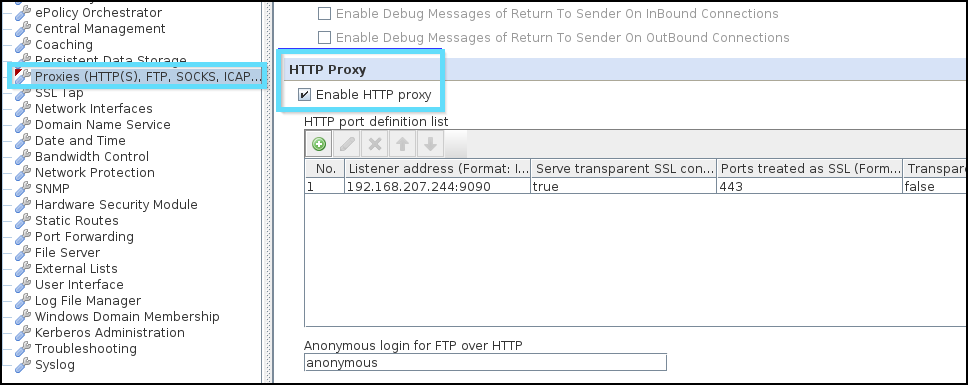
- Go to Configuration > Proxies (HTTP(S), FTP, SOCKS, ICAP...).
- Disable all listeners (e.g., HTTP Proxy, FTP Proxy, ICAP Server).

NOTE: Disabling all listeners stops the active director (SWG1) from distributing traffic to SWG3. Run hastats from the active director (SWG1) to confirm that SWG3 listeners are marked as Down.

- Log in to the standalone appliance SWG3 via the command line as the root user to upgrade the appliance to the intended or required version. For more details, see Standalone Appliance.
NOTE: Skyhigh recommends using the yum command to streamline and simplify the upgrade process, provided that you have root access to the command line.
- Reboot the SWG3 appliance.
SWG3 is upgraded to a new version and is working as a standalone appliance.
Once the SWG3 appliance is rebooted and running the new version, enable the listeners to allow the active director to start distributing traffic to SWG3. At this point, SWG3 is part of the ProxyHA setup and not part of the central management cluster.

Upgrade SWG2 Appliance
Follow the Steps 1-7 from the Upgrade SWG3 Appliance section.
Upgrade SWG1 Appliance (Active Director)
- Log in to the web UI of SWG1.
- Go to Configuration > Proxies (HTTP(S), FTP, SOCKS, ICAP...).
- In proxyHA configuration, note the Director priority and change to 60 (lower than SWG2 and SWG3 appliances).

NOTE: This action triggers a new election process, during which SWG2 becomes the active director, as it has the highest priority among the remaining nodes. At this point, the active director (SWG2) distributes traffic only to SWG3.

- Disable all listeners (e.g., HTTP Proxy, FTP Proxy, ICAP Server) on SWG1.
- Log in to the standalone appliance SWG1 via the command line as the root user to upgrade the appliance to the intended or required version. For more details, see Standalone Appliance.
NOTE: Skyhigh recommends using the yum command to streamline and simplify the upgrade process, provided that you have root access to the command line.
- Reboot the SWG1 appliance.
SWG1 is upgraded to a new version and is working as a standalone appliance.
Log into the web UI of SWG1, set the Director Priority to 90 (as recorded earlier in Step 3), and enable the listeners. This action triggers another election process, allowing SWG1 to be re-elected as the active director since it now holds the highest priority among the remaining nodes (SWG2 and SWG3). After the election, the system distributes traffic across all SWG nodes based on the load balancing algorithm configured in ProxyHA.

Rejoin all nodes to the Central Management Cluster
Once the nodes are upgraded, to rejoin a node to the Central Management from the primary node:
- Log in to the web UI of SWG1
- Select Configuration > Appliances.
- On the Appliances toolbar, click Add/Join.
- Enter the Host name or IP address of the SWG2 appliance to be added.
- From the Network group drop-down, select a network group for the SWG2 appliance.
- Select Add Appliance.
- Click OK.

-
Follow Steps 1-7 to add SWG3 to the central management cluster.
Upgrade to Macro Version
When upgrading to a macro version, you do not need to break up the cluster if the version differences are within the same macro. For the upgrade process, see Standalone Appliance.
NOTE: Once the upgrade is completed, make sure to verify it against the checklist. See Upgrade Checklist.